Some people say “if you’re gonna dig a ditch, dig it straight.” Or maybe “Whatever your hand finds to do, do it with all your might.” I buy that. People who know me for almost any amount of time know that whatever I do, I find a way to do the hard way.
In this series of articles the obvious example is purely hand tool woodworking, but I do this in almost all things. For twenty years I only used Linux on personal computers. For video games I have a Linux machine with Steam and its built in emulation.
I roast my own coffee. Some of that is economics but let’s not kid ourselves: I want it to be harder. I don’t even use a coffee roasting machine; I use a bread machine to stir and a heat gun to heat.
I have gotten into espresso in the past couple of years. I could have gotten a super automatic machine that makes you a coffee at the push of a button. Instead I got a machine with a lever and a spring inside, so you have to be engaged and paying attention to get a good shot.
My workbench has been by far my biggest project. I already wrote about the top. The next major stage was the undercarriage, which includes a pair of leg assemblies and two long stretchers. This is likely going to be the longest post in the entire series, both in words (over two thousand) and time (over eight months of stop and go effort.)
For some reason I decided to make the legs of cherry. I got the wood in November of 2022, I think, to let it dry for a while. The next major step was to crosscut the wood to length (each leg is two pieces of cherry glued together, so this is eight pieces about 28” tall) and then plane the pieces square. I didn’t do a great job planing them square, but I did well enough and paid attention to my face side so it all worked out. After being happy with the eight pieces it was time to glue them together.
This is the about as basic as it gets so it all went fine, with the one caveat being that the cherry is so heavy and the corners were so sharp that I ended up getting what seemed like papercuts on my fingers from handling the glued up legs.
Gluing up a leg:
Some before and after shots when planing the legs:
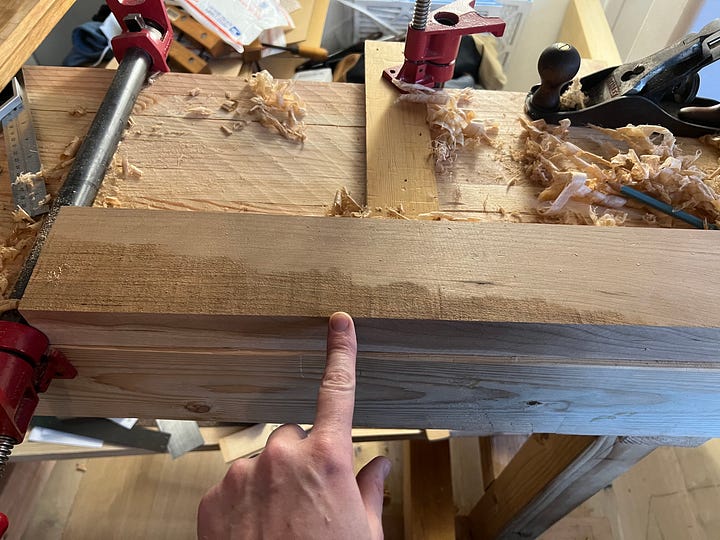
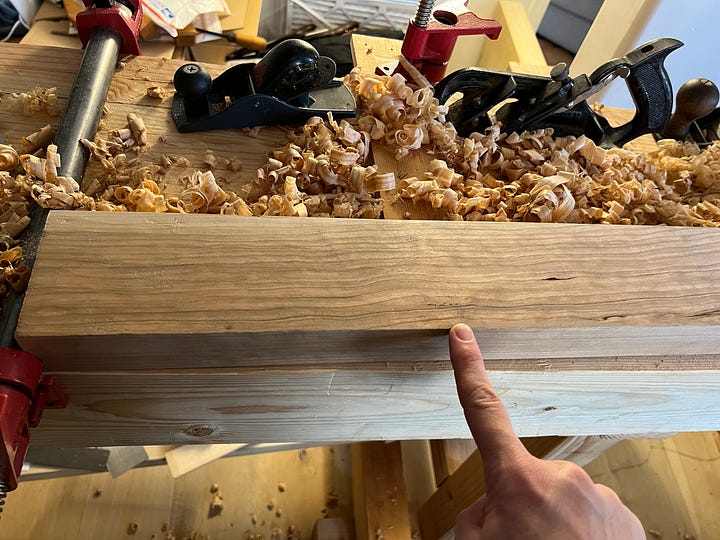
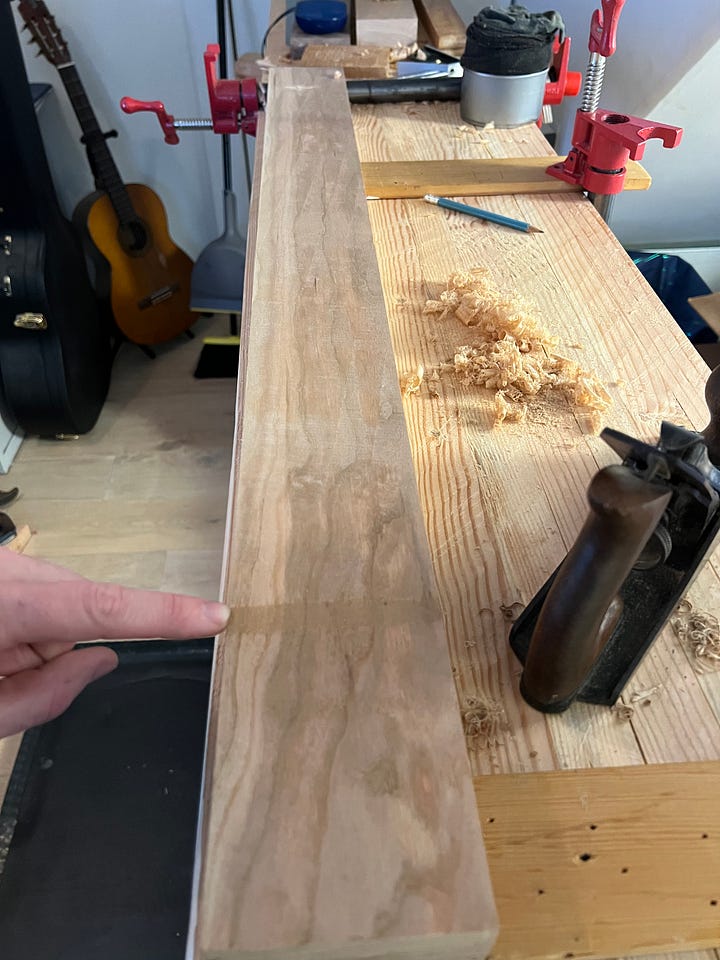
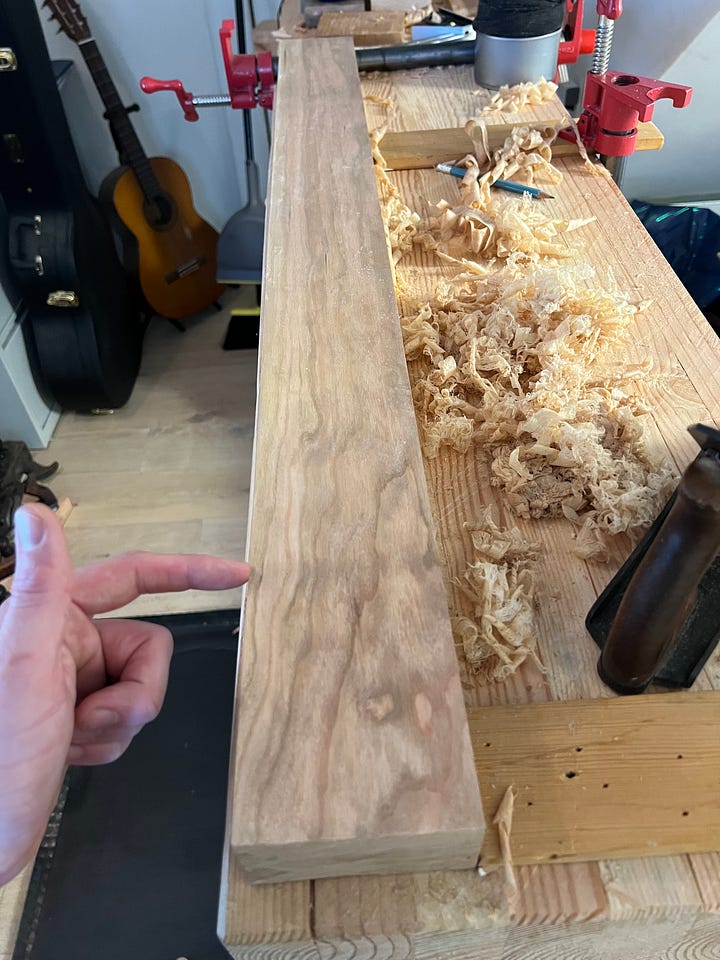
A month or two went by and I finally got around to getting the wood for the short stretchers between the legs. I decided to use Douglas Fir for this. I wanna say I bought the wood on New Years Eve, 2022. I bought it from a place very close by, not the lumberyard, and not Home Depot. I was really hopeful that the wood would be good quality and I could use them as my regular supplier of softwood, but it was just normal knotty Douglas Fir.
I crosscut most of the pieces to length the day I got that wood, but it was wet to the touch so I waiting a while before the final dimensioning:
Ultimately though, it was good experience. I had gotten a few pieces of 4” x 6” dimensional lumber. I marked where the knots were and carefully decided where I could get pieces long and large enough for each of the differently sized stretchers. I remember sawing all weekend long and literally weighing the sawdust afterwards and it was over a pound of sawdust.
Aside: in a later article I’ll talk about how I should have made sawbenches sooner.
I left the pieces to sit for a months to make sure they were reasonably dry, and then planed them to final size and square.
From there I made the joints (which is one of my favorite parts of woodworking, when things fit and work.) I did a trestle (leg assembly) at a time.
I marked the tops of each leg with roman numerals (sorta) so that I could make sure all the pieces stayed correctly mated. I similarly marked each of the short stretchers with which leg each of their tenons mated to. From there it was:
Bridal Joint
Through Tenon
Half-Lap Dovetail
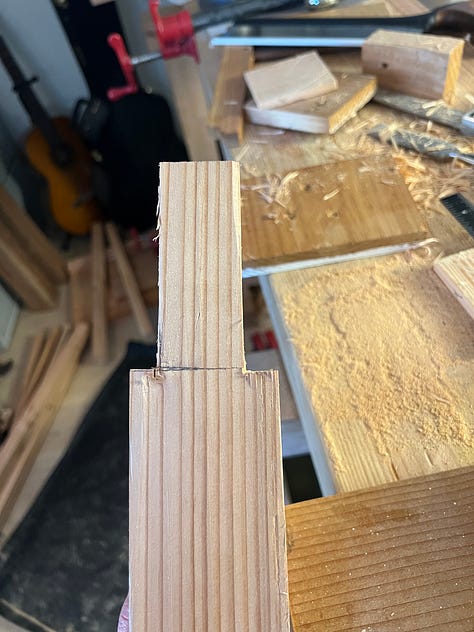
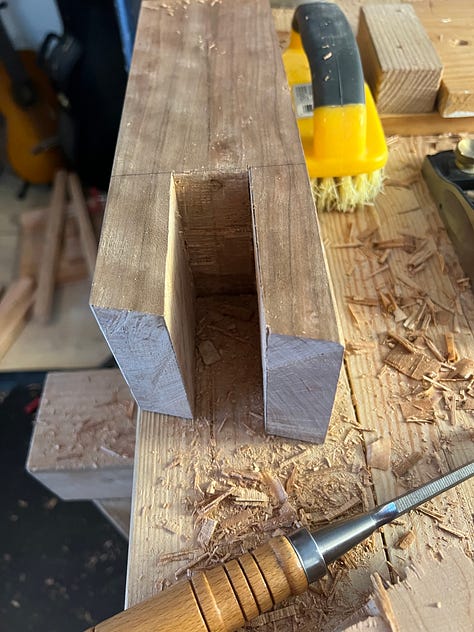
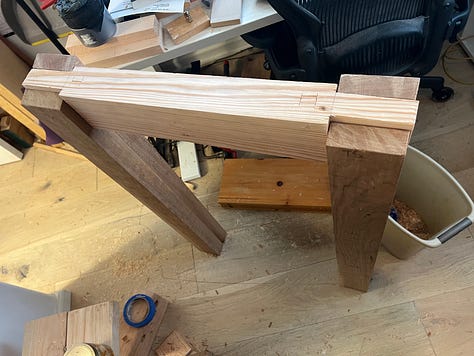
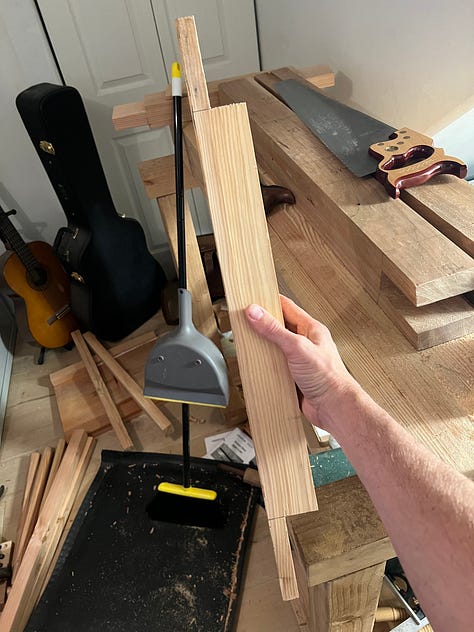
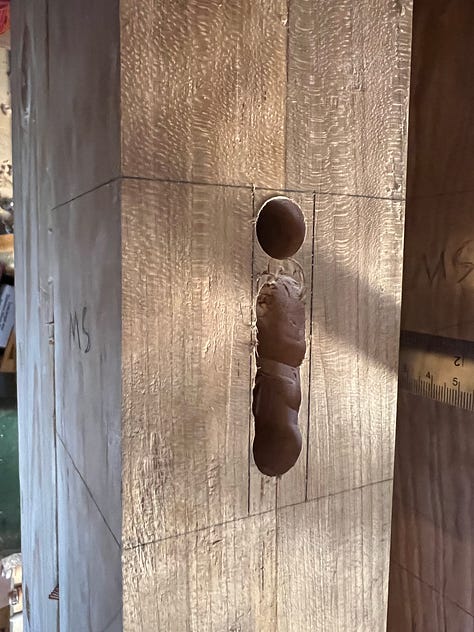
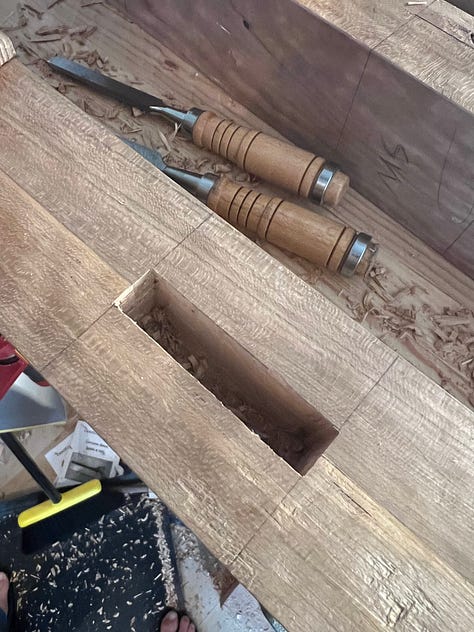
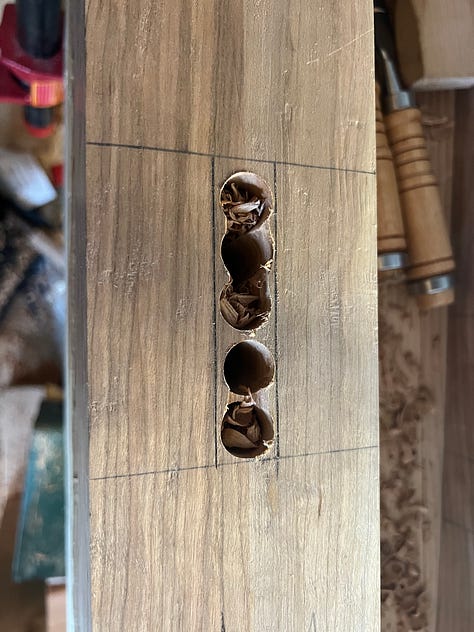
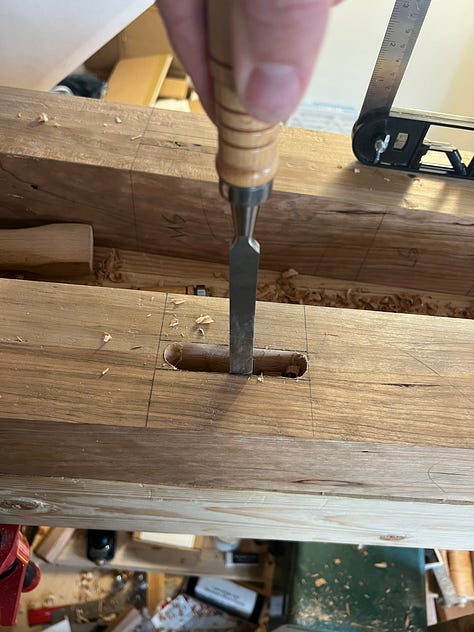
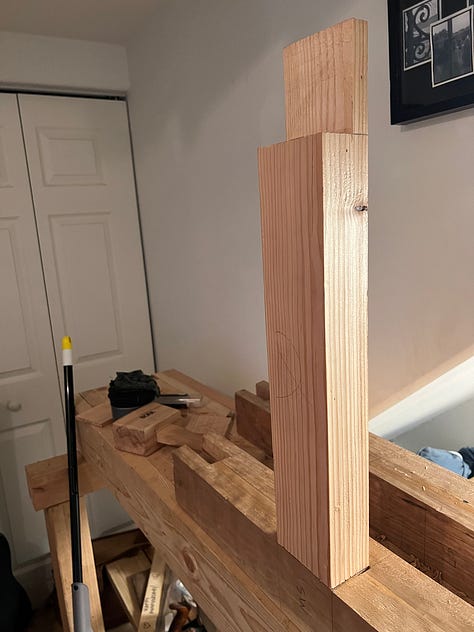
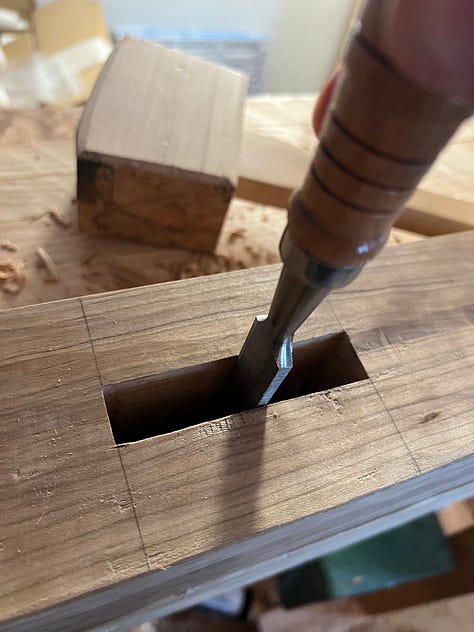
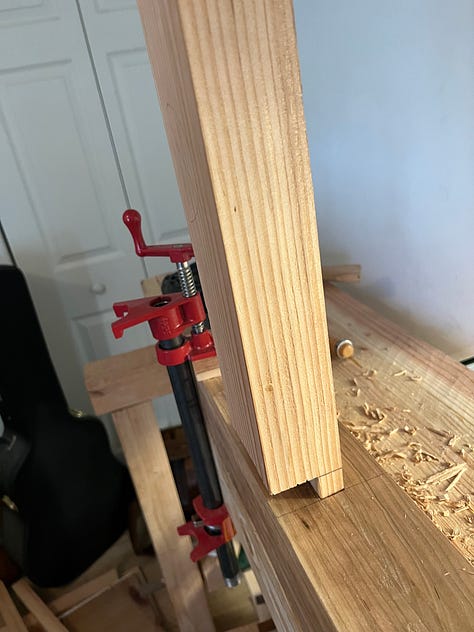
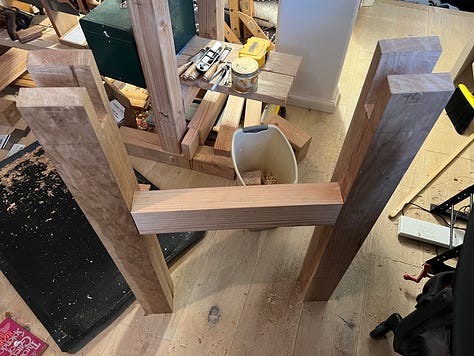
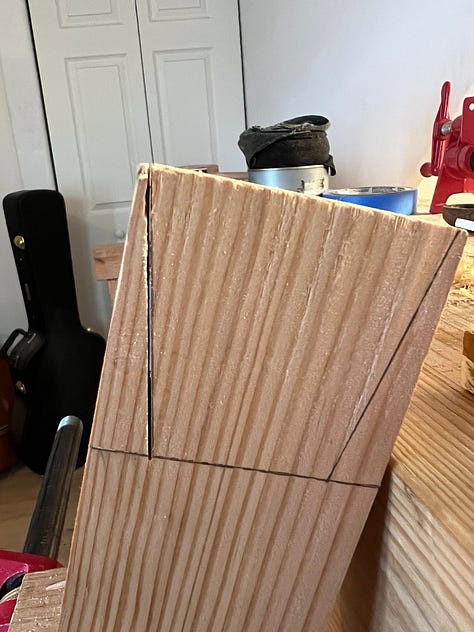
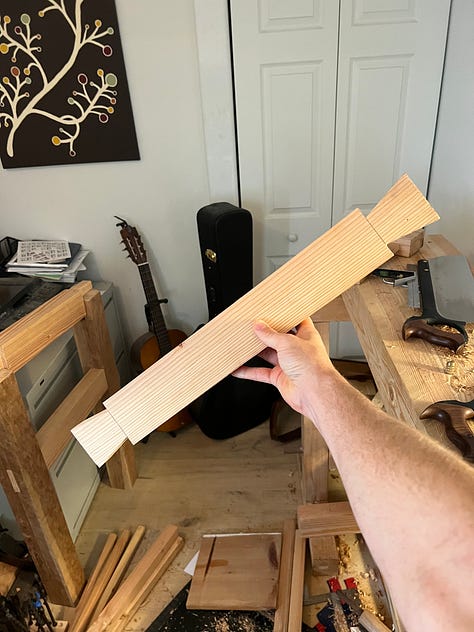
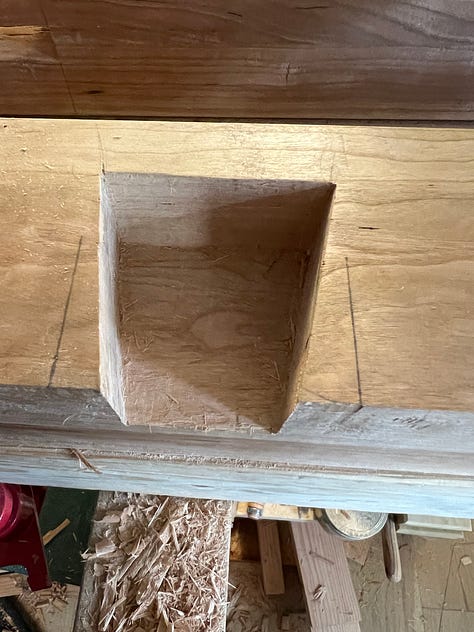
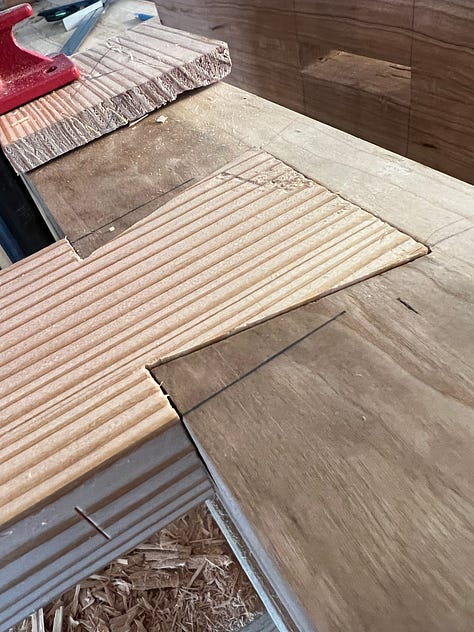
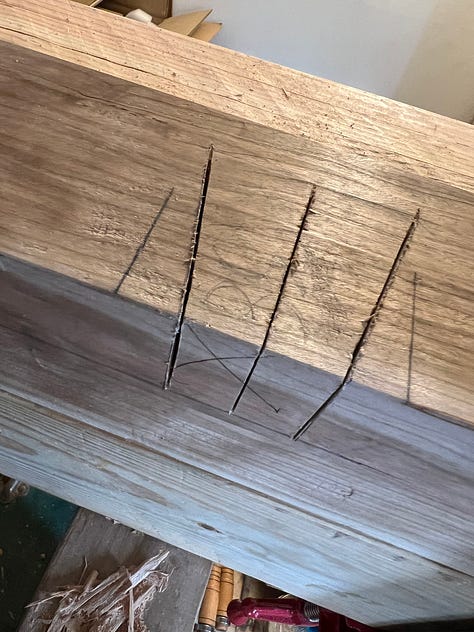
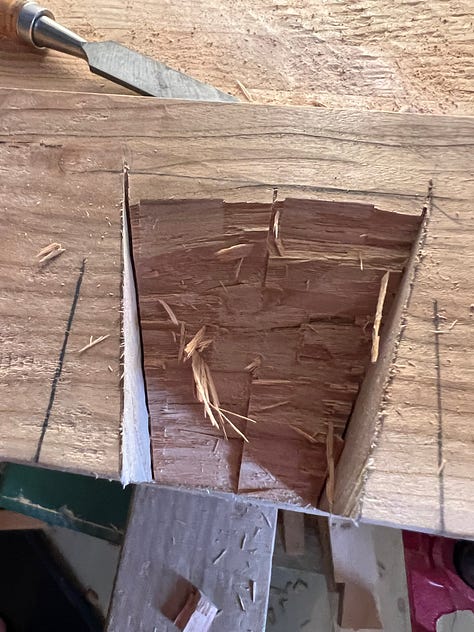
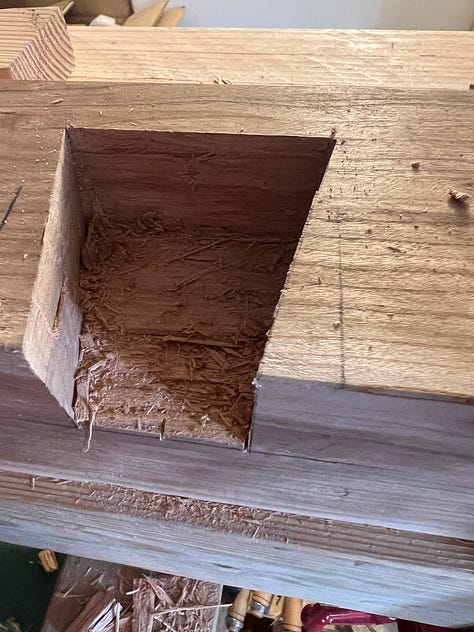
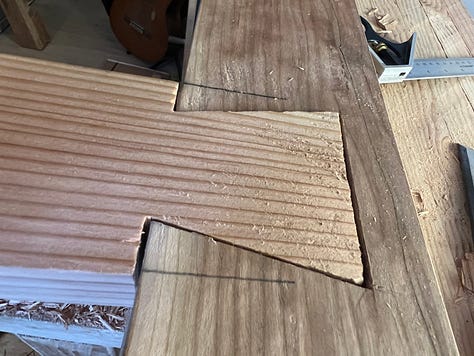
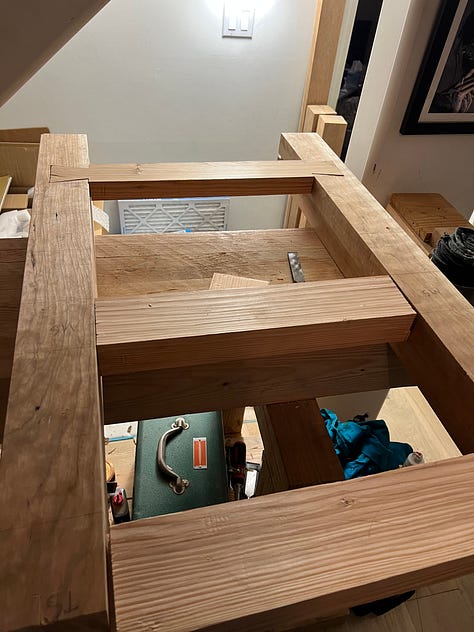
For the most part it was a fun if exhausting process. I chopped most of the mortises with my cheap amazon chisels, which probably made the whole process significantly harder than it had to be. I have some nicer mortise chisels my inlaws got me but I didn’t consider using a narrower chisel. I should have though.
The most tricky joint is the dovetail. Often I would color the whole joint with pencil and do a dry fit to see where the pencil was rubbed; then I could pare off some wood to get it to fit. I don’t think I understood when I got started how important it was that both parts of the joint be square (if they aren’t things literally won’t be able to slide together.)
I was finally ready to glue together the first assembly. I was surprised at how square it was (it was as square as I could measure.) I made sure that everything could fit together with hand pressure because I knew that once I added glue the fit would be significantly tighter. I was ready for glue up.
The glue up of any complex project feels like some kind of battle or something. I always get really sweaty and I often have to do it after my kids are in bed because I can’t afford interruptions or to have conversations during a glue up. I glued up the first trestle on a Tuesday. April 25, 2023.
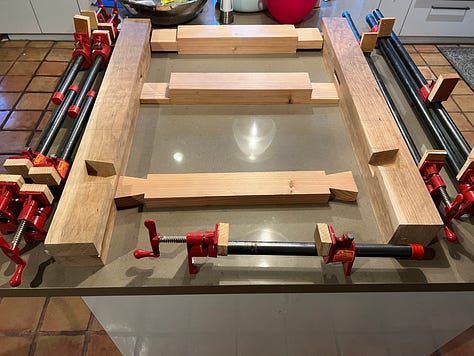
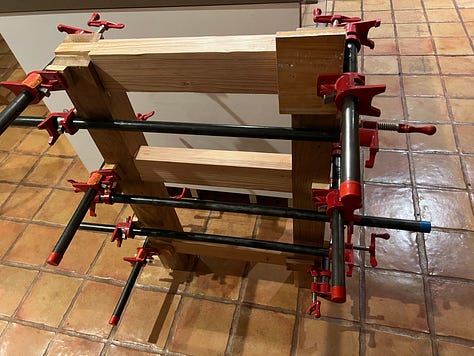
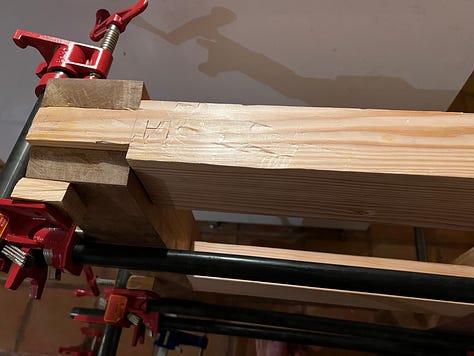
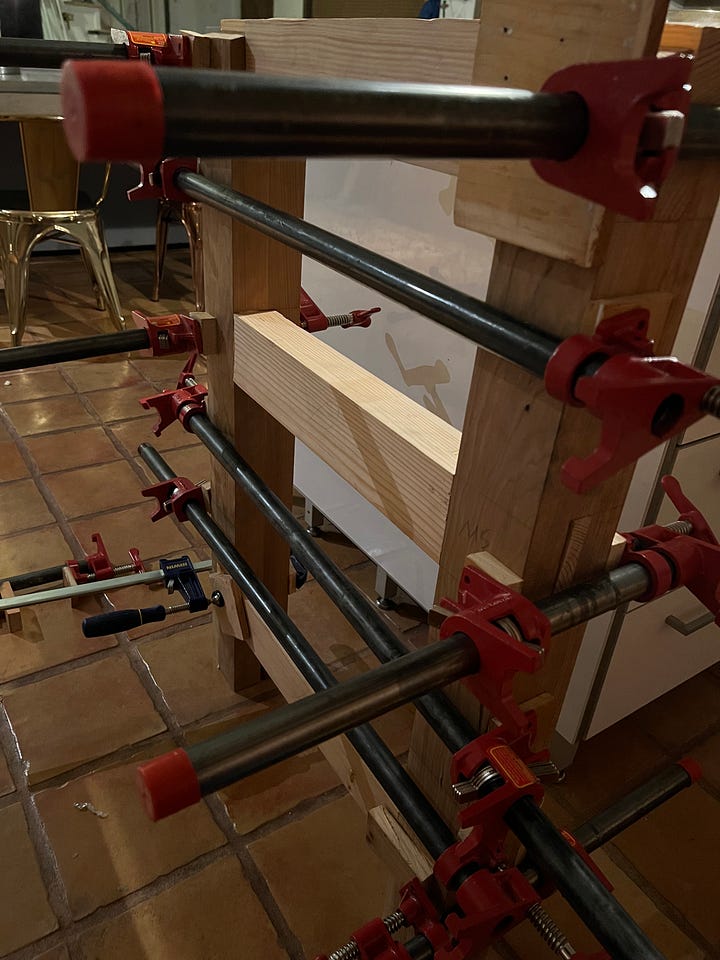
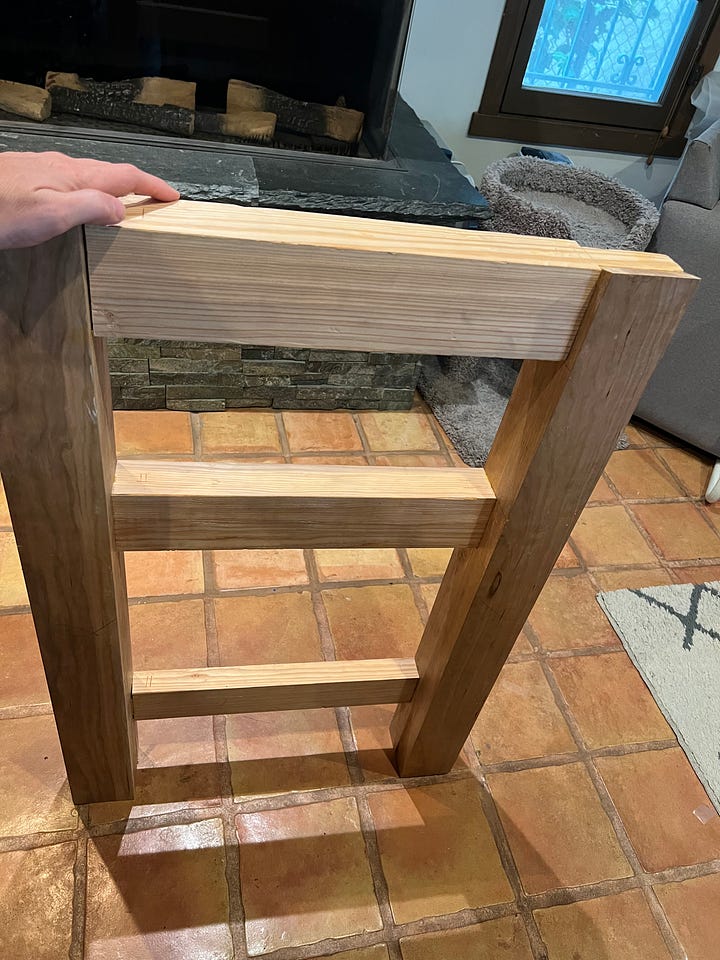
After getting the second trestle dry fit (on May 13,) I started working on the long stretchers which connect the two trestles together. Glue up for the second trestle didn’t happen till July 2nd. This was mostly because it’s significantly easier to test fit the long stretcher in a single leg rather than test fitting in a whole trestle. On top of that for the first trestle I didn’t chop the mortise for the long stretchers till after glue-up, which was a silly hassle.
A weird sidequest I decided to go on for this bench was to use a variety of woods for the bench. A bench is a great way to get experience with joinery. If you can afford it, it’s also an opportunity to try out lots of different kinds of wood. Thus far we’ve discussed Cherry and Douglas Fir. For the long stretchers I used another new wood: Hard (aka Rock aka Sugar) Maple.
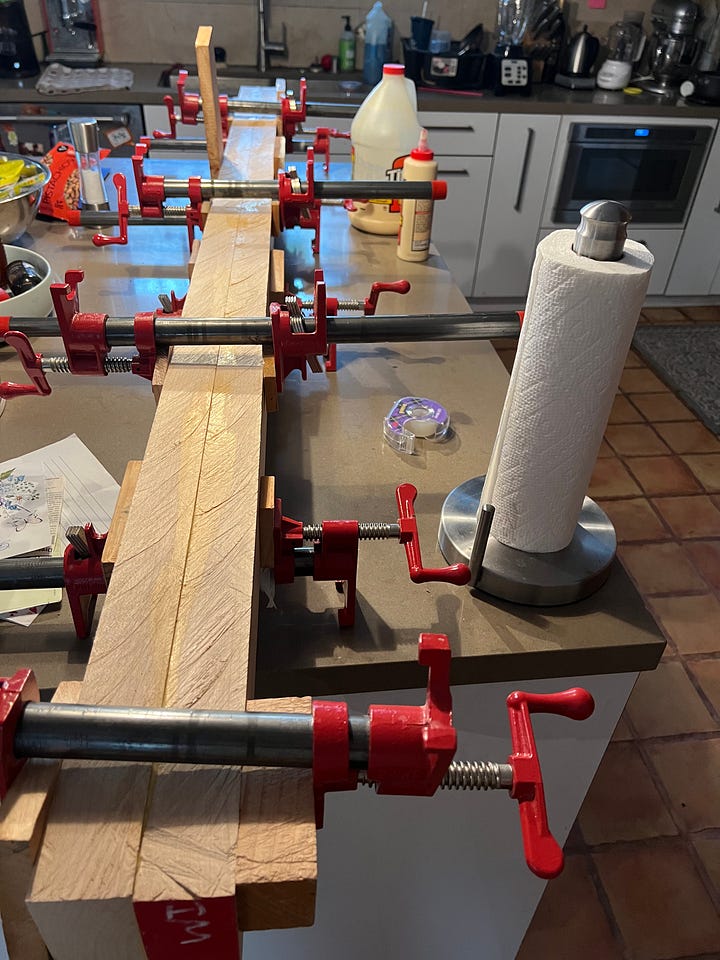
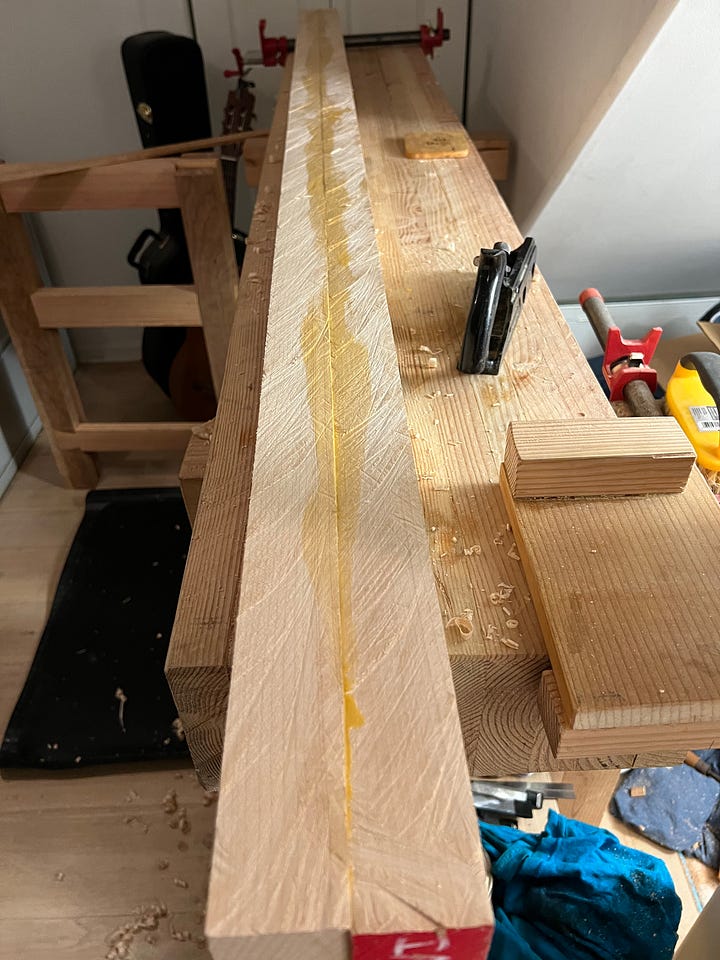
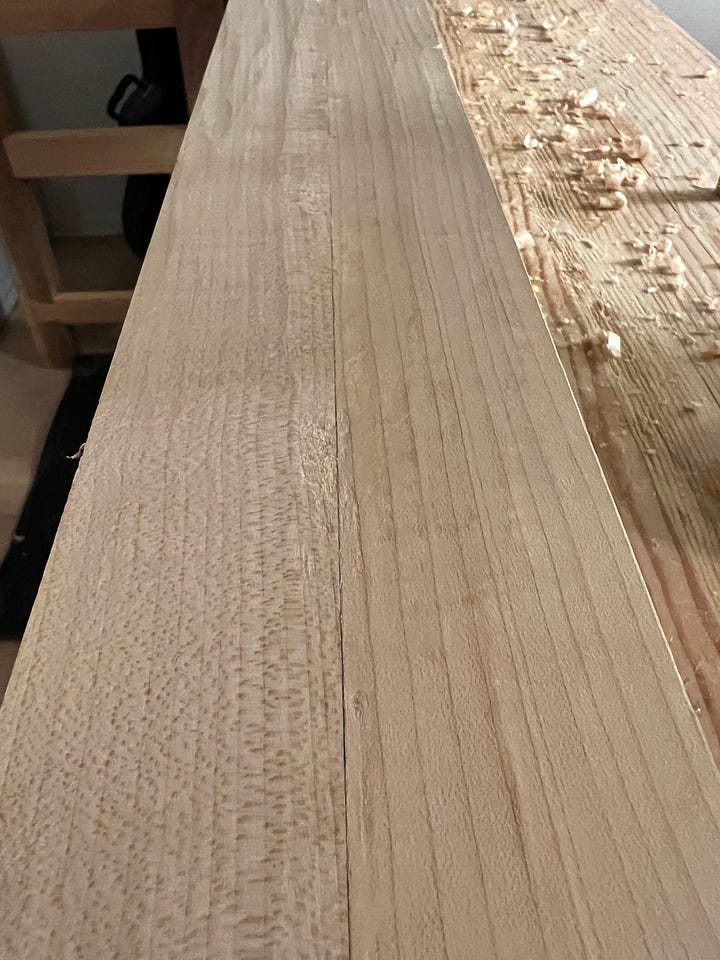
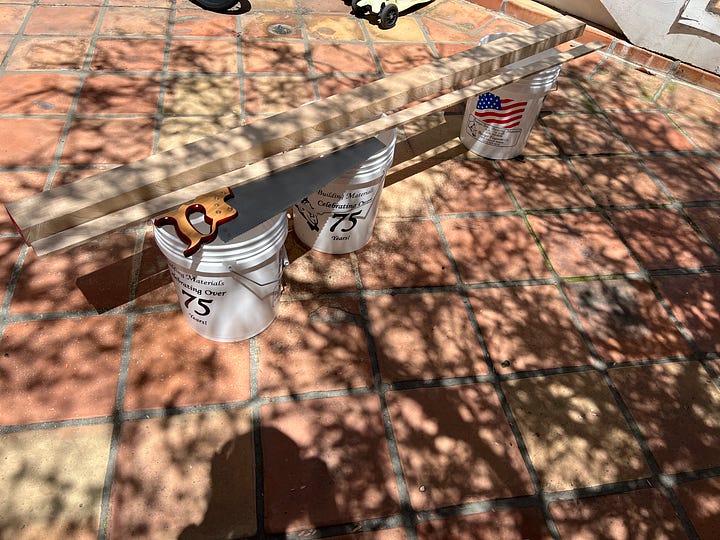
This wood is so hard that when the lumberyard was ripping it for me their saw ended up not being able to cut through the piece, and it was apparently so bad that they decided to give up and start over with a new blade and a new board. Anyway, I should have just not even asked them to rip it, because I ended up ripping it myself with a handsaw. If I had it all to do again I probably would have figured out a good way to sharpen my saw as I think I could have done all the ripping much faster if my saw were freshly sharpened, but I sawed about a 1/2” off of four pieces to make the long stretchers.
After that it was back to basics: saw off the shoulders of some tenons (slightly angled, which was new,) and clean up the cheeks of the tenon with a plane so that the tenon would fit into the mortise.
Then I had a new joint to learn: the tusk tenon. A tusk tenon is a through tenon where you have an angled slot in the tenon and wedge that fits in the slot that seats against the shoulders of the mortise.
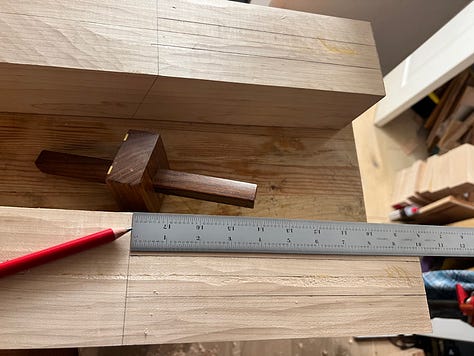
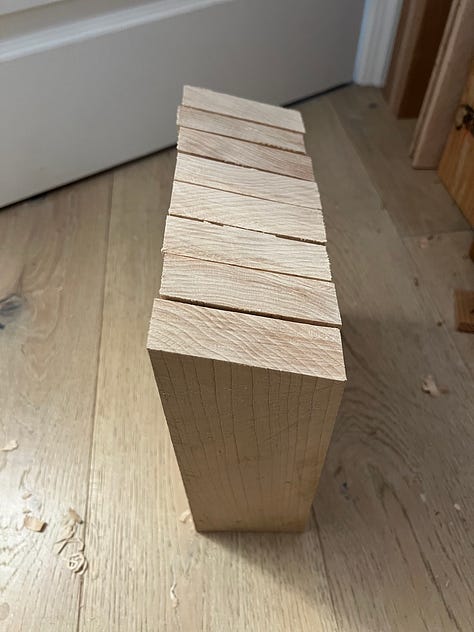
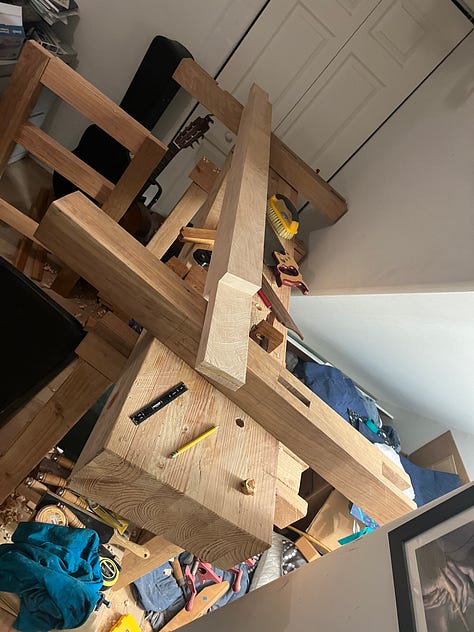
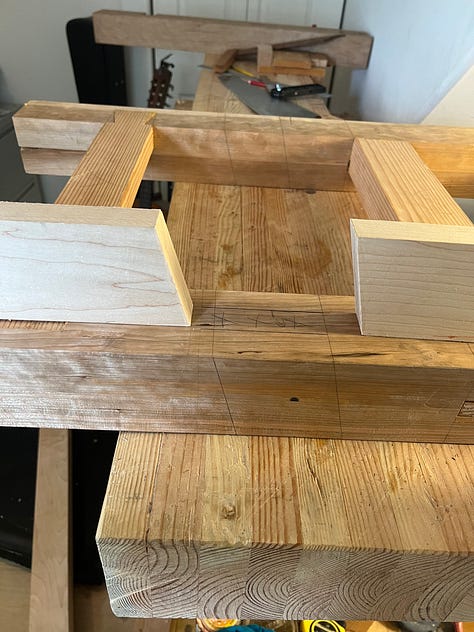
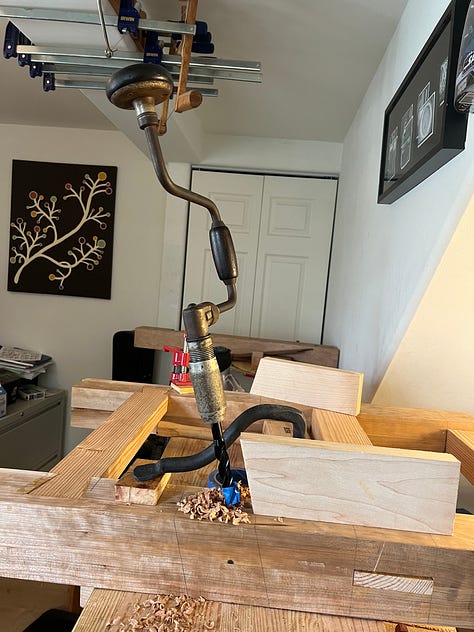
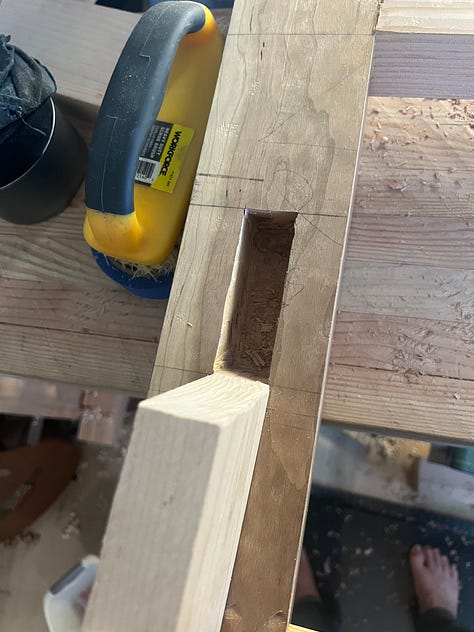
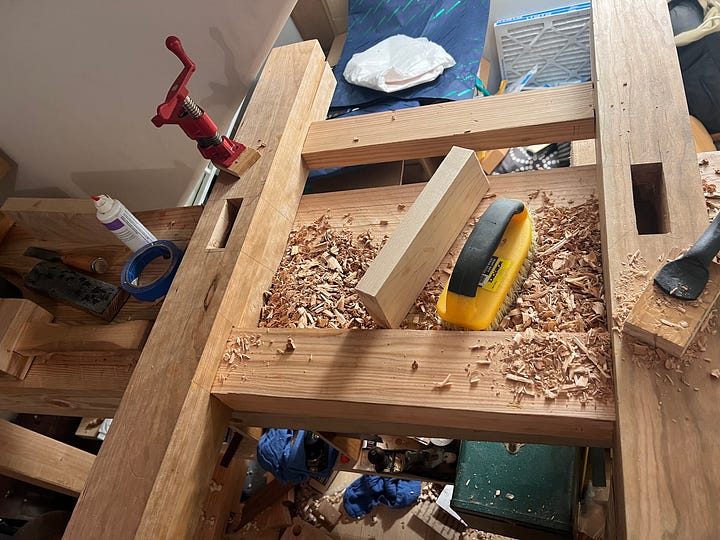
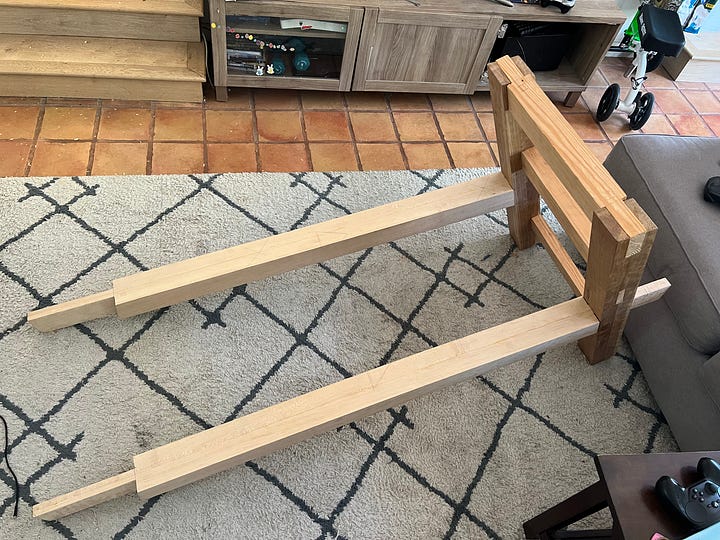
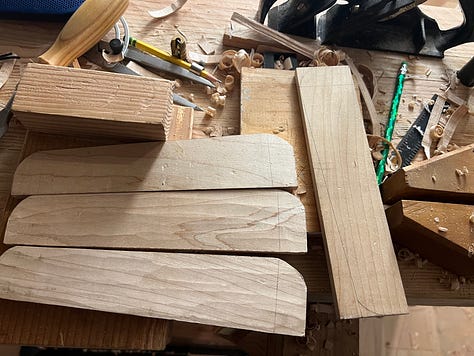
I started by making the keys for the tusk tenons. I just used some of the waste from the cheeks of the tenons I’d sawn off, ripped them to the appropriate width, planed them to the right angle, and then used a chisel to shape them nicely. After that it was time to chop out the mortise that the keys would seat in. Despite the fact that this is a pretty narrow mortise and it’s at an angle, it all worked.
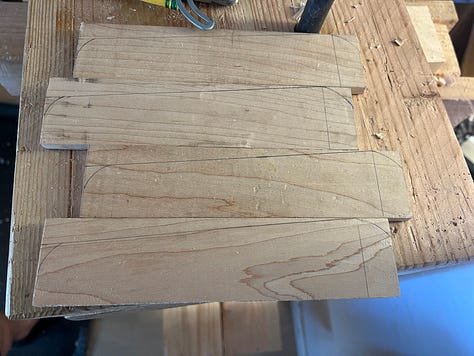
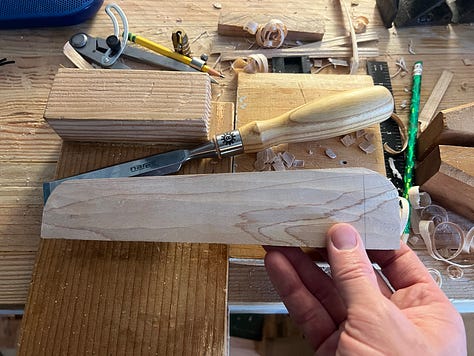
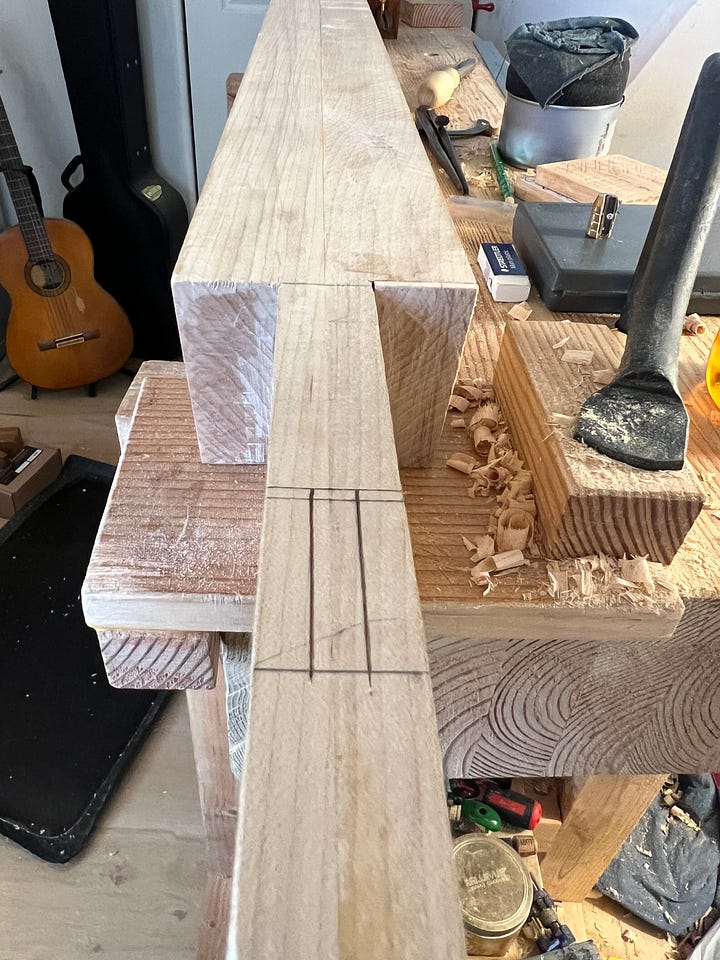
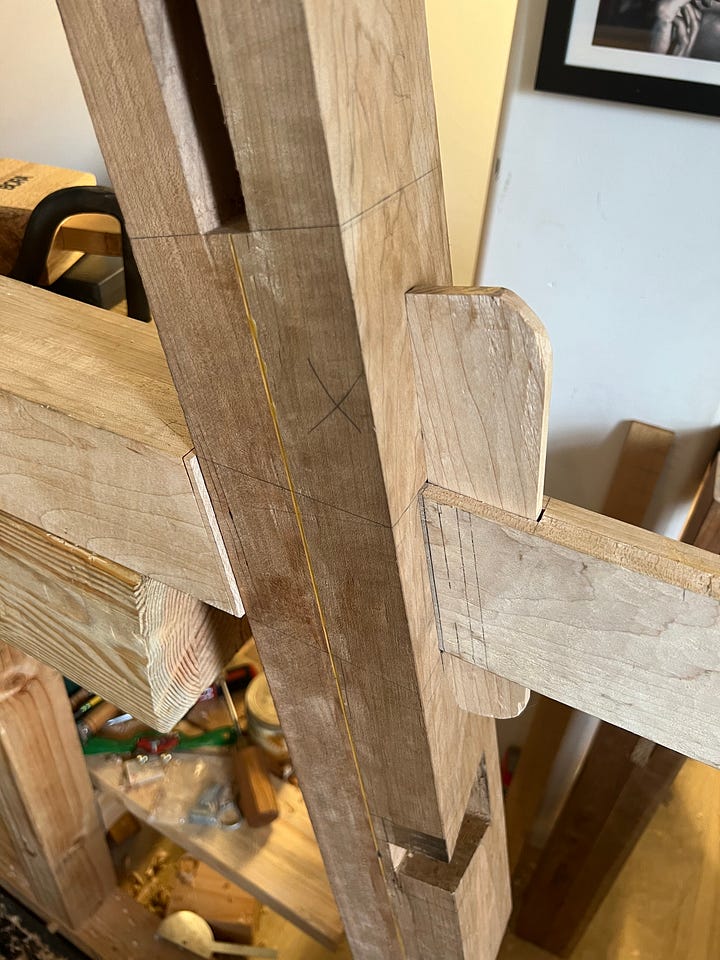
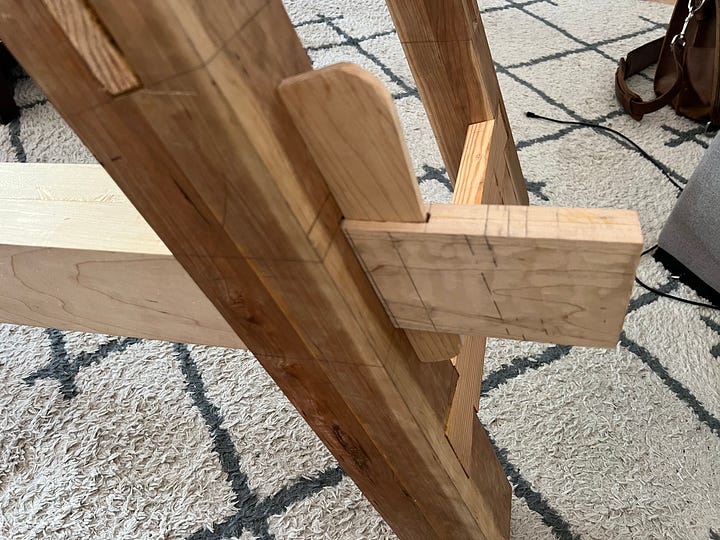
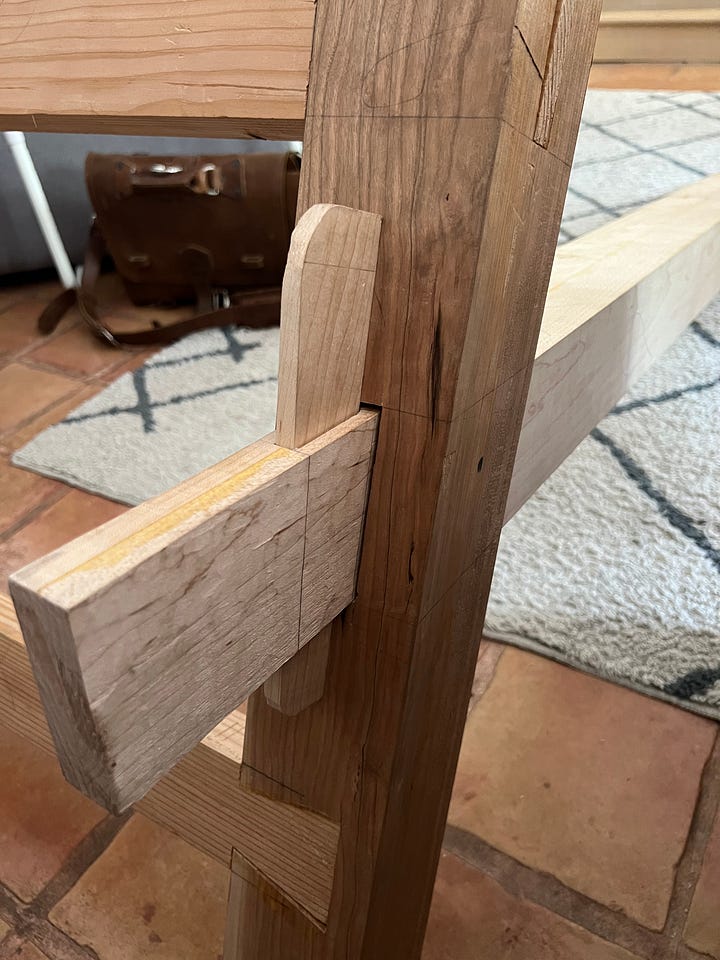
But when I dry fit it became clear that those angled cheeks on the long stretchers were ever so slightly undercut. My initial plan was to pare the longer cheeks to fit, but on this hard maple that was incredibly difficult. What I did instead was to create little (in some cases absurdly little, like 1/8” thick) end grain tablets that I glued on to the shoulders of the tenons. I used hide glue for this, as it is self clamping, and created what’s called a rub joint.
Because of the orientation of the grain these tablets would warp somewhere between dramatically and pathologically. The thinnest one was literally like a potato chip. When I put glue on the bottom the glue would soak into the end grain and cause the tablet to curl “away” from the glue. There’s a simple solution though: add glue to the other side and the tablet curls back!
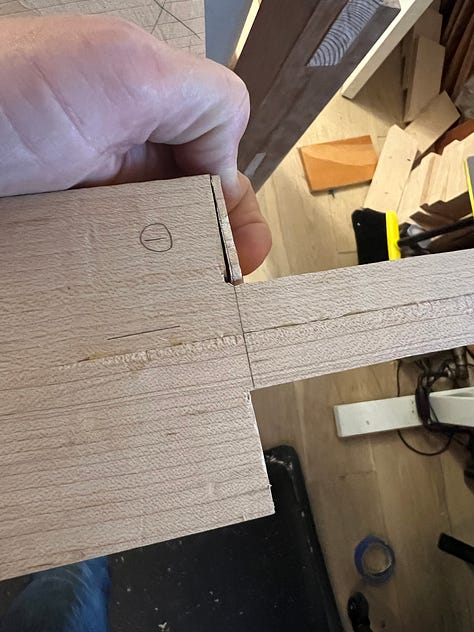
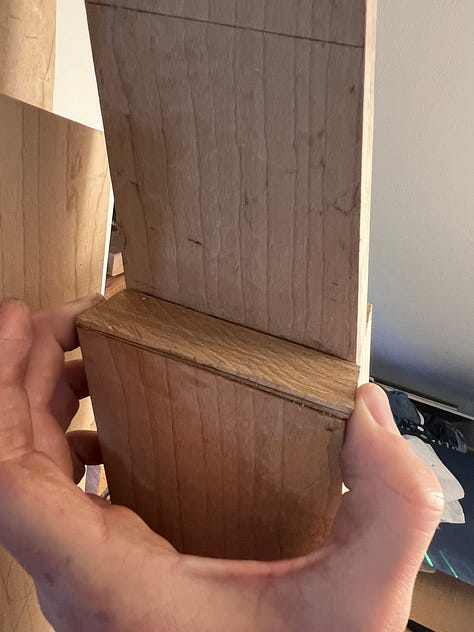
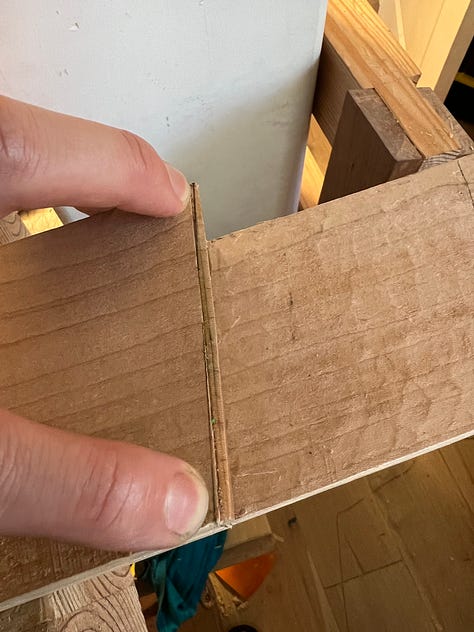
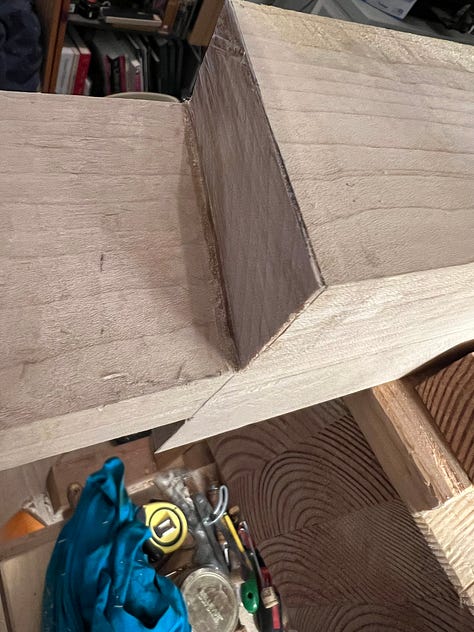
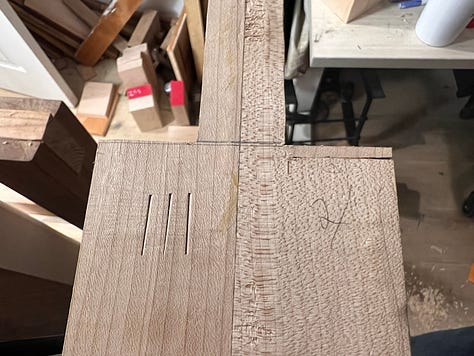
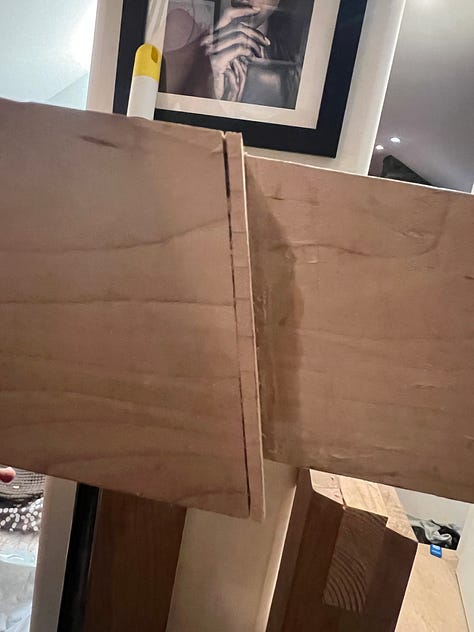
I didn’t make any more 1/8” tablets (they curled so much and were a hassle to make in the first place) and instead opted for closer to 1” tablets that I would then saw to the appropriate angle and do a little cleanup with a plane. Even the 1” thick hard maple tablets would curl enough that I had to do the glue-both-sides trick. I am glad I was able to fix this problem but if I had it all to do again I would have been much more careful to avoid it in the first place.
As mentioned before, it was time to glue up the second trestle and assemble the entire undercarriage.
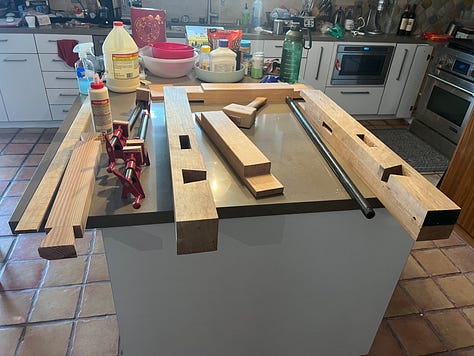
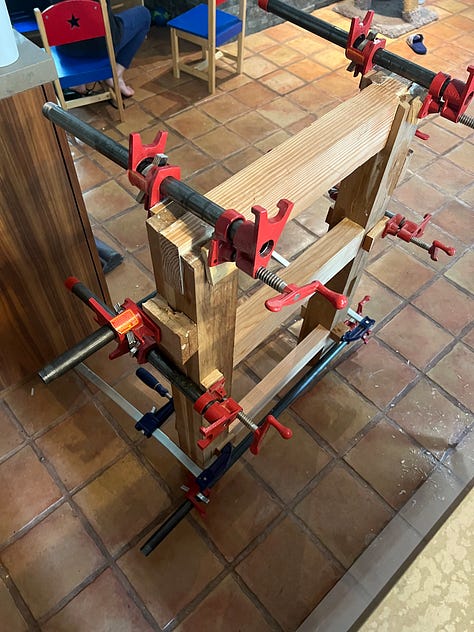
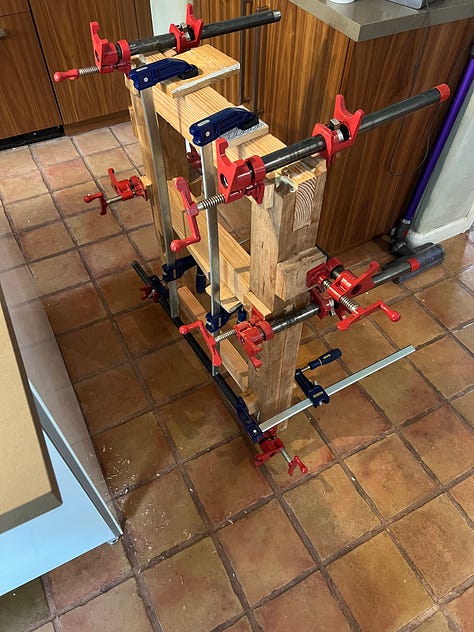
The day after glue up (I really wanted to dry fit the same day as glue up but I was patient, to make sure the glue really took hold) I assembled everything and it fit like a glove. I wasn’t done with the undercarriage but the remaining tasks were straightforward. I planed the top level (the top stretcher starts out poking up higher than the top of the legs.)
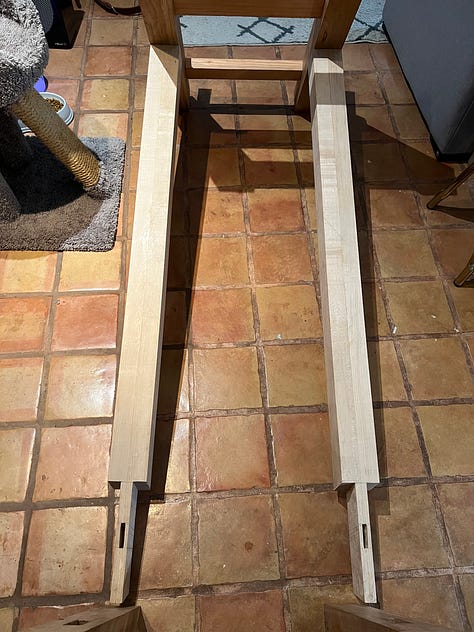
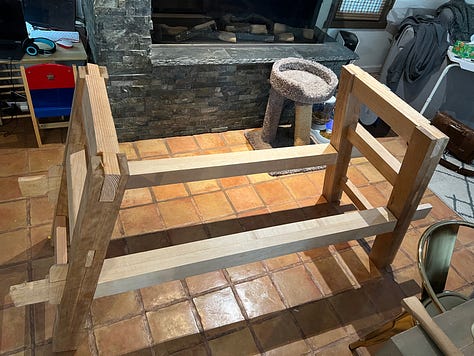
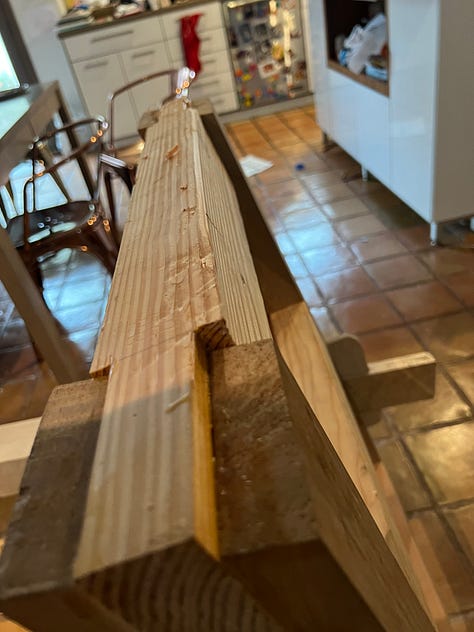
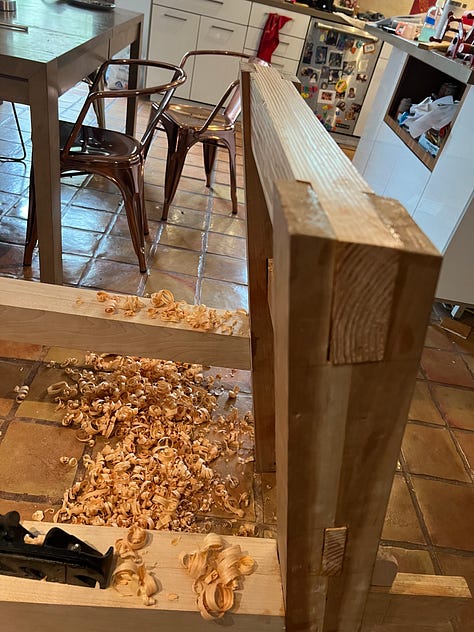
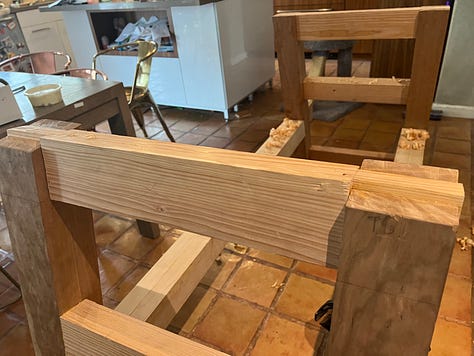
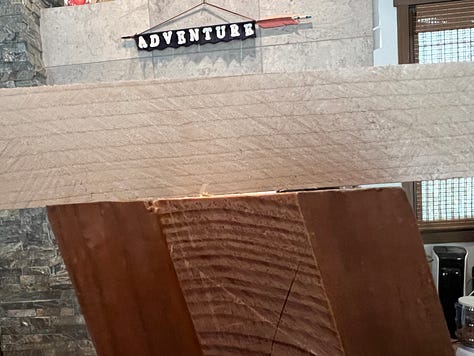
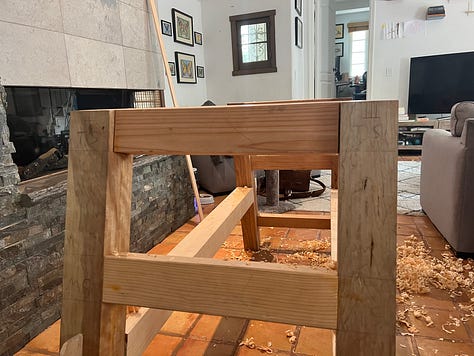
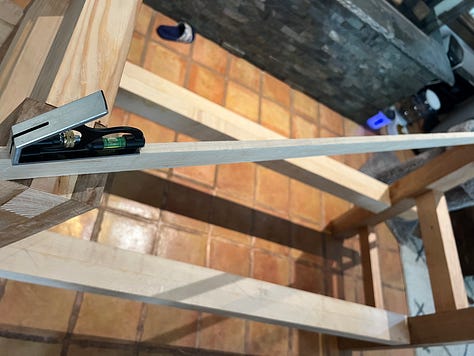
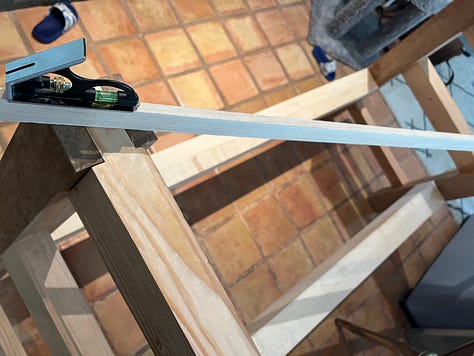
There was one more step to do on the undercarriage before calling it done, and that was sawing the bottom of the feet flush with the floor. My original plan was to use math and rulers to make the bottoms of the feet exactly relative to the under carriage. I did measurements and double and triple checked. Thankfully, I asked in the Wood by Wright Discord and John Appel kindly suggested that instead of doing this, it would be best to take it to a nice flat floor (or table or whatever,) use wedges to get the top level, and draw a line parallel with the floor and saw to that line. I did that (which meant assembling the bench upstairs, since our downstairs is all sloppy tile) and sawed the feet to the line that same day and the following morning. (Surprisingly I took no pictures of this part of the process.)
On July 4 I dry fit the entire undercarriage and placed the bench top on it. I needed to connect the bench top to the undercarriage. I started by using a technique called blind pegging, where you put some nails in the undercarriage, cut them off about 1/8” above the piece, and then carefully place the benchtop on those nails and press it down. This leaves marks you can use to index everything according to. After that you remove and discard the nails.
Next I needed to make dowels that I would glue into the undercarriage and have matching holes in the benchtop (using the marks we made with the nails above.) I have made dowels a few times now so this was more of the same: I made a slot in my dowel gauge and got to shaving. I got the first dowel done on July 5th, but then I had to take a break to go to Tel Aviv for work.
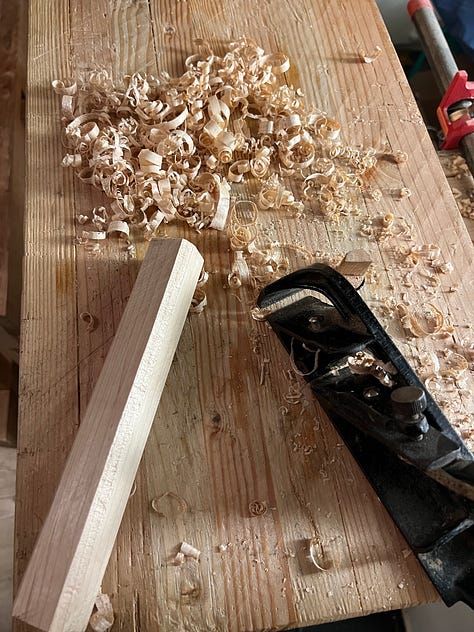
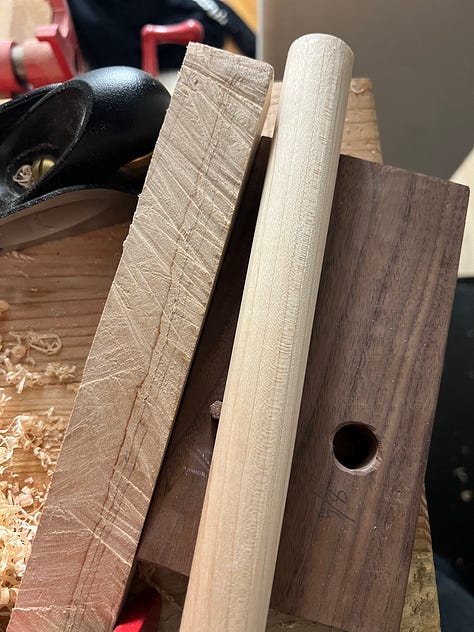
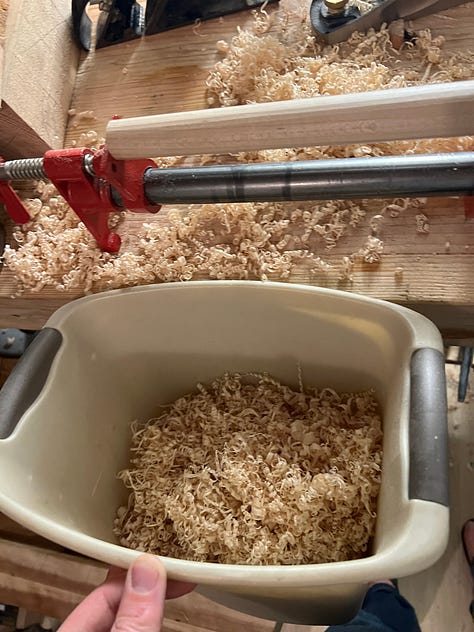
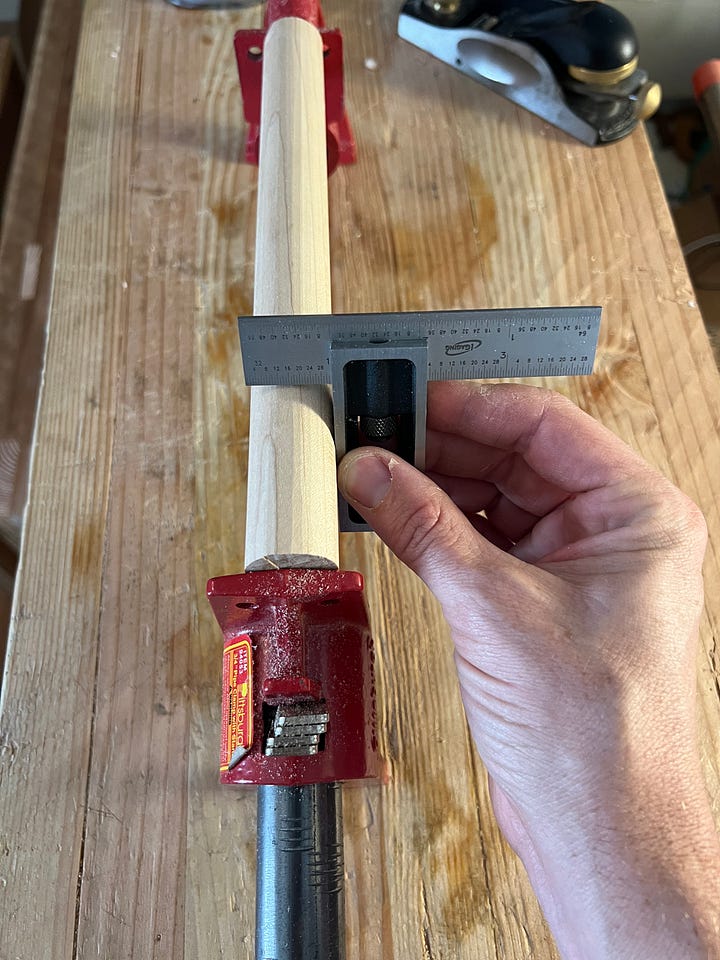
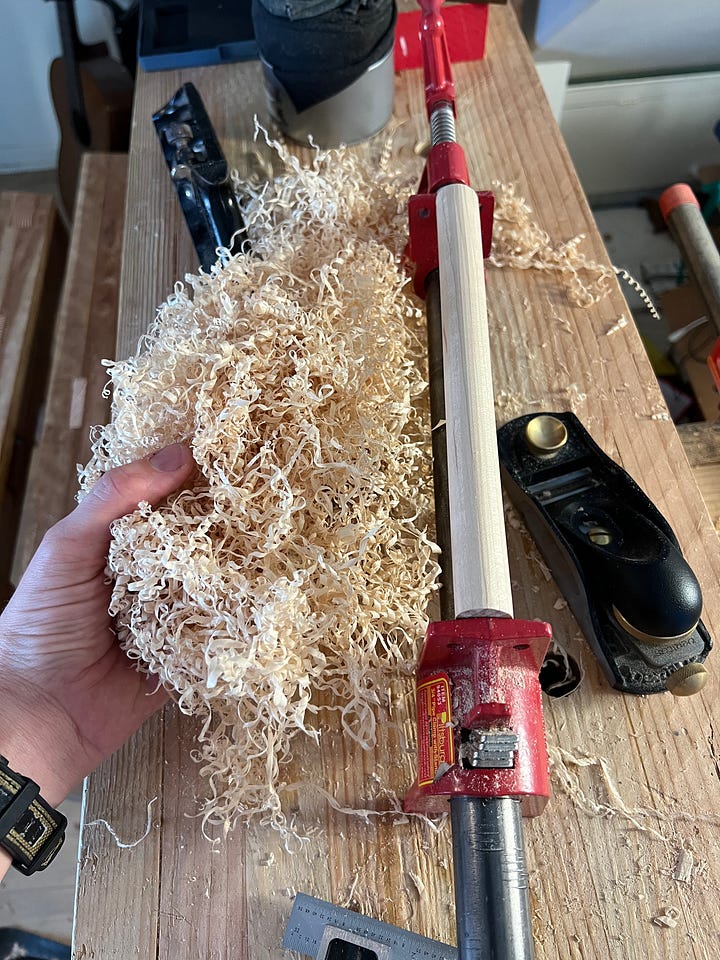
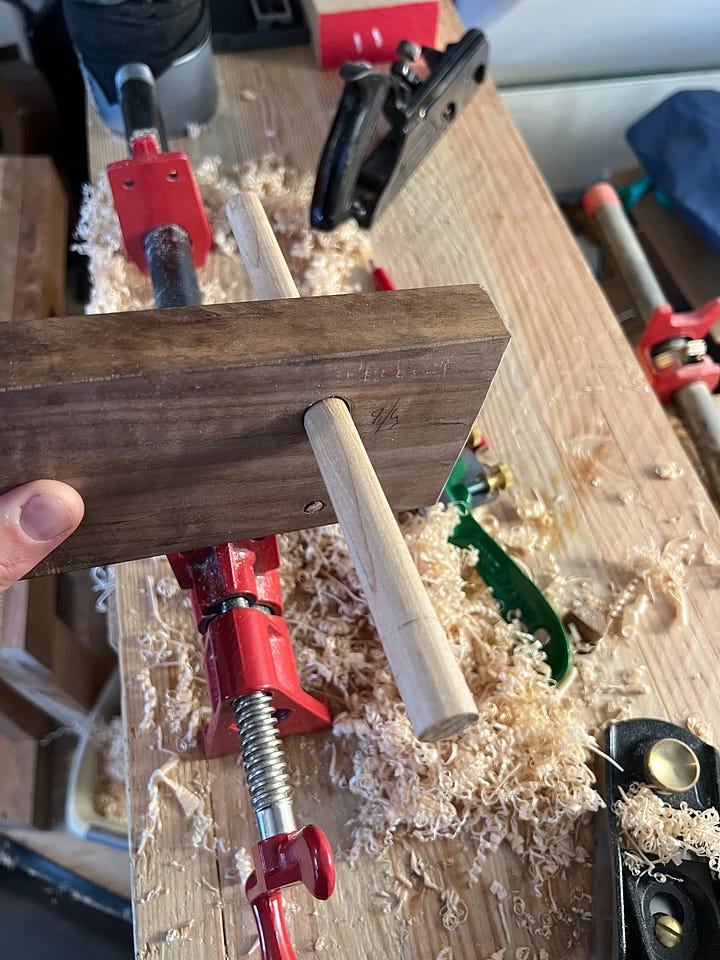
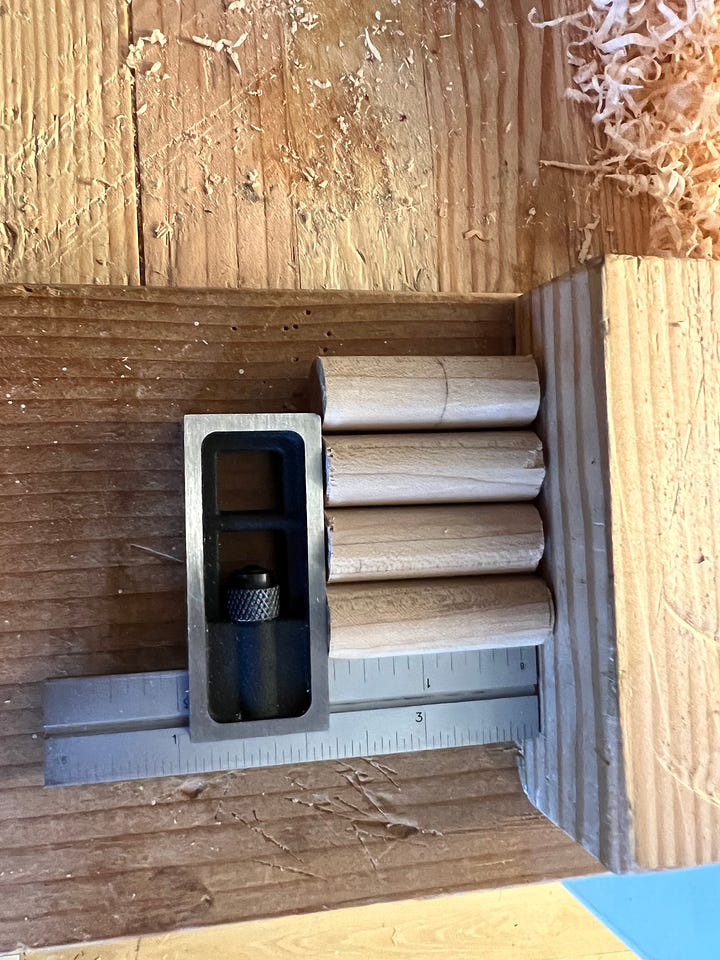
When I got home my family was still in Texas and I had a weekend to wrap up the undercarriage. While I was totally jetlagged, I still was able to make the second dowel (I don’t remember why I made two dowels instead of just one and cut it in four places; probably just the length of my scrap?) On July 15th I glued the dowels into the undercarriage and left them to dry overnight.
The next day I added a chamfer to the top of the dowels to help them seat into the holes in the bench, bored the holes for the dowels to seat in.
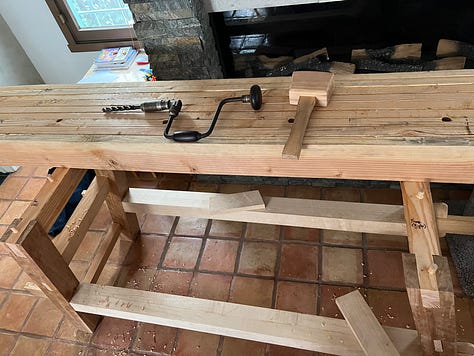
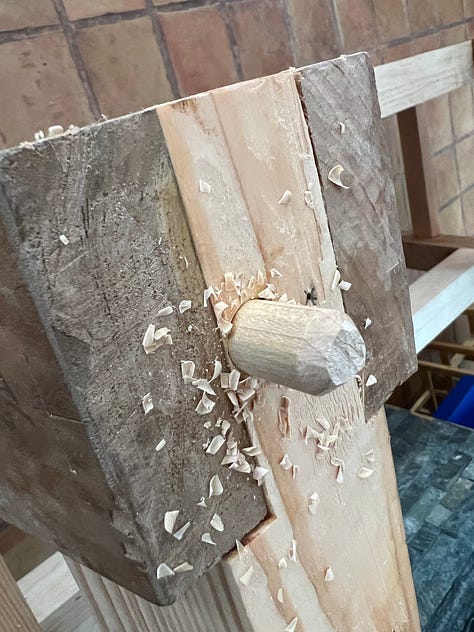
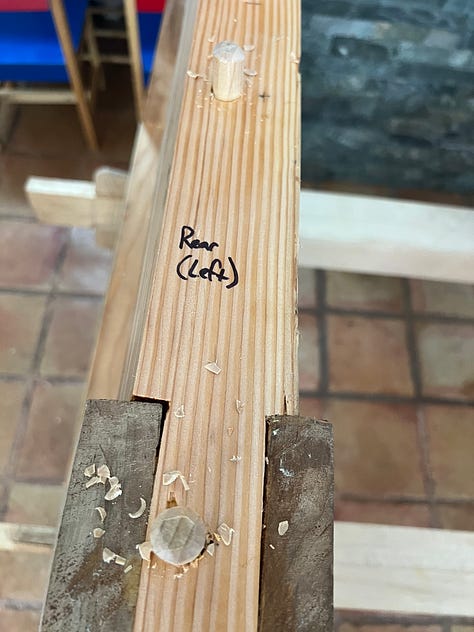
Finally it was time to test the fit.
A strange thing that has happened due to my woodworking. I am now more relaxed about choosing to do things the hard way. I fully believe that there’s a direct connection between my woodworking and getting a Macbook for my work machine. There’s a kind of letting go that I have only been able to do by having such a fruitful and joyous outlet.
I need to go cut more wood.


