

Late October, 2018, my family gets home from a Halloween celebration. The boys were pretty spent so we got them down for a nap. Typically when the boys would nap Catherine would too, so she laid down on the couch.
I got some ice from the fridge. I noticed that I could hear running water in the kitchen in a way that inexplicably put me on edge. I verified nothing was leaking and I ignored it for the moment and went back to my business. I was planning to roast some coffee so I got my roasting setup ready and then went to get a pound of beans from my stash of green coffee.
When I got the coffee I could hear the water sound much more clearly, and also a bunch of bees (like maybe 5) came out of nowhere at the same time. In that apartment we had a microwave that could properly vent outside, and over the microwave was where I stored my coffee. It turns out some bees found the exhaust and decided that this would be a great place to make a hive.
I tried to turn on the microwave exhaust to maybe push them out, but the hive was completely established. Propolis (bee glue) had fully solidified any moving parts in the exhaust. We let the landlords know. I used a vacuum to capture most of the bees that were loose. We went on with our weekend.
There was one final piece for my workbench to be considered complete, though at this point the bench was fully functional with a rigid top and fast workholding. The last part of the workbench is a tooltray; in function it is a well that sits behind the main benchtop and allows you to put tools or in-progress work out of the way but still on the work surface. As with almost every workbench assembly, this had some new-to-me joinery.
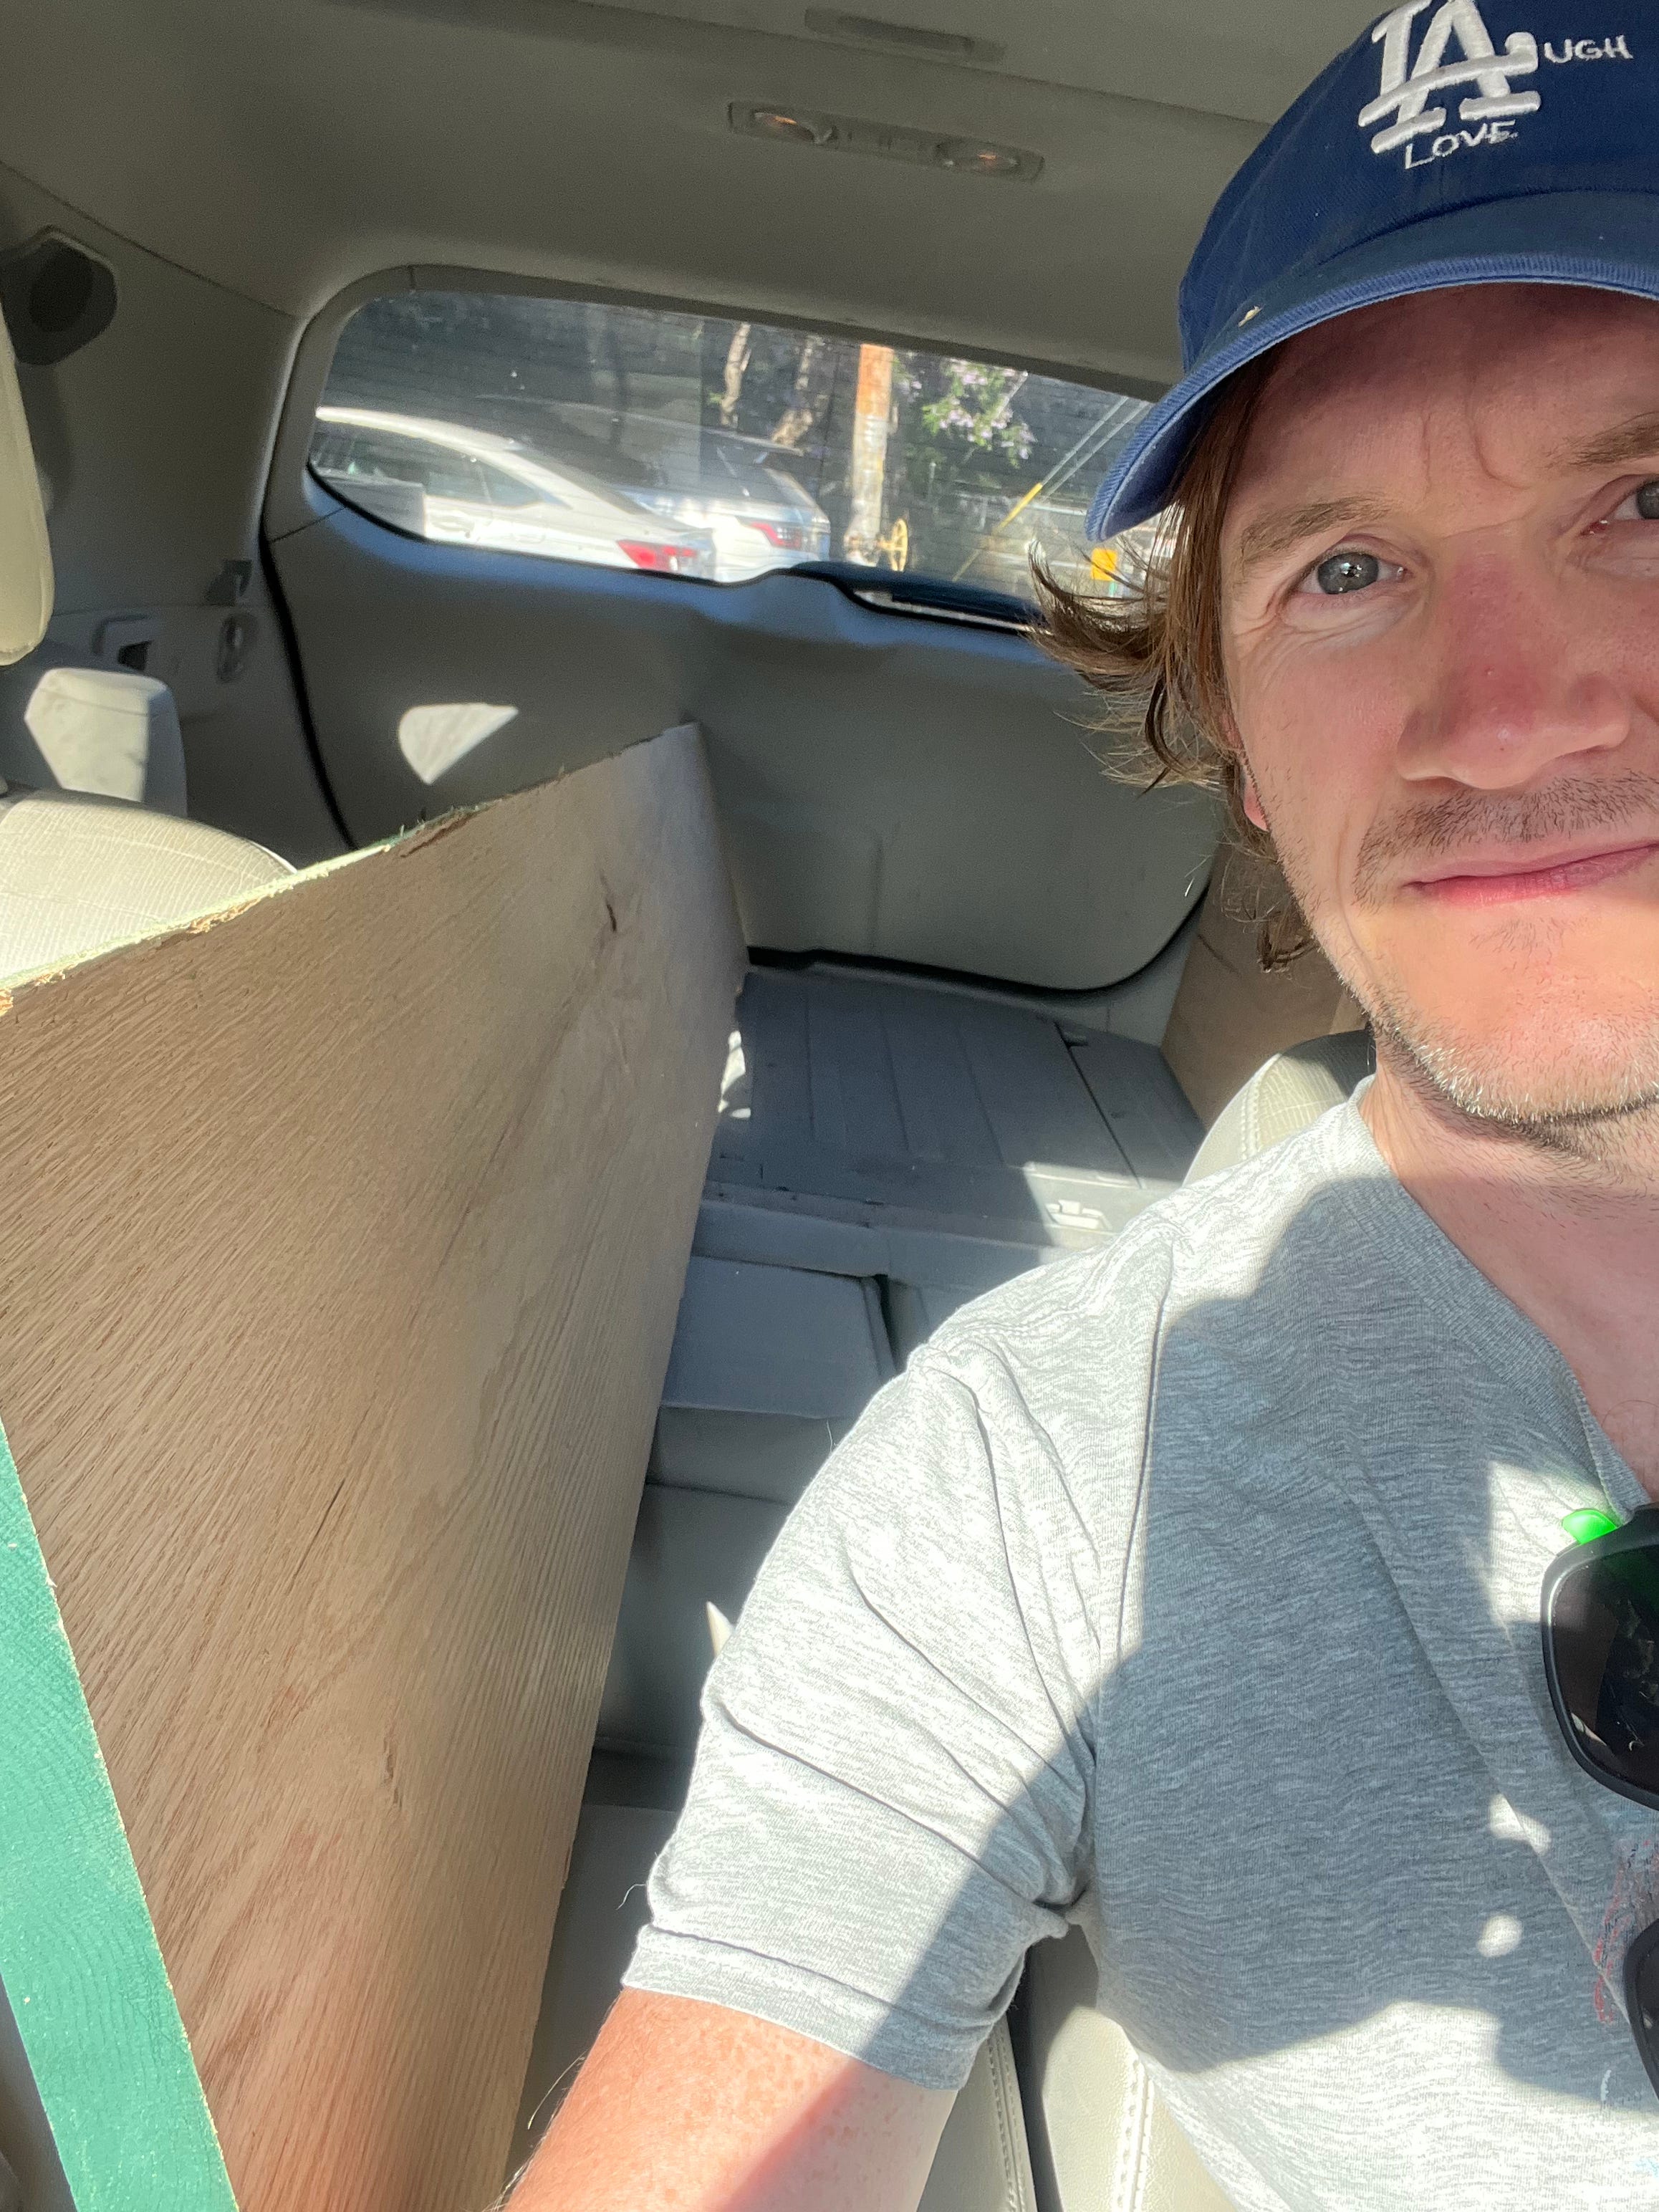
Imagine the tool tray as a drawer with no front. There is a bottom and three sides; you plow a groove into all three sides, and cut a rabbet into the floor, which slides into the groove. I started out by purchasing some red oak and then roughing it to size, using my bench (and it’s vise) for the first time:


I took a detour here and did some test dovetails. I had always heard dovetails were hard or scary or some kind of impressive feat, so I did a bunch of practice dovetails as I knew I’d need to do some for this project. I did my tests with random 2x6 Douglas Fir. It was a lot of fun and I intentionally destroyed them at the end to get a feel for the strength.


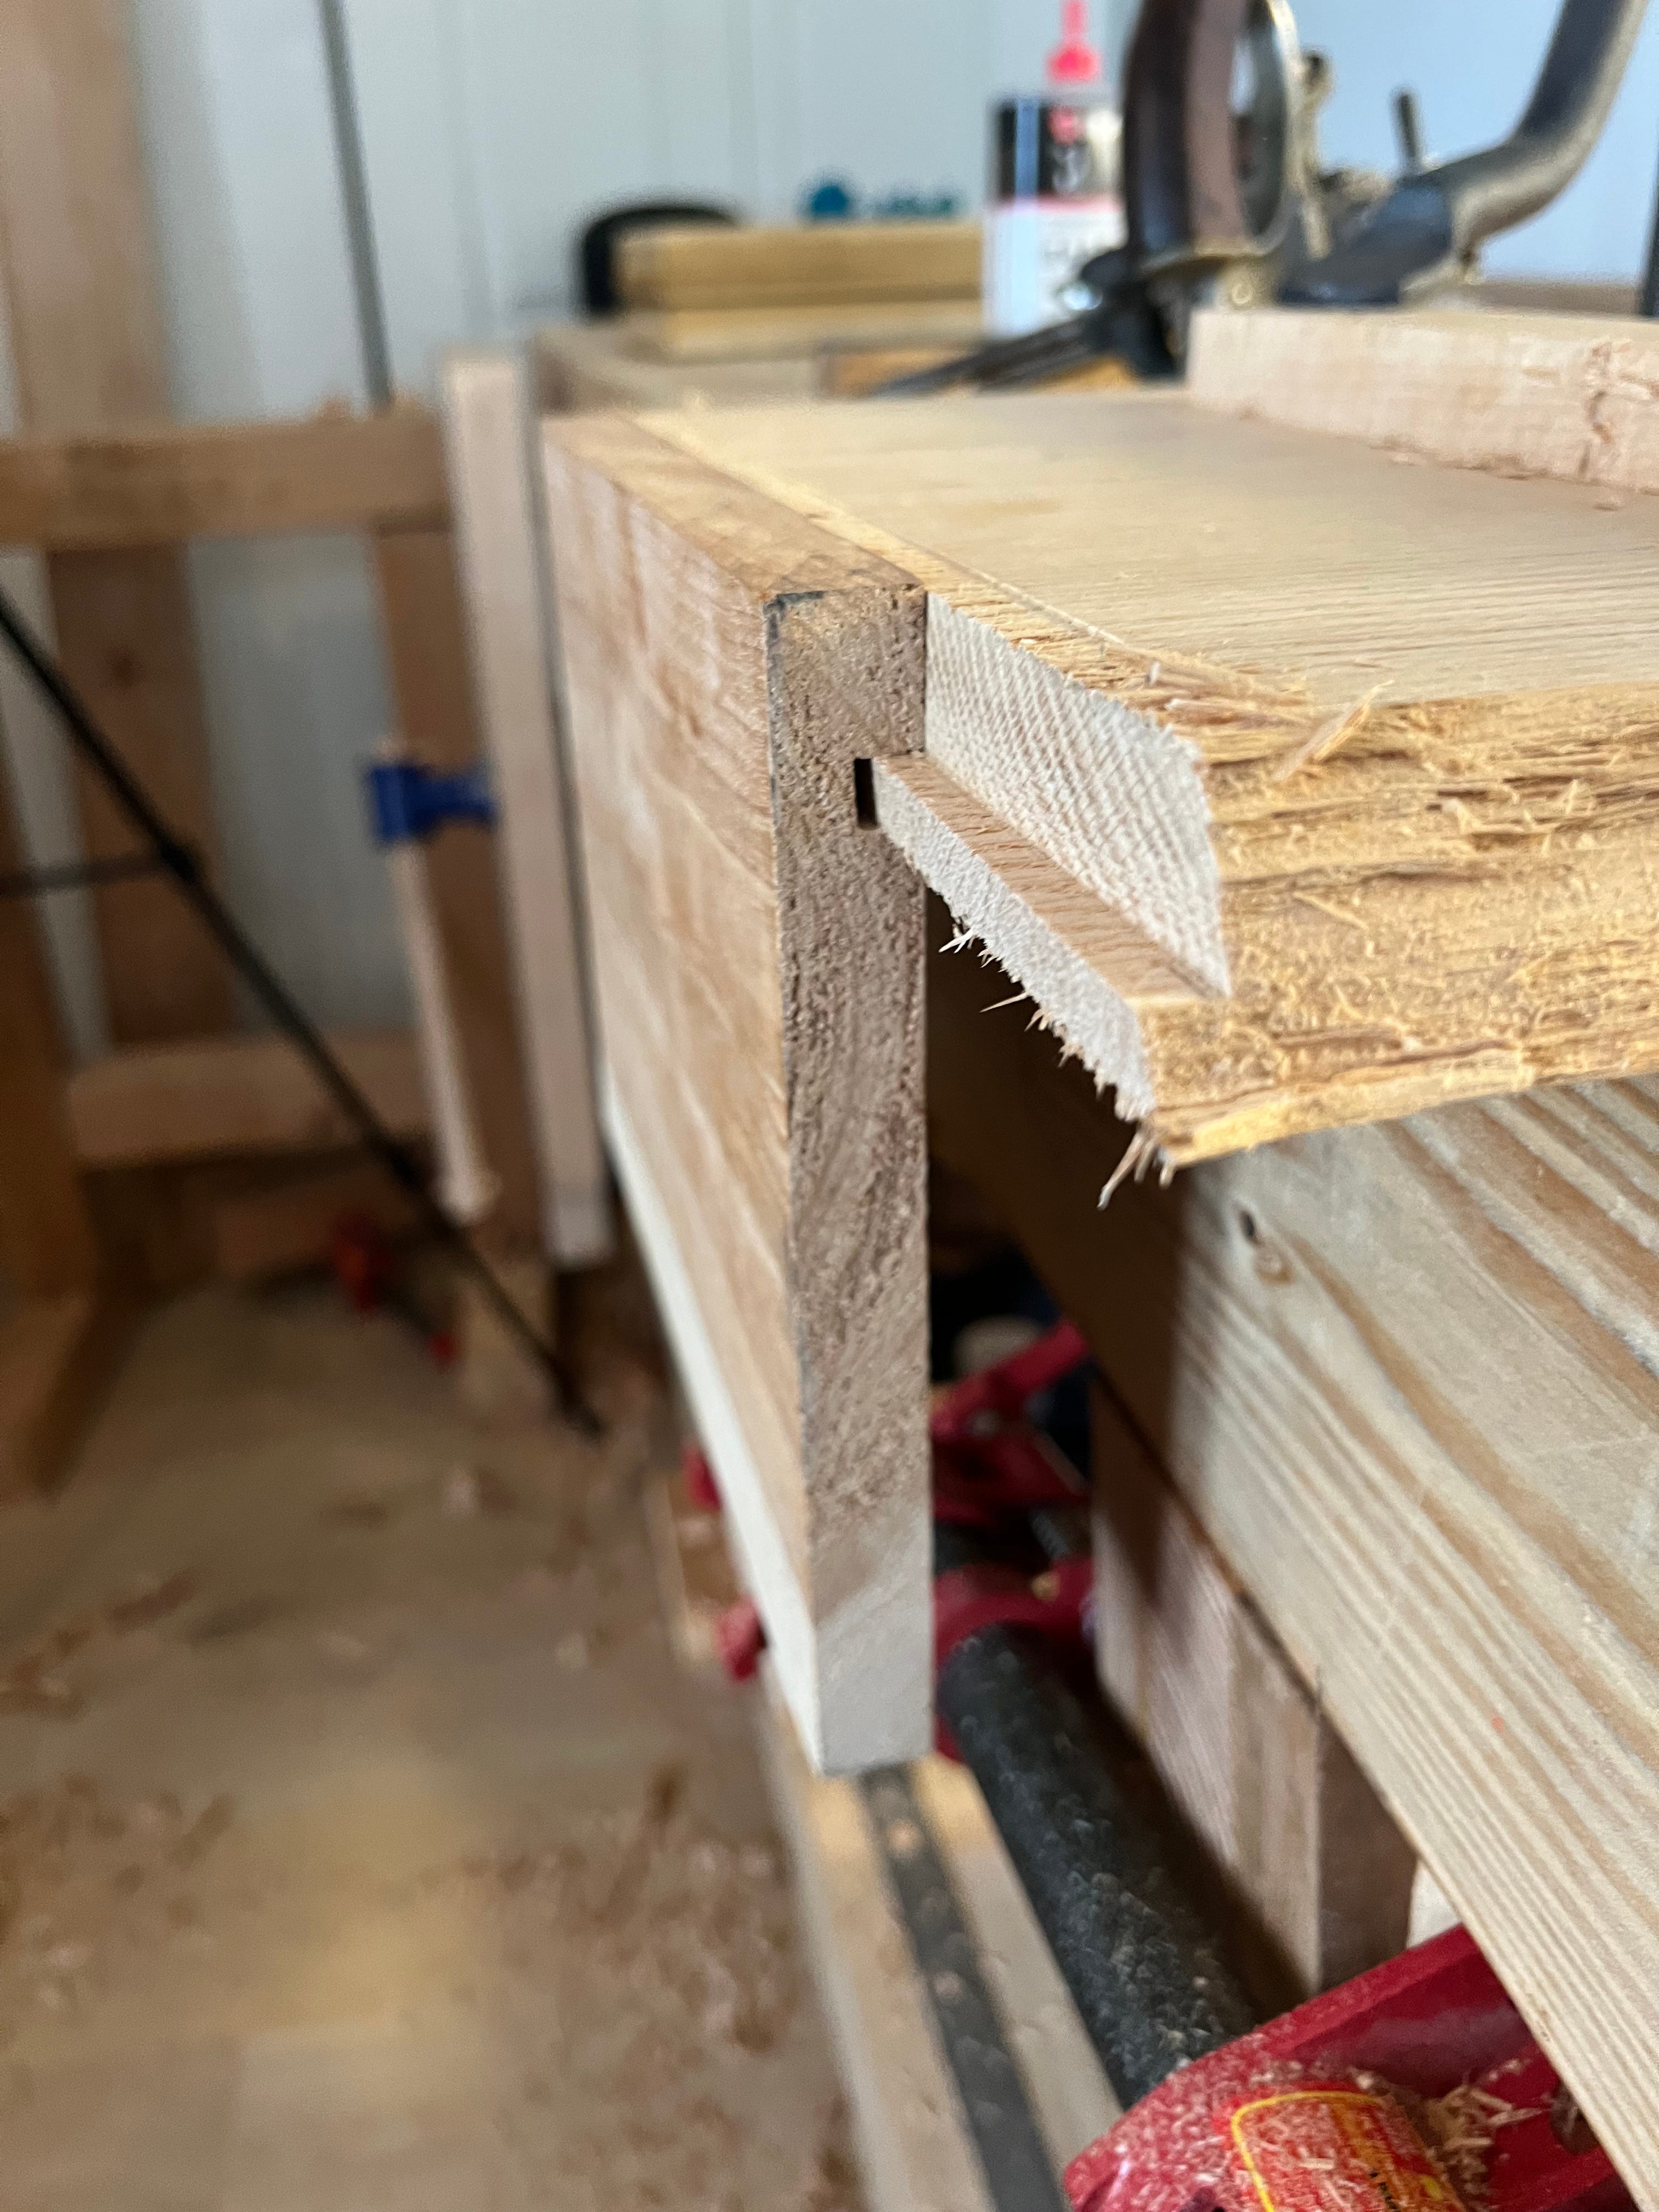
The rest required the use of relatively specialized tools; I used a Stanley 45, but a dedicated plow plane probably would have been easier. Plowing the groove was really fun and relatively straightforward. The rabbet, on the other hand, was a pretty big hassle, likely due to me handling the tool poorly. You absolutely must hold the tool tightly against the side or it will naturally wander away from the side, and each time you do this it will wander more. Instead of a nice clean wall, you end up with a slope or pyramid. Once I completed the rabbet and had things fitting, I had to do a bunch of chisel work to get it to fit fully. Another way to create a rabbet is to just use a bench plane (like a jack) and make an angled joint. This would have been way easier and likely just as good, though the rabbet version does give you some walls to hold things together.


In the plowing of the groove I made a frustrating mistake. I had carefully chosen which side of each piece would be the inside or the outside of the piece. Sometimes you choose a side based on appearance; this time I chose because the long side of the tool tray was slightly warped. Rather than have it pull away from the floor I wanted it to pull toward the floor. I didn’t pay attention, cut the groove in the wrong side, and it will forever pull away. It’s not too bad all things considered, but you gotta pay attention!
To hold the walls of the tool tray together, again, just like a drawer, you cut some dovetails. These were my first dovetails and it shows, but I am totally happy with the fit.
After cutting dovetails and test fitting each piece it was time to test the entire thing. It went together nicely and (after a little bit of trimming) everything was square.
Somewhat inexplicably, this is the only part of the bench that uses no glue. The final step was to add two cut nails to each short end of the tooltray, going straight into the end grain of the oak floor. Cut nails are pretty different from the nails I have mostly experienced in my life thus far.
They have an orientation; if you put them in the wrong way they are likely to split your piece.
They need a pre-bored hole to go into.
The general recommendation I’ve seen is that, as with many things in woodworking, you should do some tests with some of the same wood. I followed that guidance and did a couple test nailed joints with some offcuts of the same wood I was using for the tooltray. After that it was time to commit.
I nailed each side. Sadly, for the second one I was probably a half inch too close to the edge and caused it to split slightly. Frankly, I am not too worried about it. If it eventually fails I’ll fix it, but as it stands it’s not a huge split.


The last step of the tool tray is to mount it to the bench such that it’s not just sitting on top. Will Myers had two suggestions for this:
More dowels, in the same way that use mount the benchtop.
Battens underneath that index to the top of the legs.
The dowel would be the most rigid, but if the wood is still drying out you can end up with gaps. The battens are less rigid but more flexible, and in case things move a lot you can easily modify them. I decided to go with the battens and used some scrap oak for them. At this point I find myself every now and then annoyed because the battens don’t hold the tooltray as rigidly as dowels would, but it’s not too bad. If I get too annoyed I can always install dowels later and remove the battens (or leave them, they won’t hurt.)


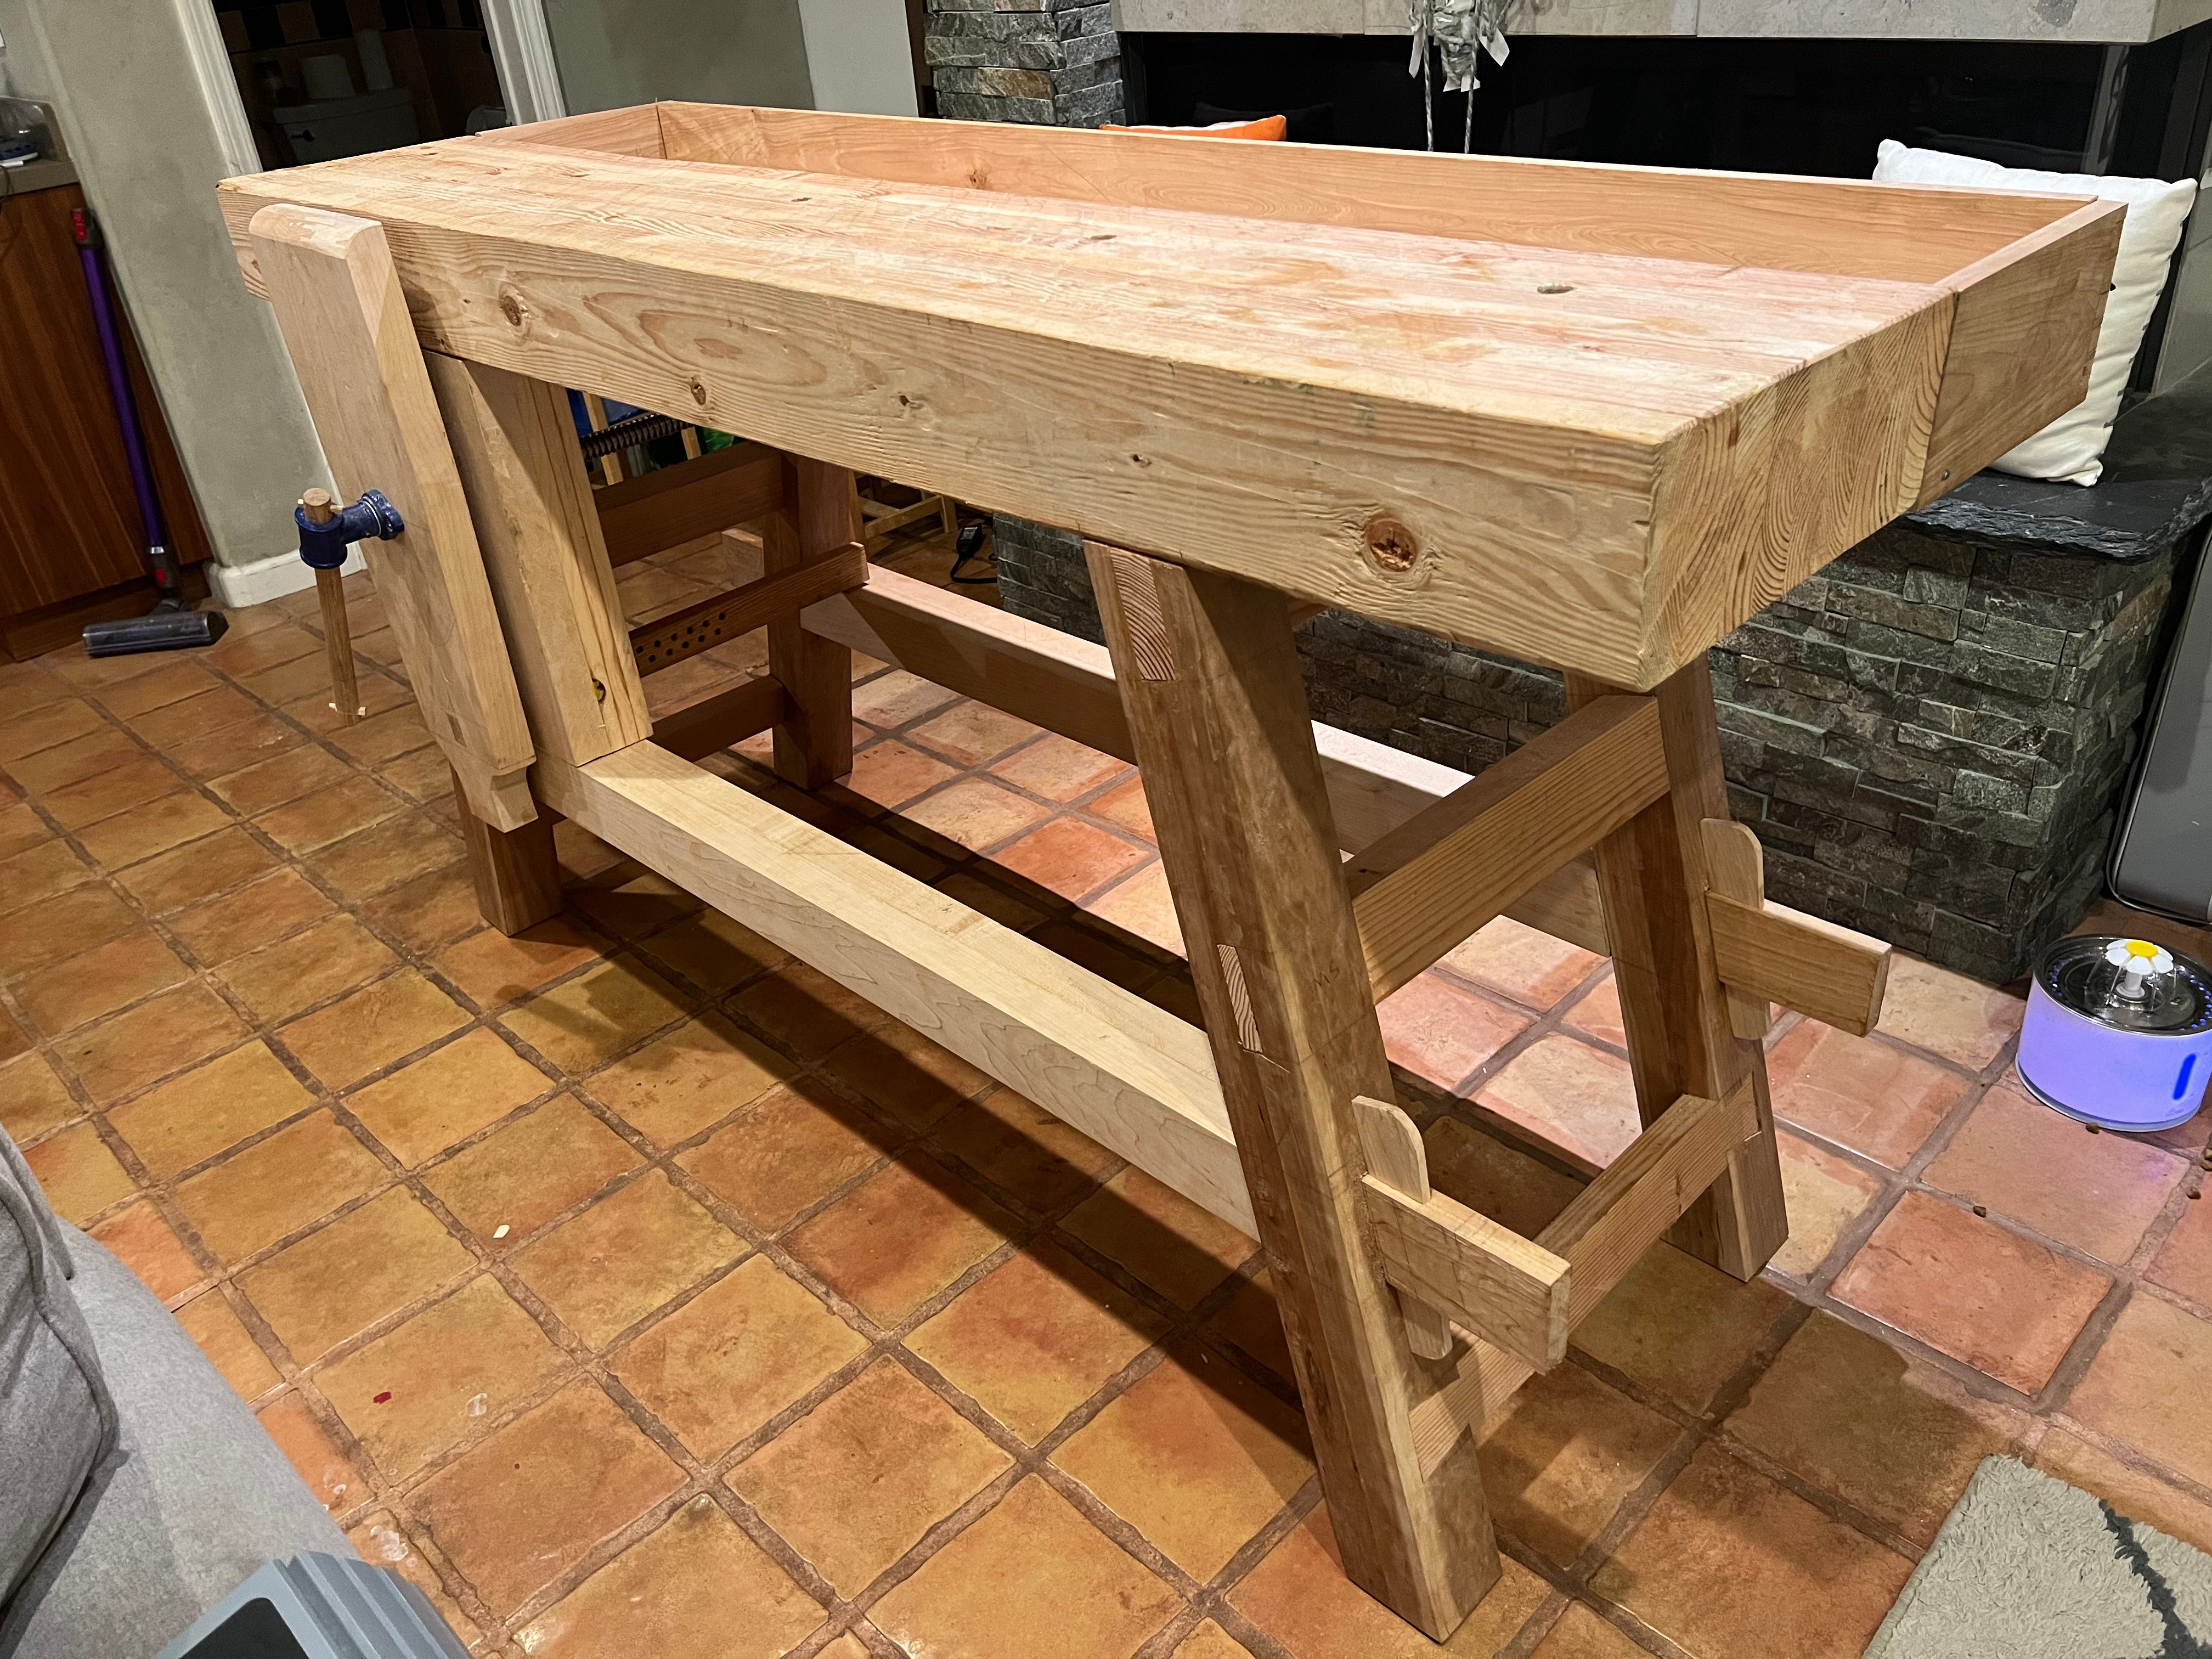
And with that the workbench was complete! There are things I will likely do with it more (more holdfast holes, for example,) but I am happy with the results and at this stage in my life (where I am confident I will move again) I think it was a solid option for a bench. The flexibility you get from a bench you can disassemble and move without help is very helpful.
The landlords scheduled a beekeeper to come and remove the hive. The beekeeper arrived and from what my wife tells me he couldn’t have been more than 22 years old. The plan was to smoke the bees out. The boys were both napping in their rooms. Catherine was in the living room, which directly connected to the kitchen, where the microwave is mounted.
The beekeeper went to where the exhaust vent was outside and started pumping in the smoke. And she said that what she was scared of happened. The bees started pouring in to the inside of the house. Catherine was torn: should she go wake up the boys? Should she assume they wouldn’t go into the boys rooms?
She yelled to the apiarist that the bees were getting inside and he seemed surprised, that’s not how it’s supposed to happen! She showed him how we had used the vacuum cleaner to capture and remove the bees before and he gratefully used that to get rid of most of the bees.
The exhaust for the microwave never worked again.
Also I like axel enjoying your success!
Catherine referred to the bee story but I didn’t know it! Thanks for sharing. There are lots of woodworking terms I don’t know. I’m trying to figure them out by context.