
Entryway Hutch: First Glueup

Before I get to the wood stuff, here are some other things I did:
Axel wanted to learn to ride his bike, so in about 30 minutes I taught him. Feels good.
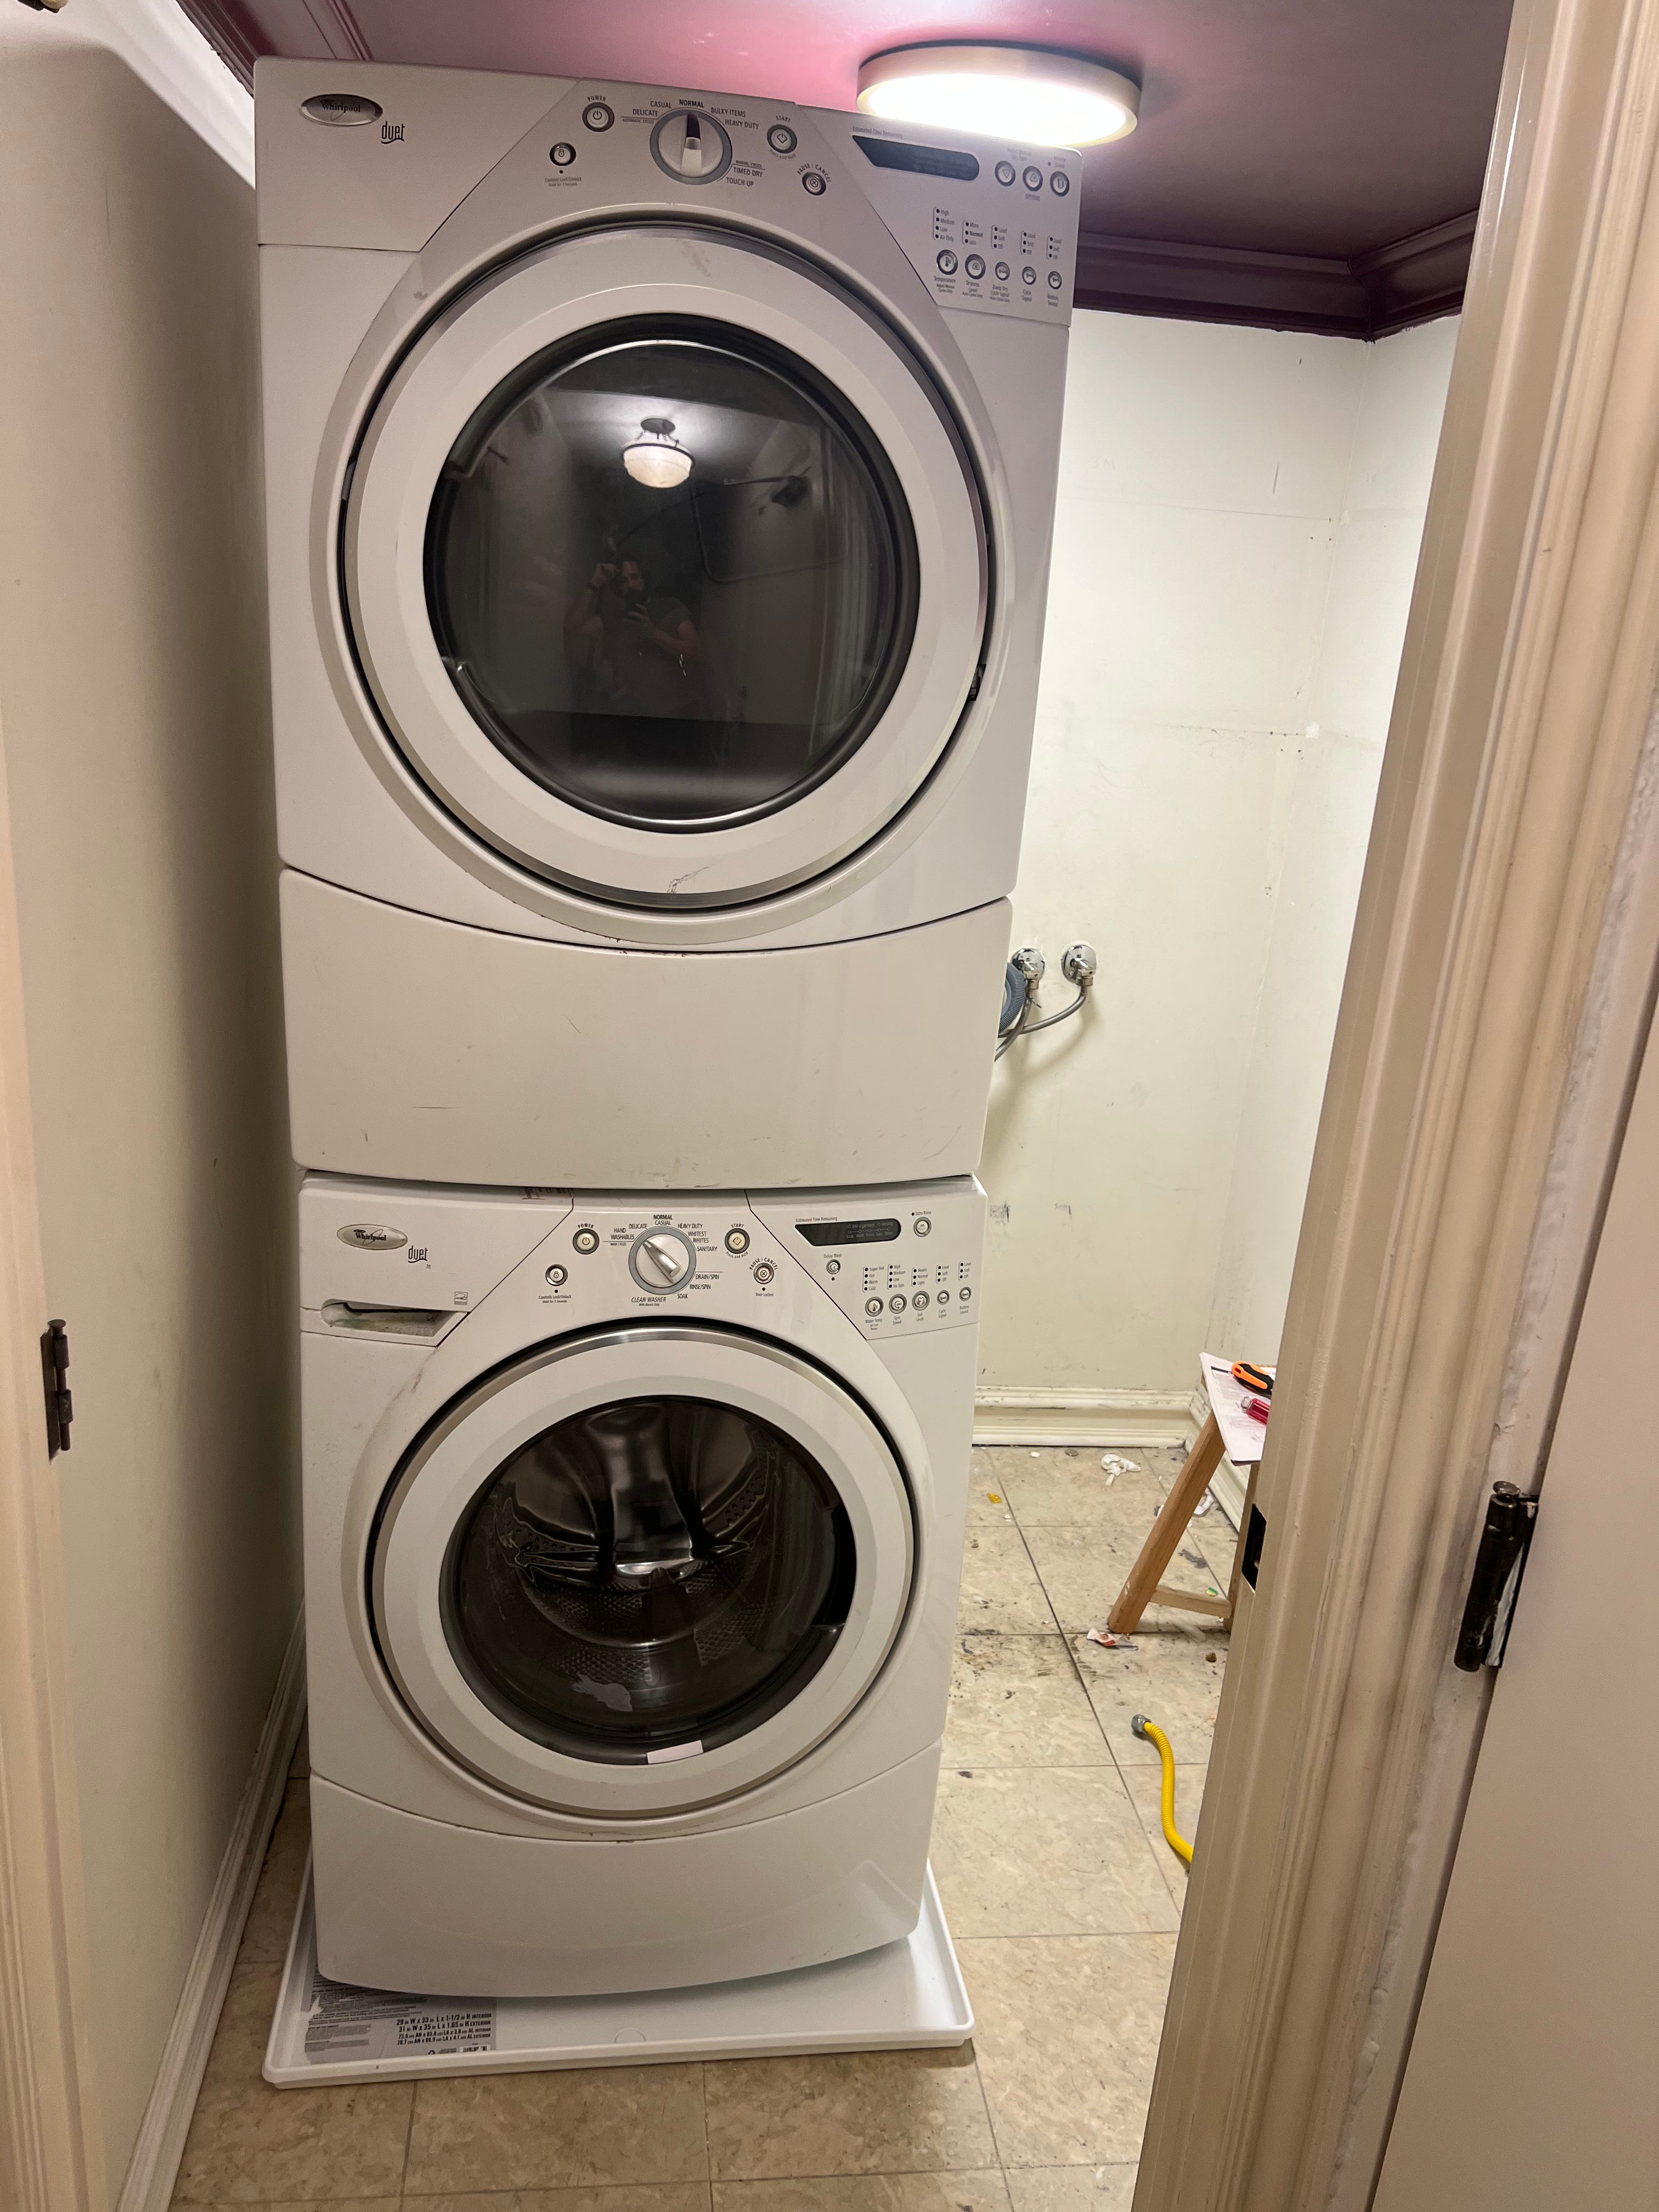
My wife is redoing our tiny utility room (paint, moulding, wallpaper, etc.) I helped her stack the machines so there’d be a little more floor space. It’s good too be strong! We used my newer sawhorse (with stretchers) as a middle ground to reposition after it was halfway up. That sawhorse is strong.
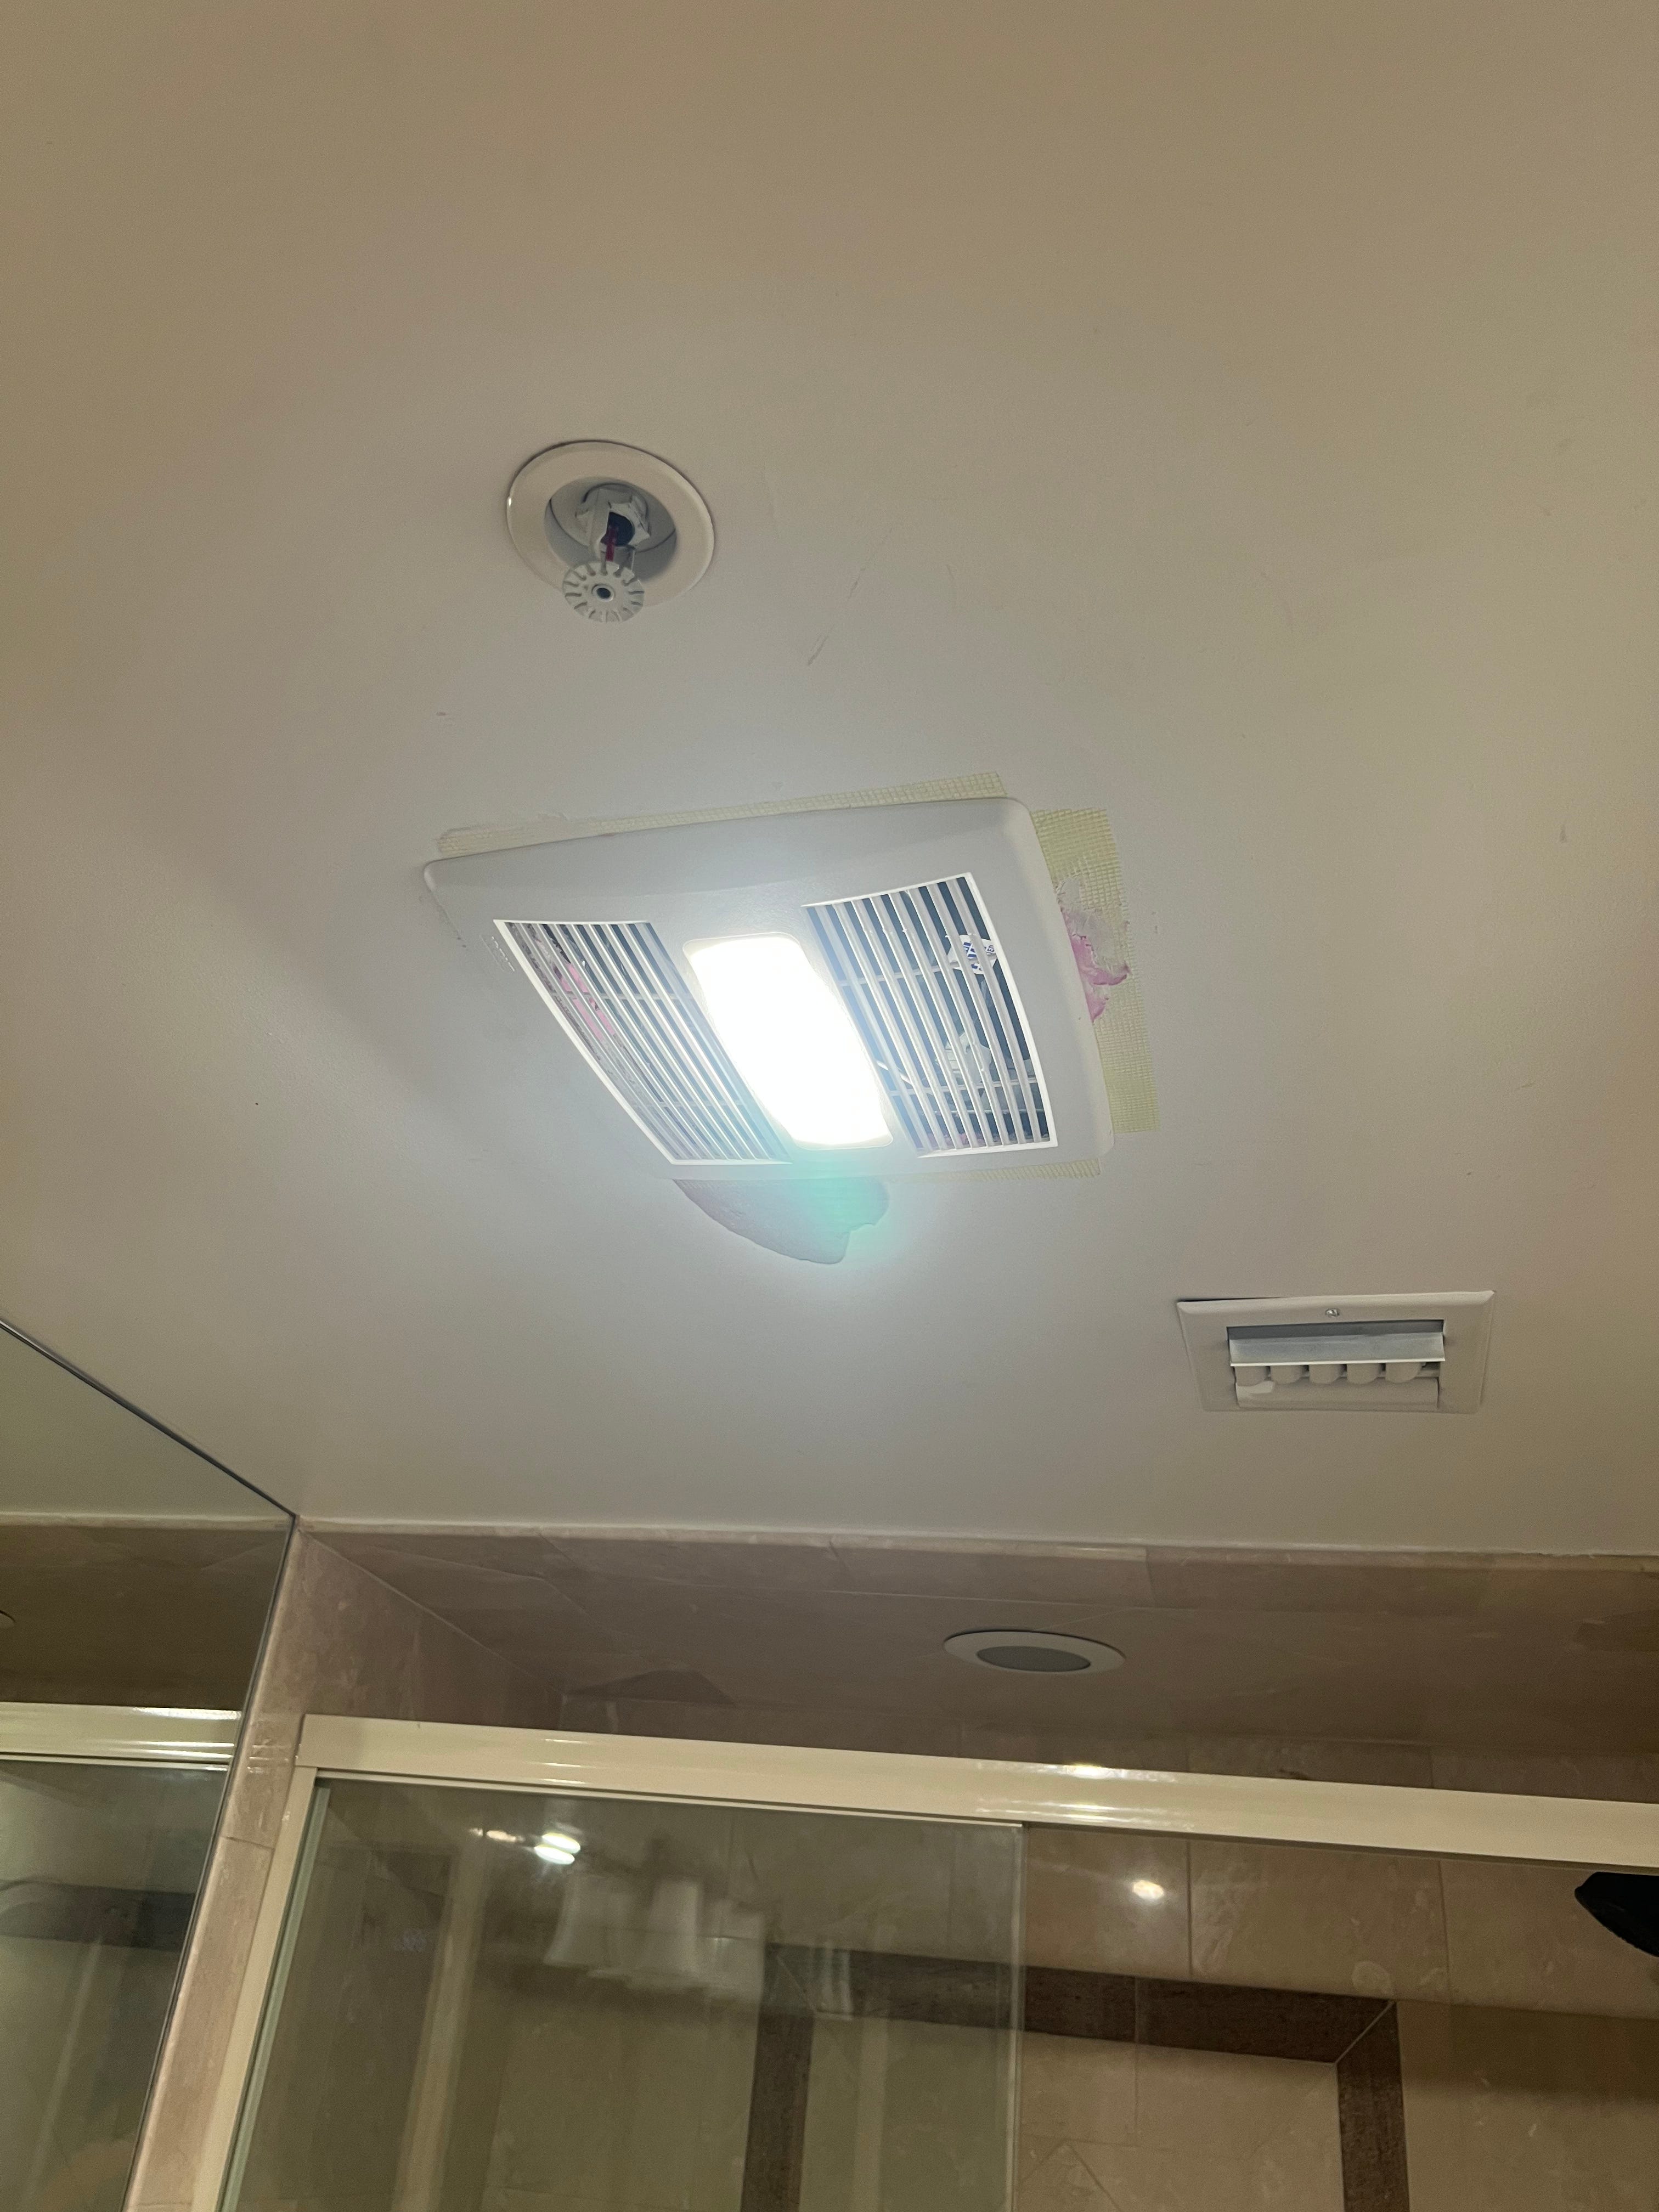
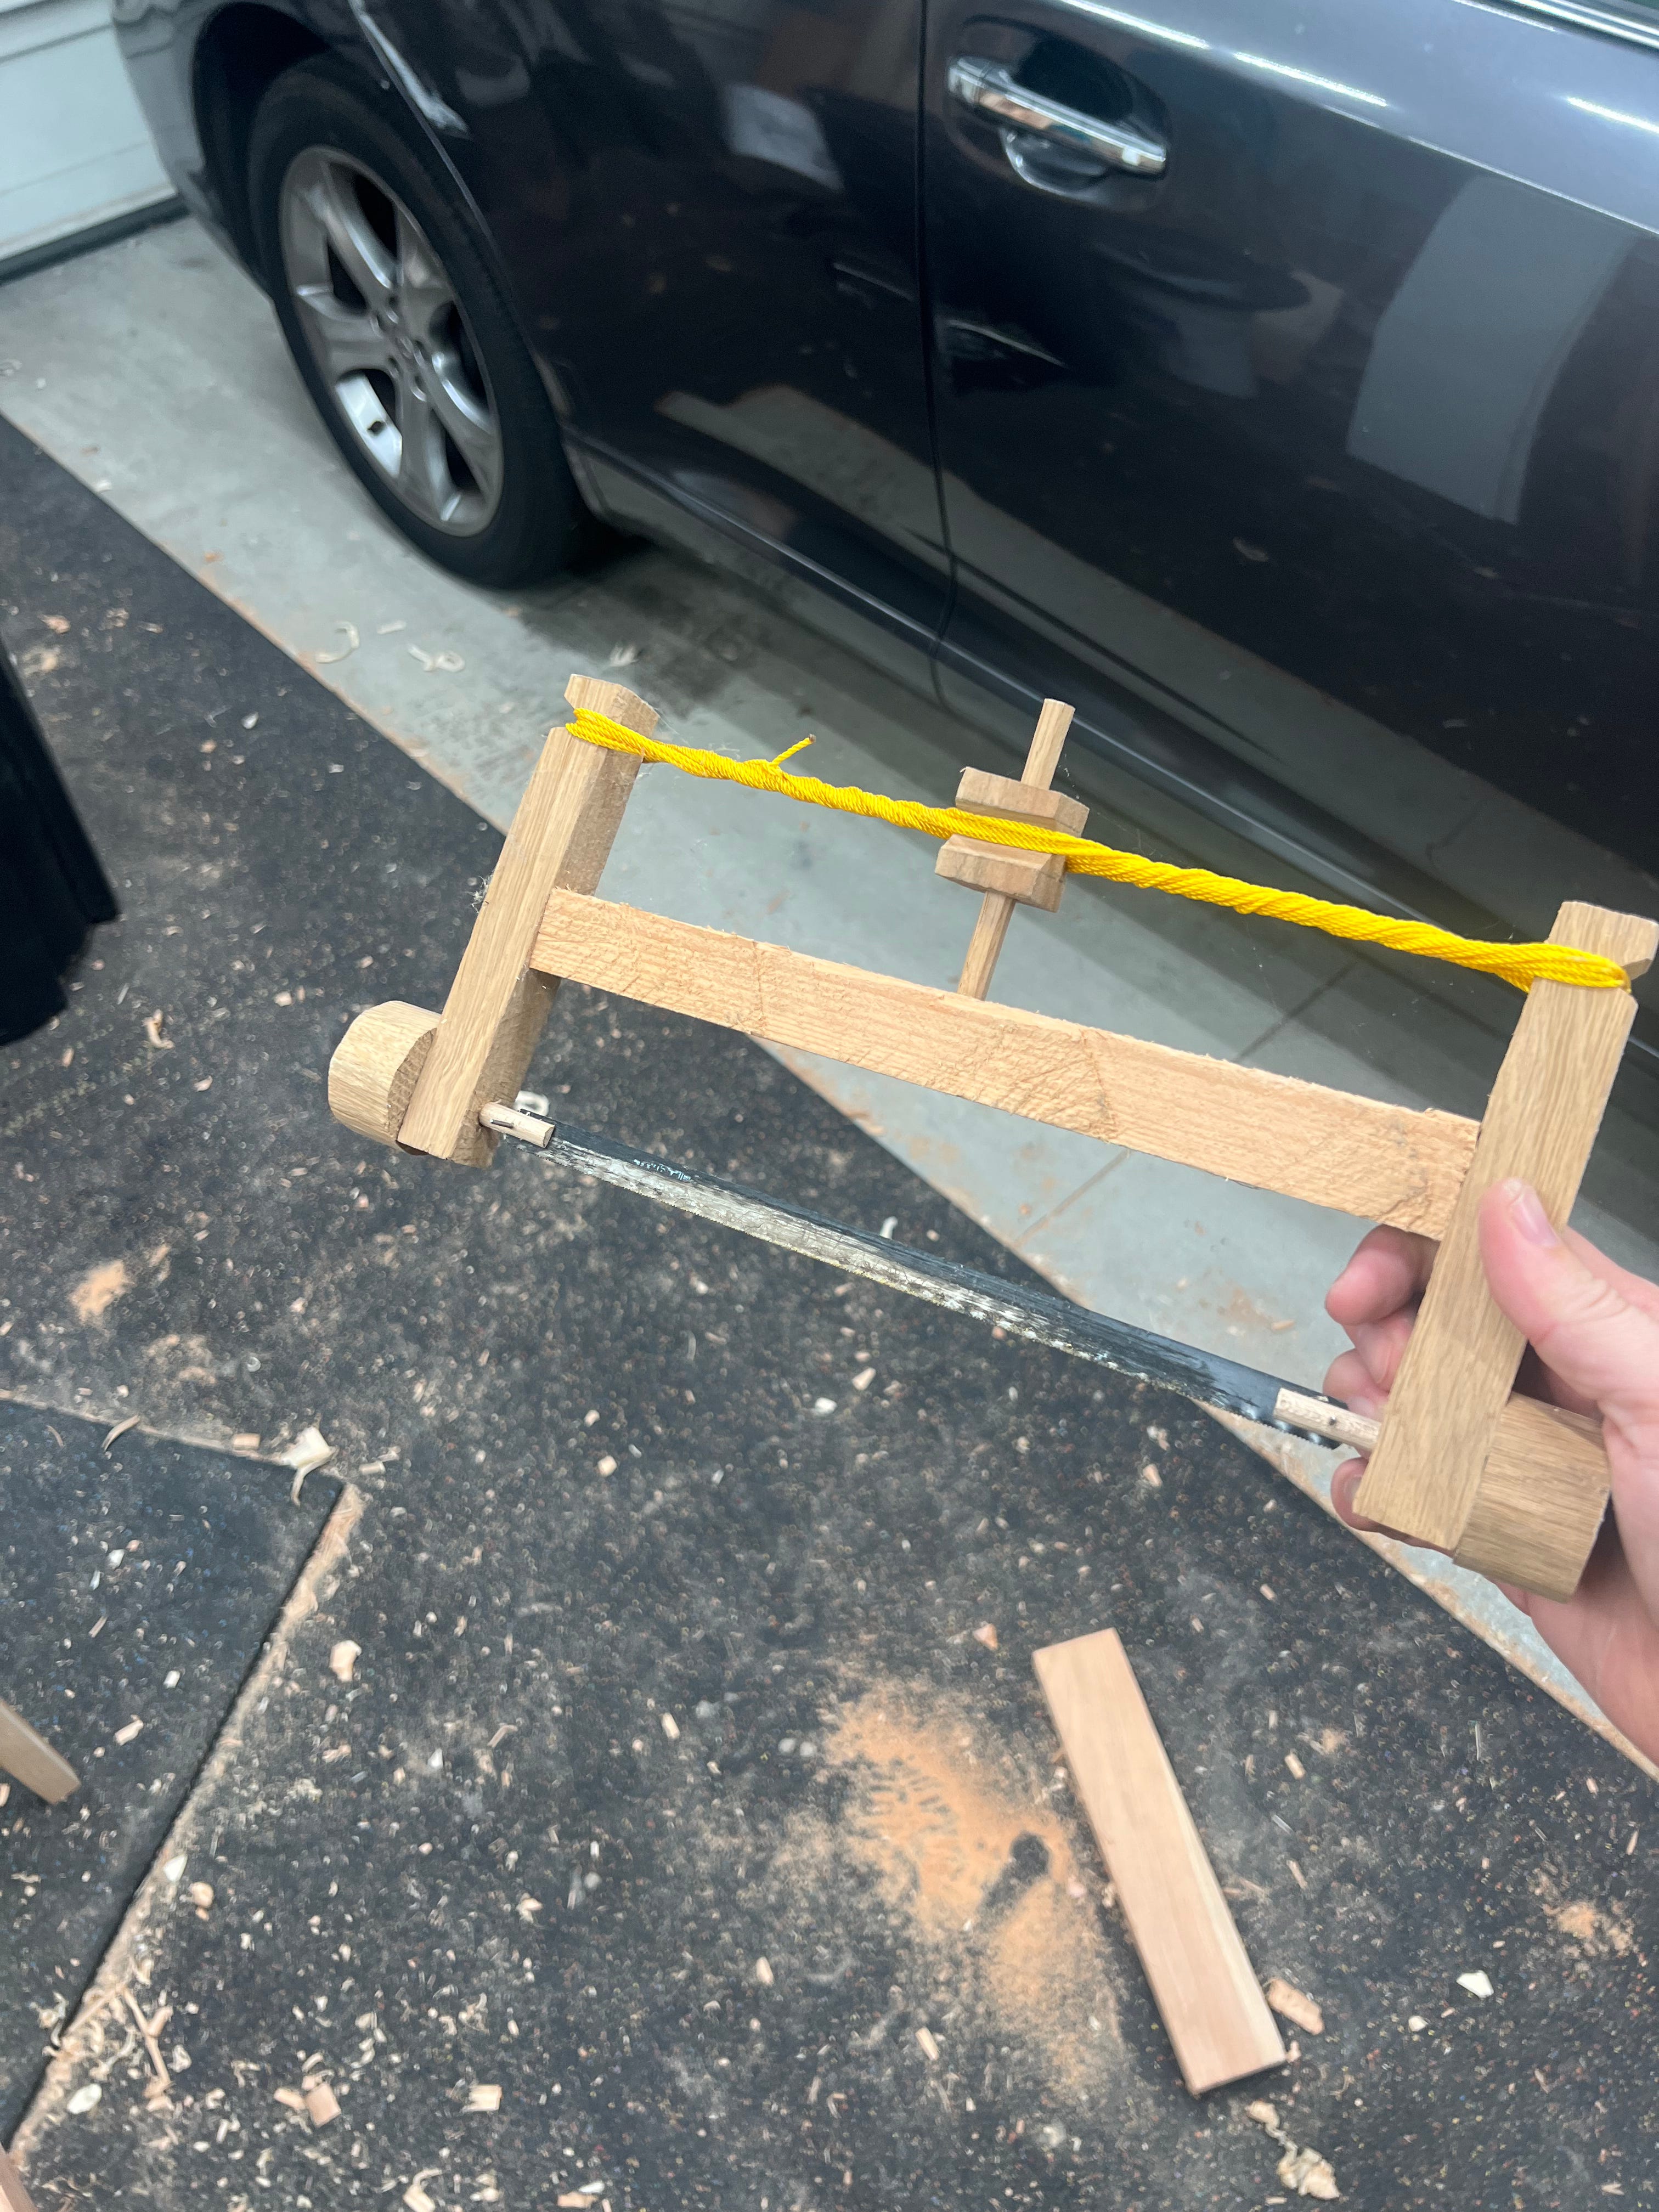
I installed a new exhaust fan in my boys’ bathroom. Still need to tidy up the drywall, but it’s quieter than the old one, has a working light, and the fan isn’t broken. While doing that project I got to use one of my tools. Any tool that I made and is the right tool for the job is my favorite tool:
OK enough of that. First off, a bunch of glueing:


The first two pictures are gluing legs to side panels. The next three pictures are gluing the side assemblies to the long side-to-side rails. The sixth picture is the glue up of the left and right front-to-back rail. The seventh and eight pictures are joinery to connect the center rails to the drawer separator: a groove, a few rabbets, some glue, and some cut nails. The final picture shows everything glued together. I don’t think the drawer divider is perfectly square, but I’m not sure how I could have fine tuned that.
I decided that the next thing to do was to make the the two surfaces for the hutch. This is the top and the open shelf at the bottom. These are simple except that they will need to mate with the curve of the wall, which is new for me. Here’s how I did it:
First I made a ticking stick. This is a stick with a flat side and a side that has enough detail that you can match it to drawings. I added more notches later. You’ll see what I mean in a bit. The point touches what you want to match, the body gets drawn on paper.
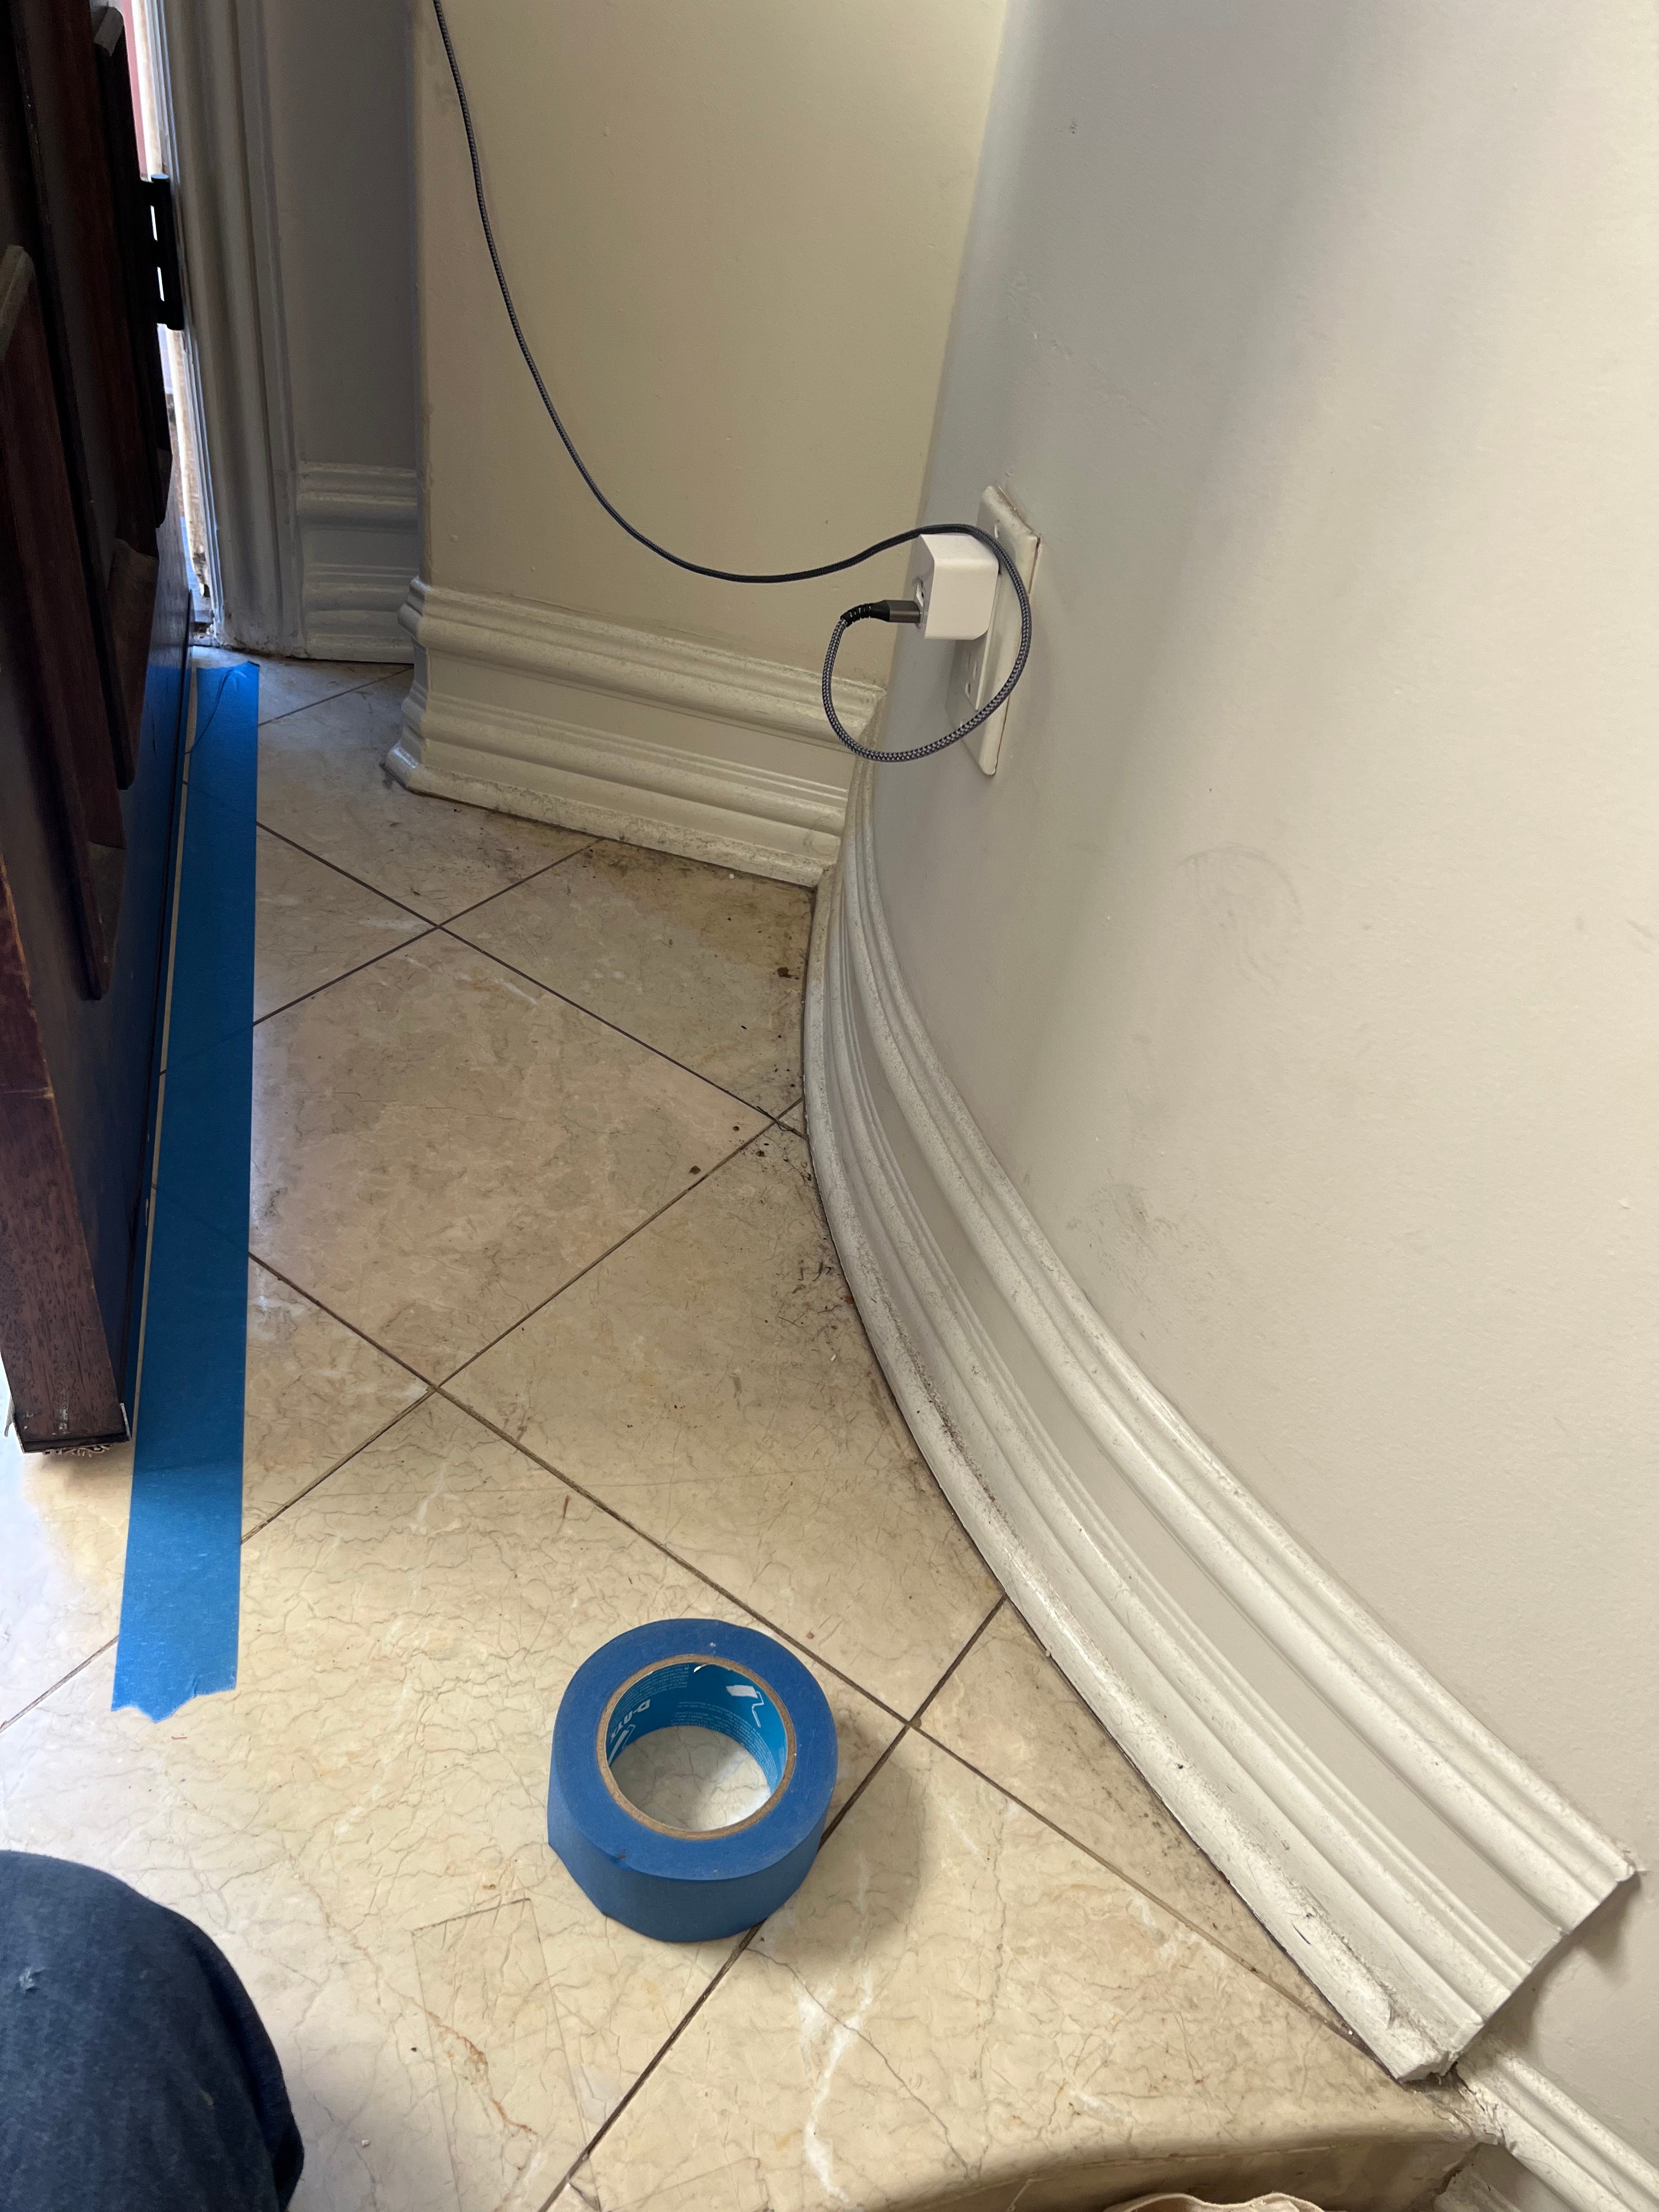
This is the curve I’m matching. The door should come close to the face of the hutch but not touch it, so the tape is my “danger area” or something.
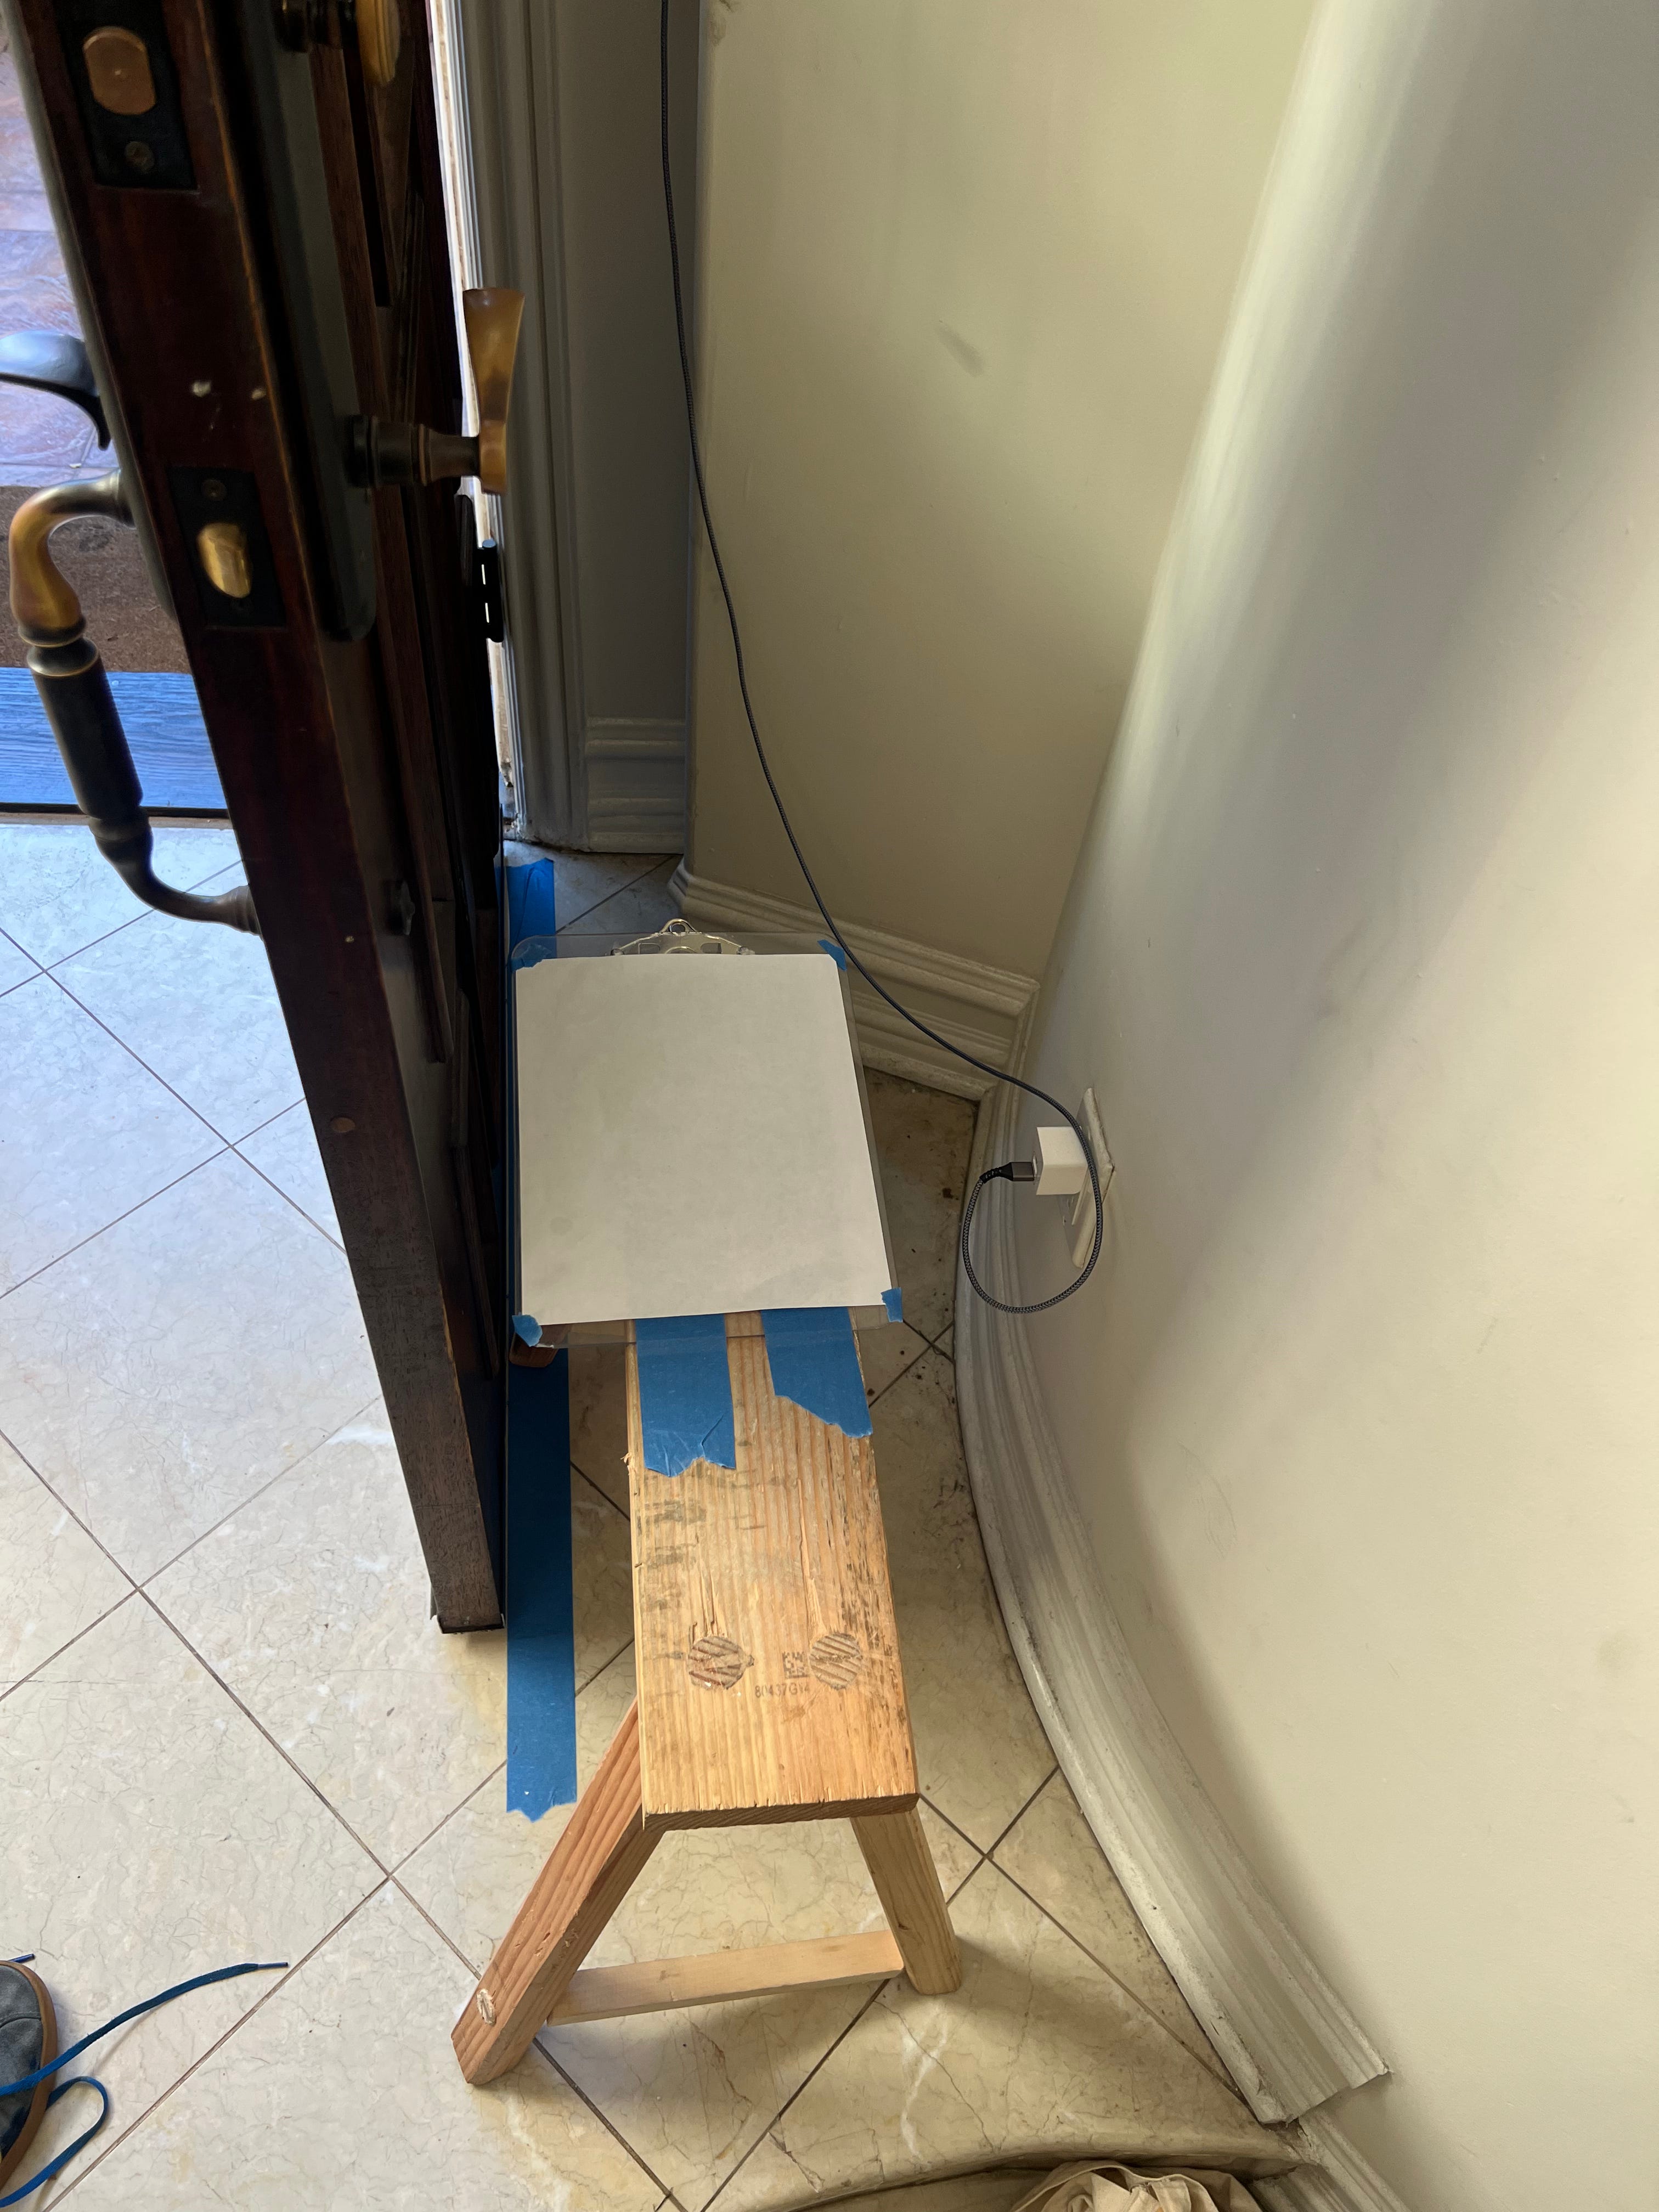
In a perfect world the paper would be on the floor, but the moulding would mess up the final shape, so I used my trusty sawhorse. The top of the sawhorse is ~6” wide so I taped a clipboard to the top and then attached the paper to that. You may not be able to tell, but the left side of the paper is lined up with the door.
Keep reading with a 7-day free trial
Subscribe to Frew’s Foolish Woodworking to keep reading this post and get 7 days of free access to the full post archives.