The Frame
I'm ready for my close-up
My circuits teacher asked, “Where’s your picture?” when he helped students solve an exercise. At the time I found it frustrating, or punitive even. Over a decade later, one of my best managers, when working with me to publish a design, would universally request that I put a diagram at the top…
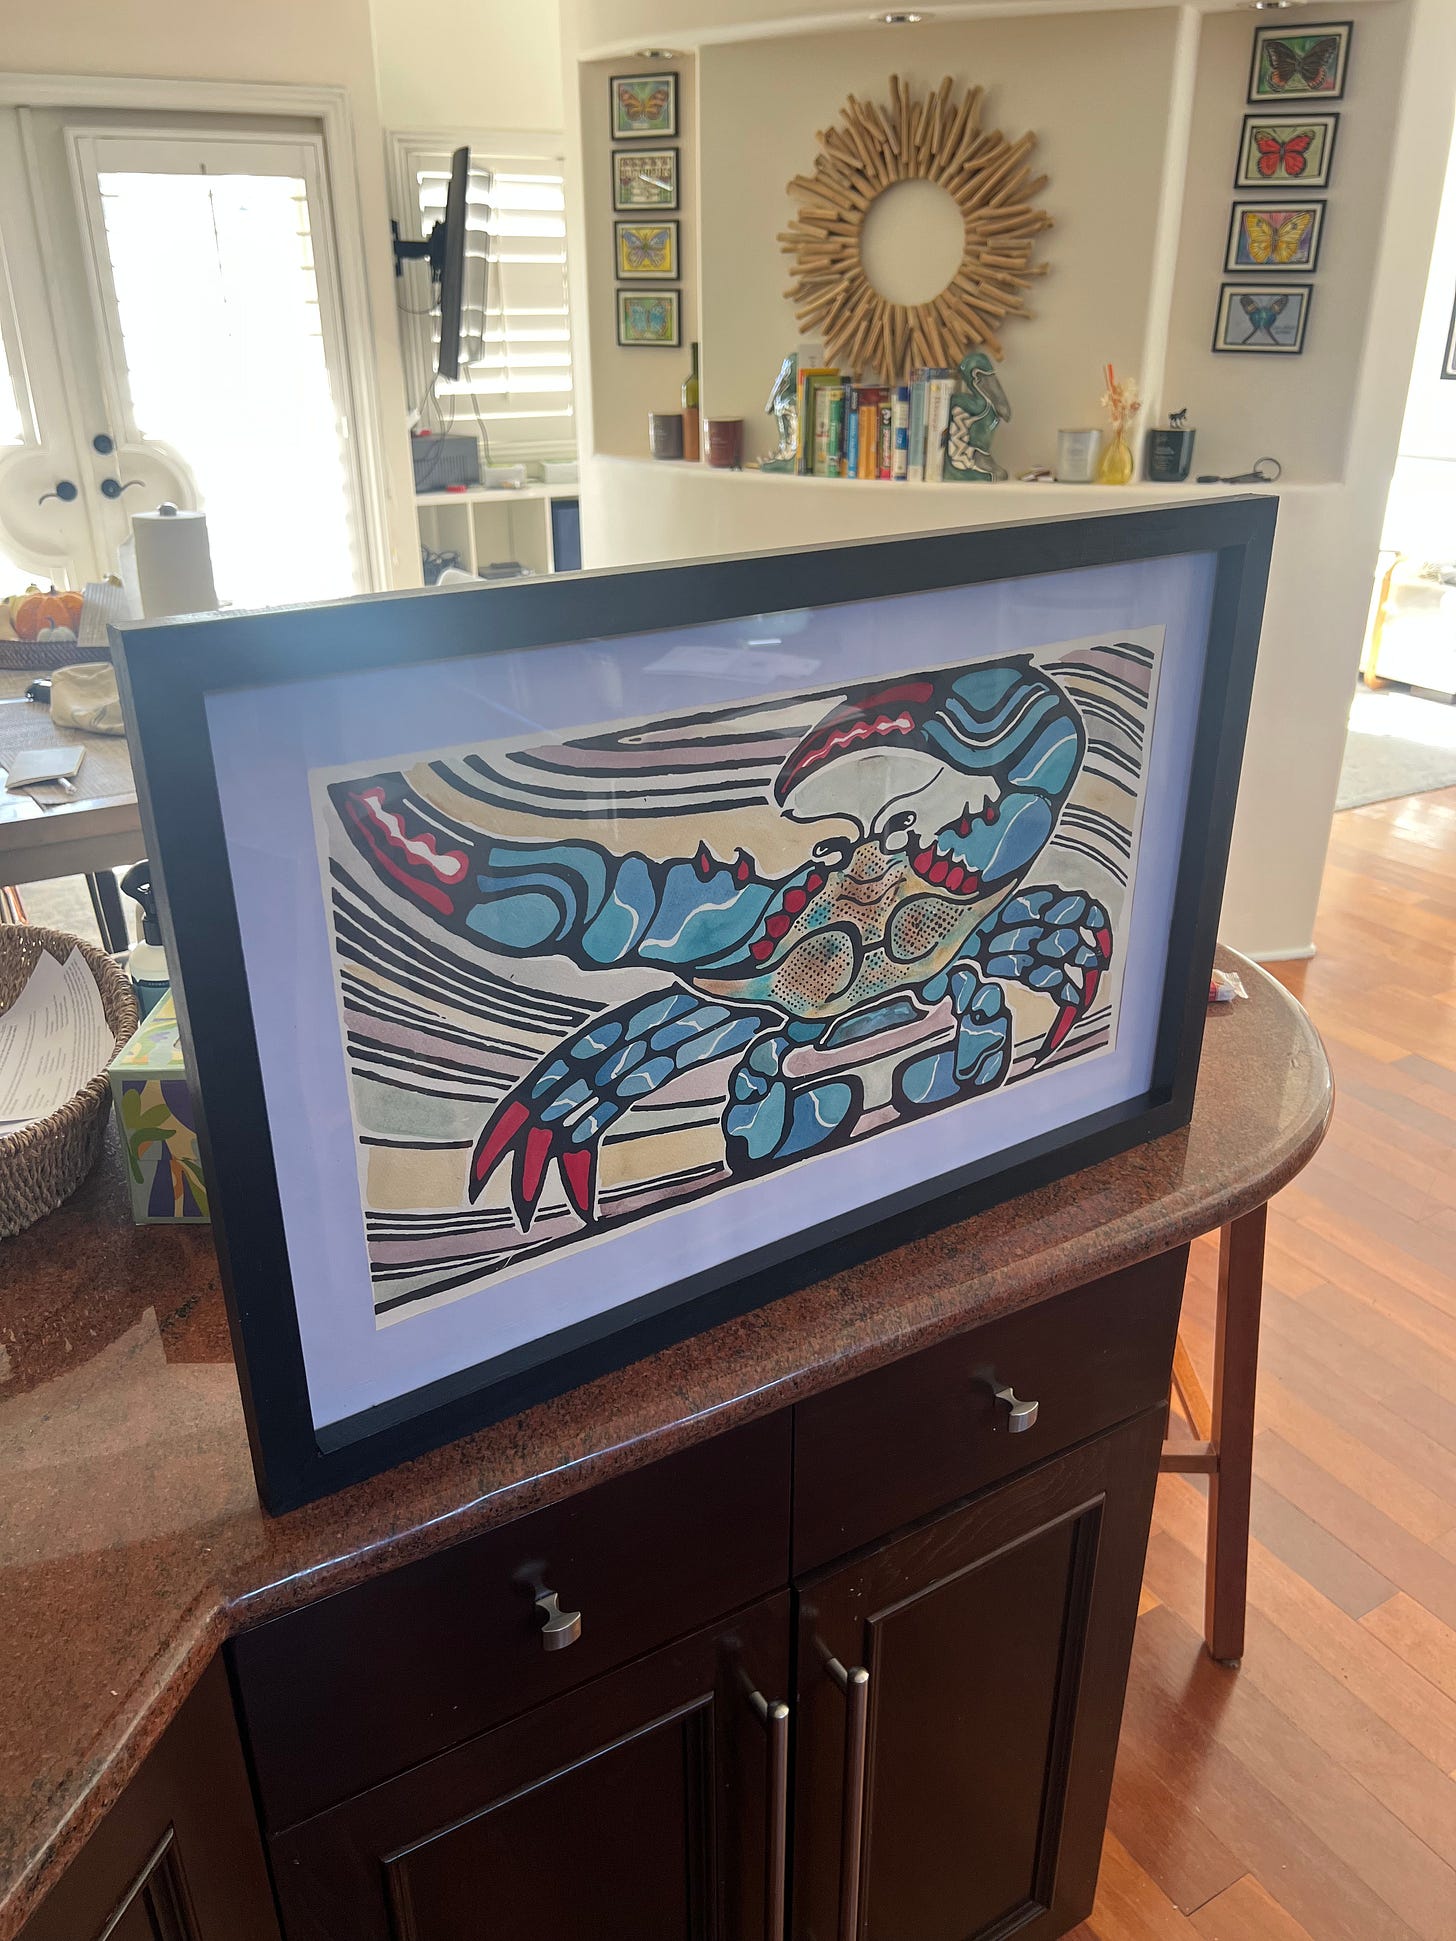
Last Christmas my wife and I purchased a print1 of Blue Crab by Walter Anderson. It’s big (my measurement is 16” x 26”, including margins.) I wanted to make the frame myself. We kept it rolled up for nearly a year till I got around to it.
For this project I built two kinds of frames:
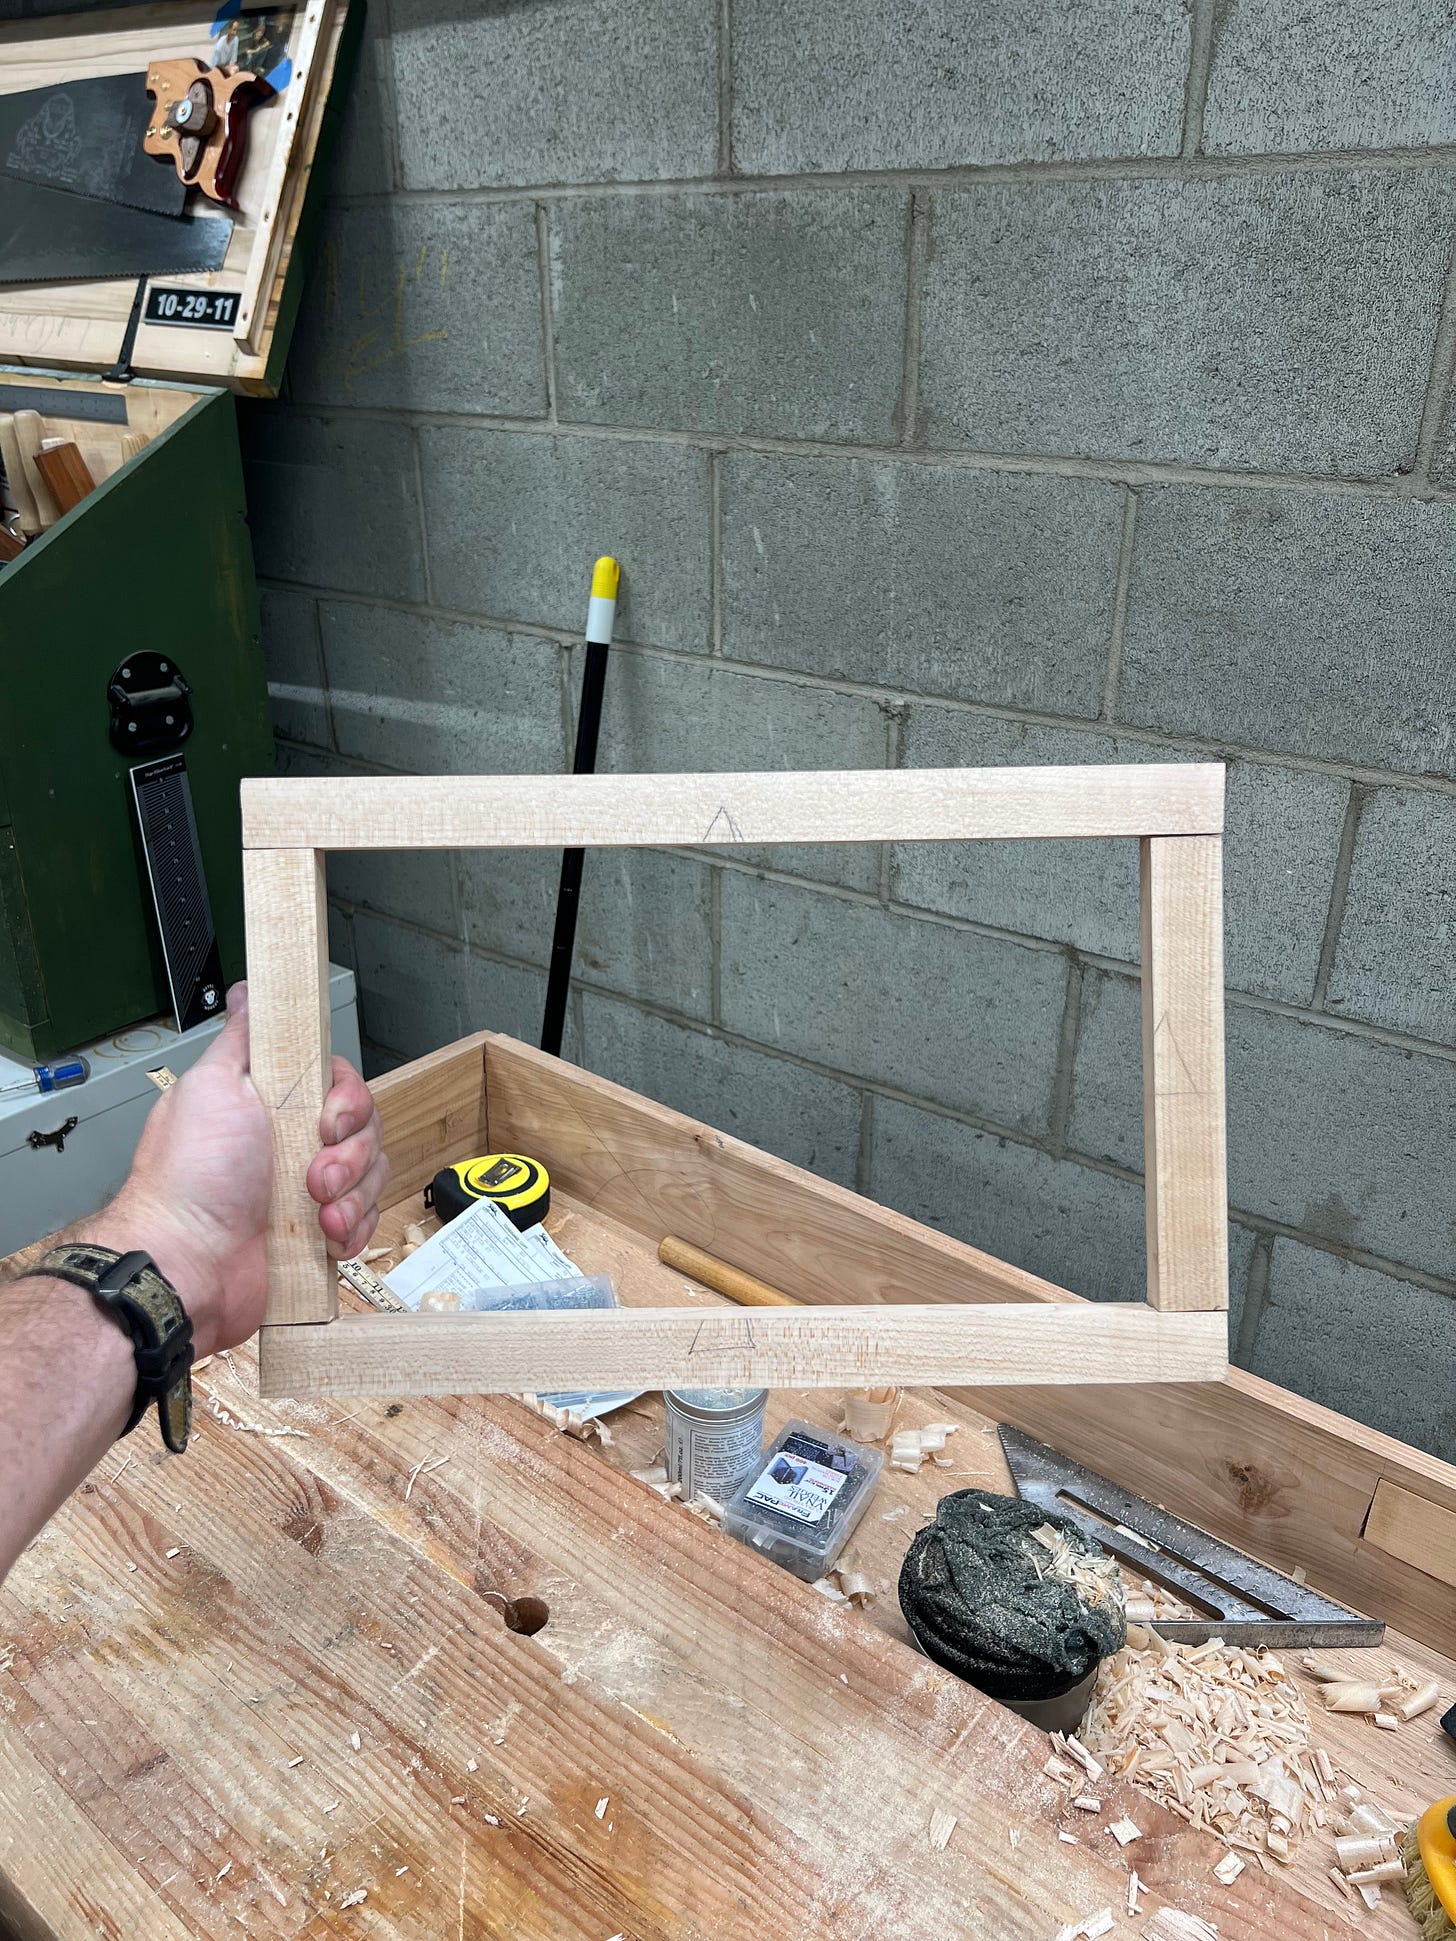
A simple miter. I generally don’t trust purely glued joints, but with the addition of V nails2 I was willing to give this a shot.
Bridal joints. This was inspired by Greene and Greene frames. I like the joinery but the visual style (like making the frame look like a cloud???) is not my jam.
This recent video from Rex Kreuger was extremely helpful in showing how to cut the recess for the frame. On the first groove I used my 45 and I hated it. For the next I did what Rex suggested in the video: plow a light, angled groove and rotate the plane with each pass until the plane is plumb. It worked great. I had some issues with plowing out some of the wood to the side of the plane, which means that some of the recesses aren’t perfectly flat, but that doesn’t seem to matter.
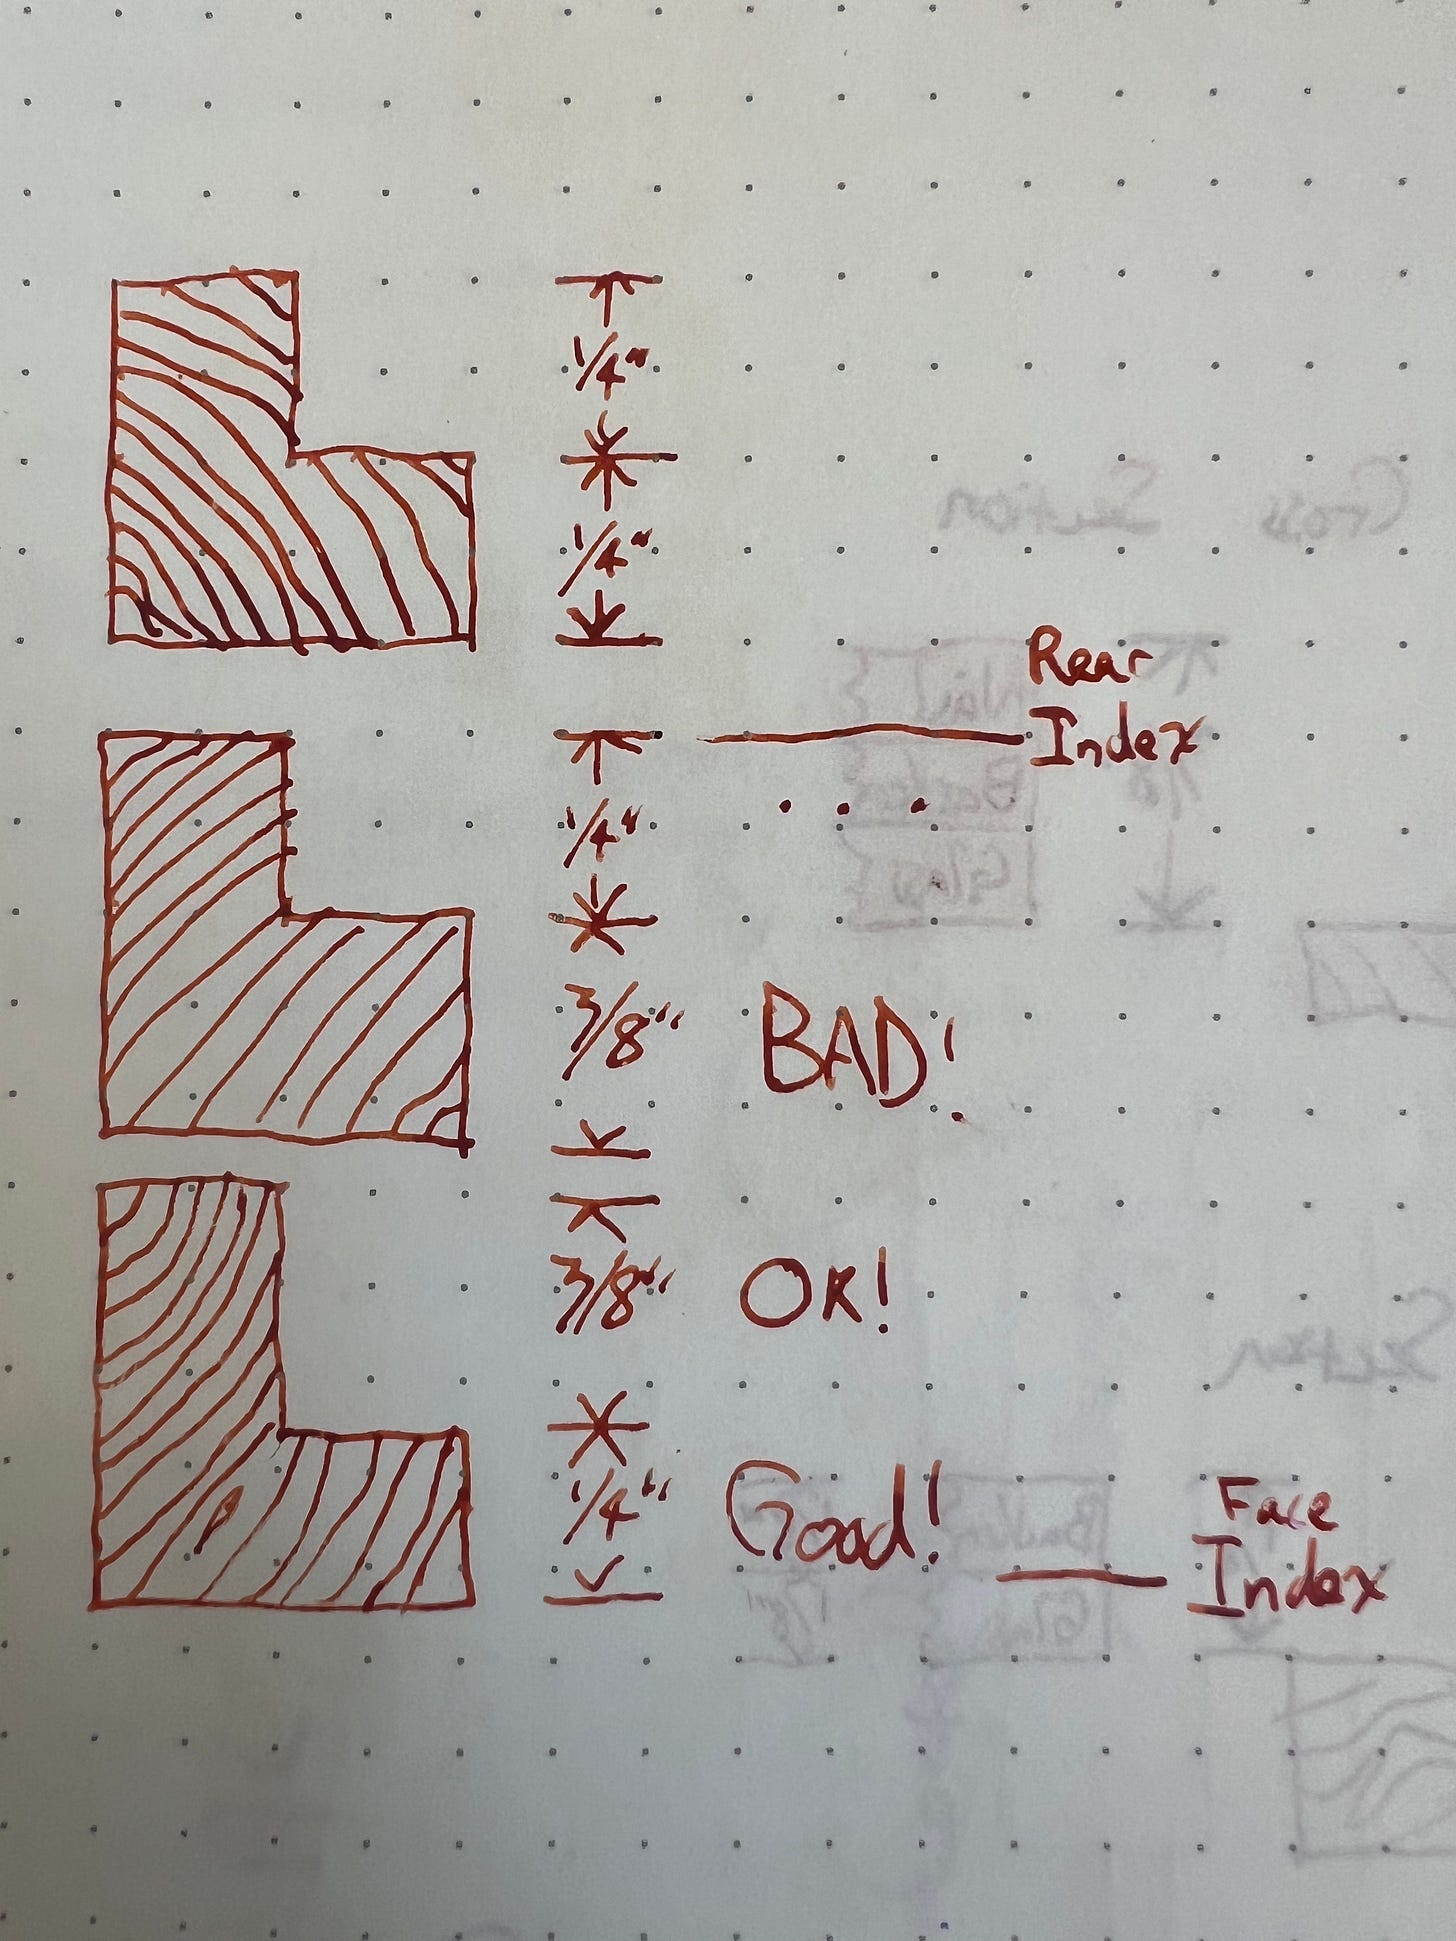
On my first (biggest, most important) frame I cut out a long piece of hard maple, plowed the groove, and then cut the smaller pieces from that. On the other frames I didn’t have a long enough piece for that and had to plow the grooves separately. If you find yourself in that situation, remember to index from the face of the frame with your marking gauge. If the frame is a little off in the back it doesn’t really matter, but if it’s off from the front you may not have enough space for the recess or you may not have a flush front.
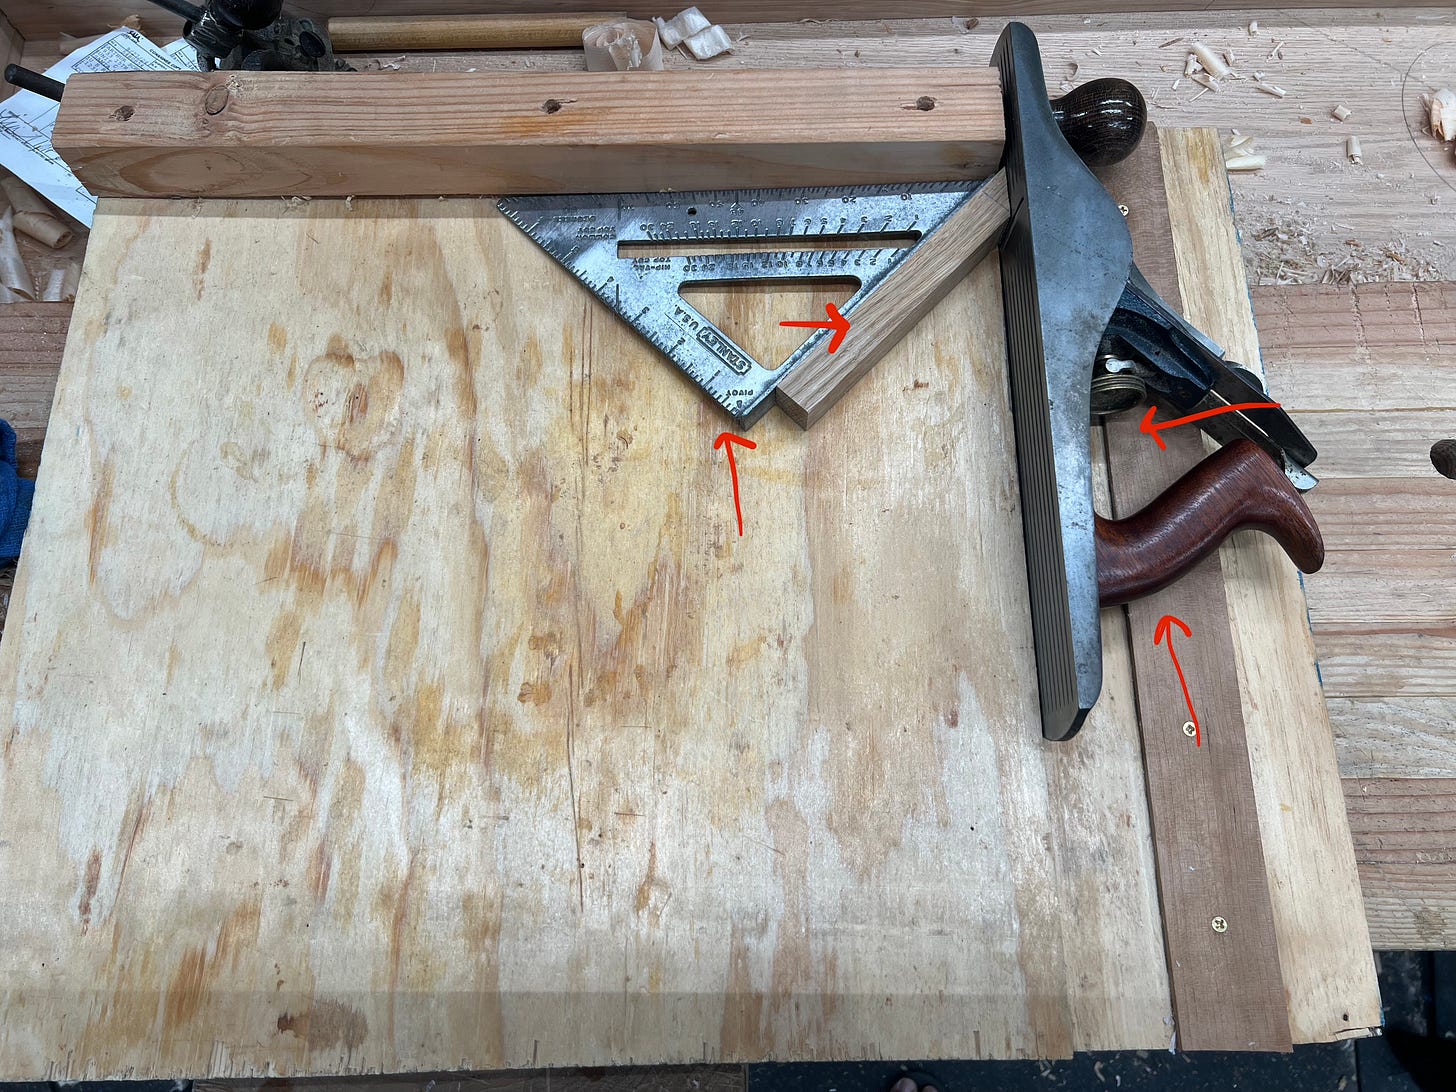
For the two frames I successfully constructed, I cut the pieces at 45 degrees, and then used my shooting board with a carpenter’s square to true it up. This proved harder than expected. My shooting board doesn’t have the integrated sacrificial wood for Reasons™, and also there’s more skill needed than I expected to shoot a 45 degree edge; you have to hold the work against a square, moving the plane forward and holding the plane against the platform, and pressing the work against the plane. This is hard to explain, but try it and you’ll see what I mean. I need more practice.
The recess on the big frame is almost exactly 1/4”. Unfortunately the plexiglass is 1/8” and the backer board is also 1/8”, which means there’s no space for nails or brads to hold everything in the frame. I fixed this by paring away about 1/16” from the backer board where the nails would go. I would recommend against this hack and instead say: make your recess 1/8” deeper.
I used plexiglass instead of real glass. A nice feature of plexiglass is that it can be planed: was when I cut it 1/32” too big for the frame I used my block plane to shave it down to size. When the plexiglass runs out I will upgrade to museum glass.
I got some convenient spring clamps to hold the miters together while the glue dried. These are really great. Highly recommend getting these if you are going to make some frames.
Let’s talk about what happened with the bridal joint frame. The frame is solid. I suspect that I could lift hundreds of pounds using this frame, but there are problems.
The angles in the joints are imperfect, and due to the joinery this looks worse than a gap in a miter
During glue up the whole thing twisted so it’s no longer in a plane. Imagine a potato chip. Some of this is poorly cut mortises, but I could have gotten it closer to square during glue up with effort.
The frame is too small for the actual picture it was built to hold.
I used to think diagrams were something you included so the reader could understand a design— a communication device. A picture says things a paragraph cannot. But more than that a diagram is also a thinking tool. Had I drawn a clear diagram of that bridal joint frame I would have made it big enough to hold the picture.
Walter Anderson made much of his art by creating woodcuts, which he’d stamp and watercolor the rest. This piece, I believe, was stamped with his woodcut and then watercolored by a local artist. It says the artist on the back but I didn’t think to write down who before I put it in the frame.
I used V nails I got on Amazon and tried simply hammering them into the frame. That really didn’t work and in the case of one of the frames actually made it worse. They bounced off of both the hard maple and the red oak. Rather than embedding in and strengthening the joint they broke it apart and crushed. I may try to get something like this to help nail them in, for next time.







How does the plexiglass run out?